Showing posts with label CTC. Show all posts

Thursday, April 23, 2009

Things to do with your Cuttlebug

Great flight to San Diego yesterday - I was stuck between a dad and a mom, each holding an 8 month old twin. My idea of a "wonderful" flight! LOLOL!!!

My last class in Poway is going to be a jam-packed technique class showing you some fun things you can dow in your Cuttlebug. This is my latest CTC (creative technique cards) class and bound to make your head spin! Here's preview (ok, some of these sandwiches even amazed me!!!)

Make your own stencil - give texture to any diecut

Make your own matching charms

Emboss a brass stencil with no lines from the outside of the stencil:

 
Cut a die inside a die in a single pass!!!  You will love this one!  I used the seedpacket die and the small nested bird for this one


Negative space inking vs inking:


Cuttlebug (open) folder embossing with brass stencils (or without)

Make your own dimensional foam stamp:


Mirror embossing (one die, both right and left are embossed)


Diecutting transparencies and airbrush painting


Watercolor painting on copper (my absolute favorite diecut technique!)

When I started experimenting with these techniques, I was delighted at how well they all work in the cuttlebug!  I've also got a sandwich for cutting sizzix 12" border dies in the cuttlebug and a couple of surprises for this class! 

Hope you will join me!  Just click here to get the class calendar.

Friday, September 26, 2008

And in honor of my blogging birthday.....

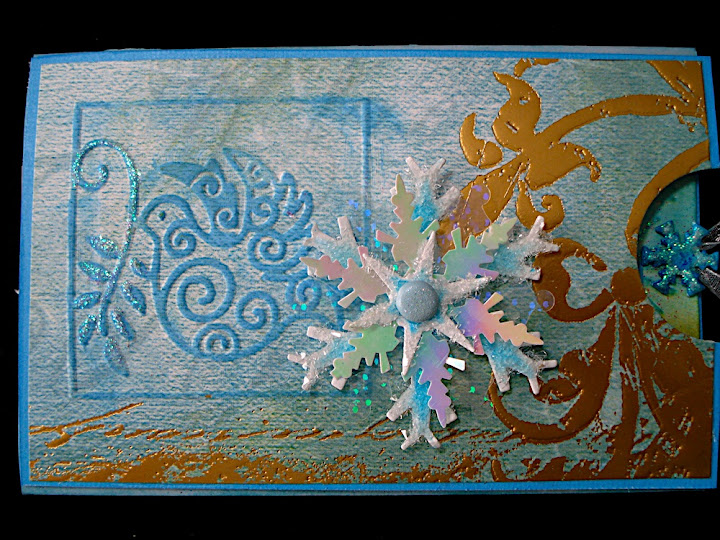
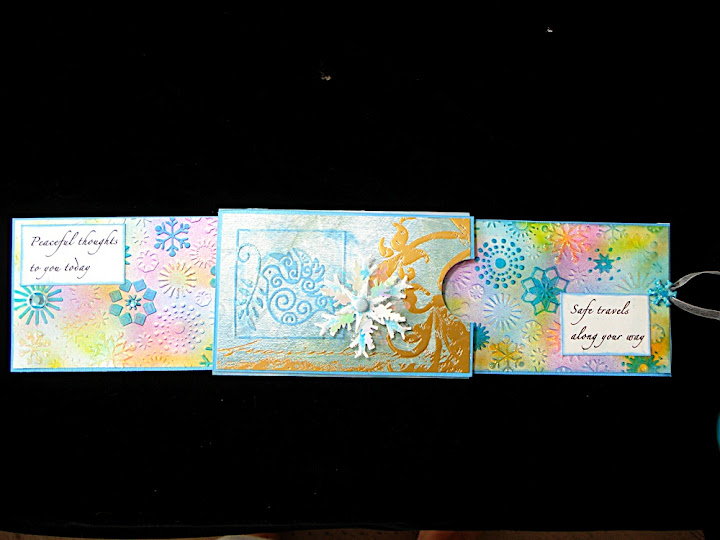
I have had such a fun week! My dear friend Susan Mostek came to play one day. Oh! Did we have fun! She showed me how to make her fabulous "pull cards" and if you want to learn the mechanics of these, you can take one of her upcoming classes at Stamping Details in Poway, CA. Or watch for classes at Your Crop Shop.com.

Susan is such an inspiration to me. Not only is her art beyond amazing....she is a giggler. And once she starts to giggle (or sometimes even just the thought that she might start to giggle) sends me into a fit of laughter. Oh! It is just sooooo good to laugh!!! And when you can spend a day laughing and giggling with someone who laughs and giggles right back - well - what can I say? Wonderful! Absolutely wonderful!

Susan is also a very patient teacher - which is quite good when it comes to me! After showing me how to make the card, I decided to add a few elements to mine. I used a new cuttlebug embossing folder to emboss the dove. Next I combined parts of Spellbinders snowflake die covered in Diamond dust with snowflakes from Creative Impressions. They really do glitter and shimmer in real life!


When you pull on the ribbon to the right, both the right and left inside cards pull out. How fun is this?


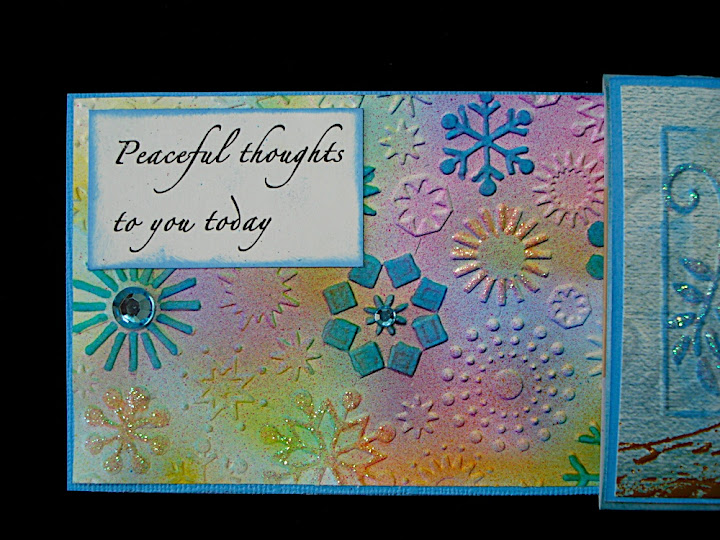
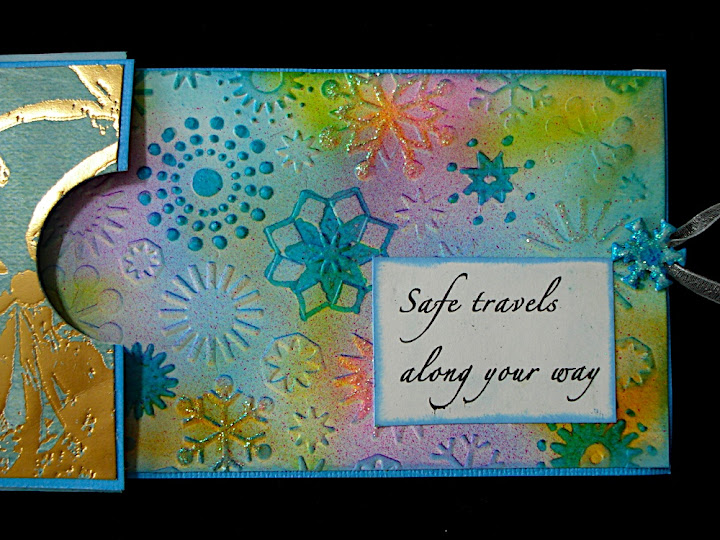
Yep, I've moved away from seashells and jewelry and back to airbrushing white cardstock that I ran through another cuttlebug embossing folder. Then used the copic marker to color a few of the snowflakes. Added glitter to a few and then added my sentiments which were printed on cardstock.


And added a few rhinestones. The snowflake brad is from Creative Impressions and I used the airbrush to get matching colors and then added glitter on top of that. All closed up, this card measures about 5 1/2" x 3 1/2" and when you open it, it goes to almost 14" long!


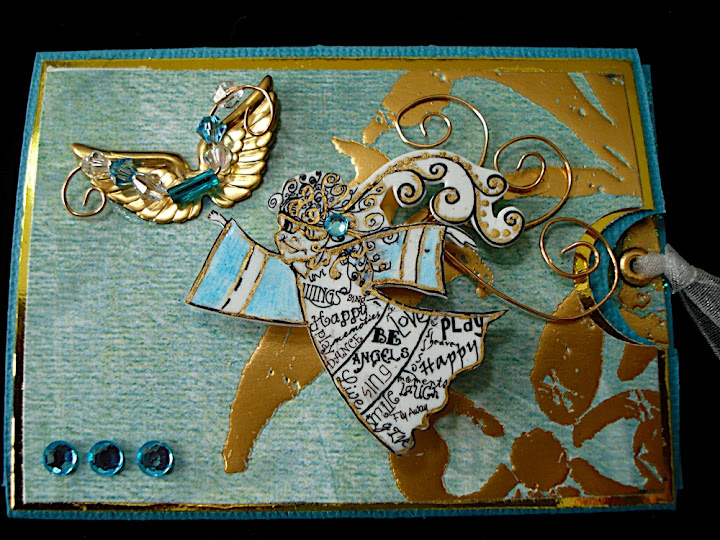
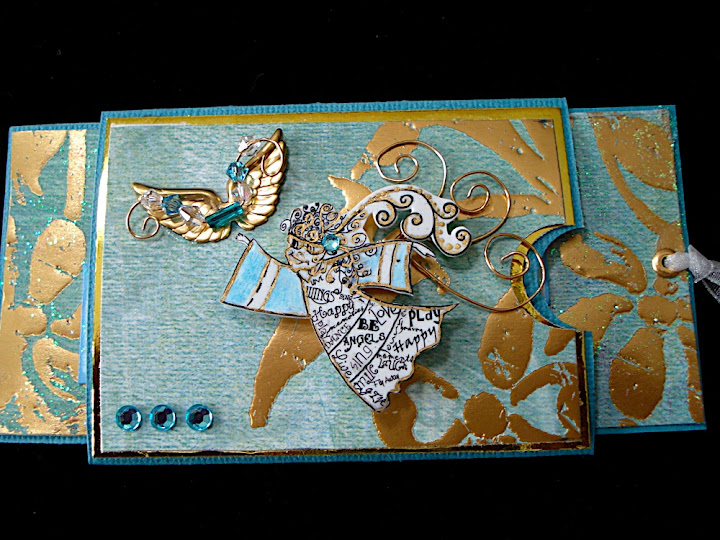
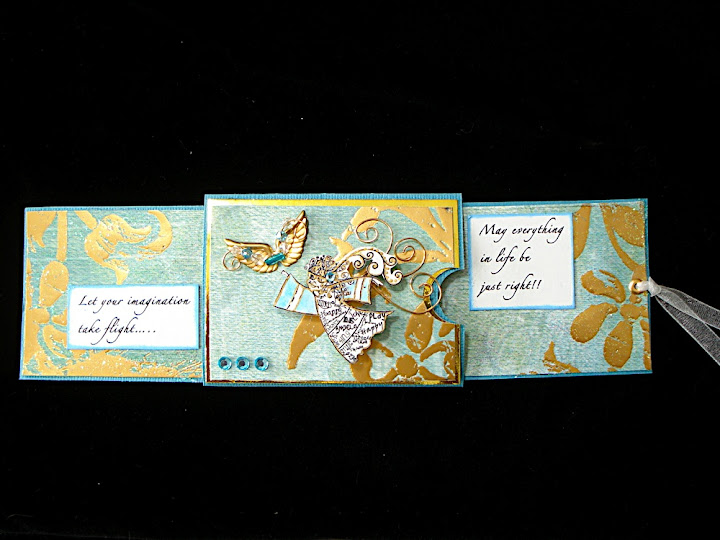
After Susan went home, I decided to try and come up with the measurements to do this as an ATC sized card so I could put it in my ATC rounder with all my other Creative Technique Cards. Oh! How fun!!! I simply used leftover scraps of paper for this one. The angel is done in white shrink plastic that I colored with watercolor pencils and 14K gold krylon pen. Lots of gold metallic on this piece with turquoise rhinestones.


So, this is just 3.5" x 2.5" and when you pull it out, the length is 8.5". But I wanted to show here that you can pull it out just a little, not all the way, and get yet a different look:


Don't you just love this paper? Gold embossed designs, such a good variety of cuts from it!


Let your imagination take flight.....


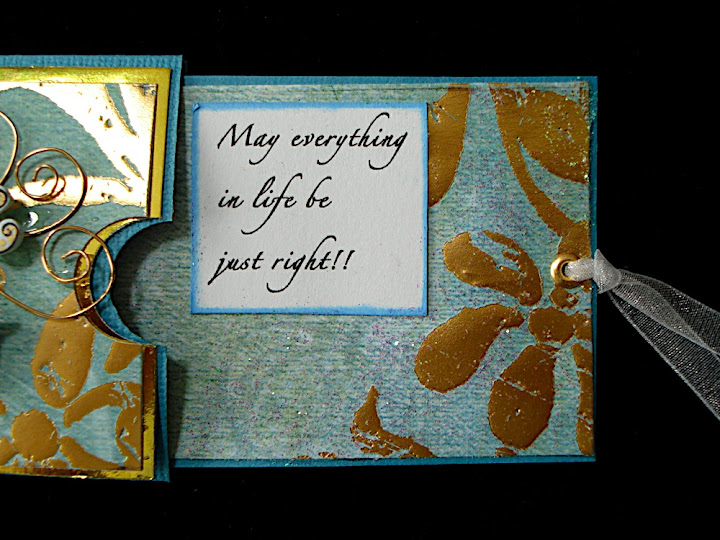
May everything in life be just right!!!


What a perfect sentiment to start my second year of blogging with! And truly, my wish for each of you in the year to come!!!

Monday, June 30, 2008

Creative Technique Cards!!!


Click on any card and it will take you to my picasa album and there is a tag# and title below the technique! There's a total of 43 techniques and I'll be teaching them in a series of 6 classes in San Diego the end of July. Each class is only $10.00!!! So pick and choose based on what you like. But if you take all 6 - there's a bonus surprise - just keep reading!

I already have almost 40 more tecniques that we'll teach in September.

If you can't find the 7Gypsies ATC rounder, punch, etc, just email me as I can order it and ship it to you! Post a comment here and you'll get 10% off your order! LOL!

OK - class descriptions:

Alcohol Inks (Tags 1 - 7) One of my all time favorite mediums - there's so many fun things to do with these inks! Polished stones is just a great way to cover up mistakes, to give something old a new look, or to just play! Learn how to use alcohol inks on metal foil, acrylic, glass, acetate and more. Learn how to mix other products with alcohol inks. The alcohol ink resist is the same technique I blogged about here.

Colorwash (Tags 8 - 13) It never ceases to amaze me the vibrant, brilliant combinations you can get when using colorwash. Whether its a background, on mulberry paper, on glossy photo paper...it all looks great! Come play with this medium and just see how you can liven up a layout, alter the look of a diecut, make your silk flowers "pop" and so much more! Plan to get a little ink on you, so wear old clothes!

Adirondack Inks (Tags 14 - 19) This is really a true technique class because you will learn how to use simple ink pads with other mediums and tools. This is a chance to learn a whole lot about ink pads, markers, the different types of inks and more. We will even be doing a little watercolor painting! Oh, trust me - it's all just fun!!!

Melt Art (Tags 20 - 27) So many of you have told me that you have a melting pot, but don't know what to do with it! Here's your chance to learn! We will be playing with UTEE, To Dye For, BeesWax, Flex, stamps, and more! You will even learn how to do the underwater transfer trick! This is a packed class, so come ready to play!

Perfect Pearls (Tags 28 - 35) Another action packed class where you will learn how to make faux leather, faux metal, and we'll do some watercolor painting and make some gorgeous glimmery backgrounds. Just one of my very favorite products and I think you will find it has more uses than you ever imagined!

Distress Inks (Tags 36 - 43) Well, just in case you thought you knew all there was to know about distress inks, come and spend a couple of hours with me! A little spritz & flick? or burnt edges? No, I promise, we won't be lighting matches! But I will even show you how to tint old black & white photos with distress inks. And a bonus in this class - I'll show you how to make your own masks using your Revolution (or other diecut system) and your Xyron! Guaranteed laughter!!!

If you take all 6 classes, then you are invited to come take my bonus class. So far, I'm up to six techniques that I've come up with using Ranger products that I know you will find fun and entertaining! But I'm keeping them a surprise until after I get home from San Diego!

All classes have the same supply list:

Scissors
Tape runner
Glue Stick
Ruler
Apron
Grungy clothes!
pencil/pen

But I know how you all are, you always want to bring your entire studio to the store! I'll get a supplemental supply list up in a few days. In the meantime, Liz will get these classes posted this Wednesday and you can call in and sign up! Just click on her store at the top of my blog!

Monday, June 23, 2008

Make your own mica!!!

OK, I think you will love this technique! Faux mica! I'll post the photo first, then all the instructions for the different kinds of mica that I've come up with. Just click on the photo and it should open in a separate window so you can have the photo up as you read through the techniques


Faux mica:

1. Cut pieces of laser transparency into the shapes of mica
2. Place 1 drop each of Ranger’s Sepia, Crackle and Glossy accents on the mica
a. Finger paint or paint it with a brush across the surface, blending all three drops
b. Works best if you leave a faint design horizontally across the transparency
c. Bubbles are great…makes it look like faux vintage glass!
d. Let dry
3. Flip transparency over and apply Ranger Latte Alcohol ink on the other side.

The end result is a piece that looks very much like mica…and a whole lot cheaper! See “A” in the photo.

Mica Opals:

Using the above technique, instead of latte AI, use a polished stones technique and apply color to one side.

1. Place in heated level melting pot (just place the lid under the top of the pot and it will be level)
2. Let heat just a few seconds and place a small piece of frozen opals (After Midnight Stamps) on the piece.
3. Let melt, remove from pot

Gorgeous enough to wrap and wear as a pendant…or you can stamp on this, too! See “B” in the photo.

Faux Mica Opal Pendants:

Photographs just do not show the glimmer and shine you can get from this technique. For these pendants, I just used 2 pieces of faux mica. Did the technique above then placed a piece of Faux mica over the piece of Mica Opals. Either wrap wire around them, or edge with Ranger Memory tape and then wrap with wire (Amaco Fun Wire). Photos “C”.

And for photo “D”, I simply did the above and sandwiched in between 2 pieces of Memory glass in a Memory frame.

©2006 JenLoweDesigns

Sunday, June 22, 2008

CTCs - Creative Technique Cards

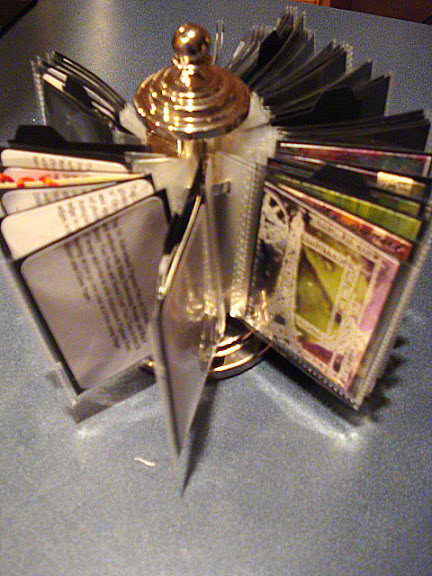
I'm working on the most fun thing I've done in awhile. Creative Technique Cards. Sized the same as ATCs, but these will be my techniqu samples - so when I forget how to do something - I can flip through these and get my creative ideas flowing again!

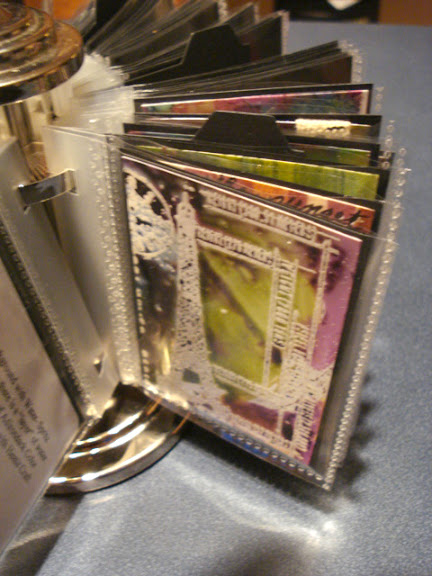
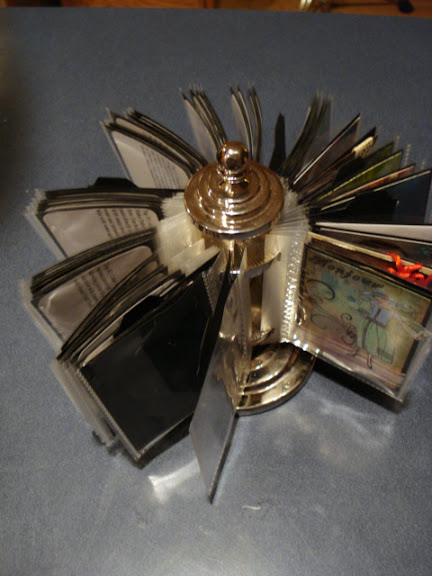
I'm using a 7Gypsies ATC carousel to store them:


The technique will be on the front:


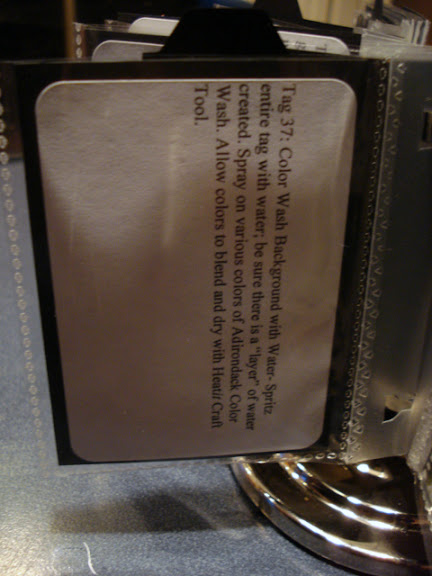
And the instructions on the back:


We did these on tags at Ranger University, and mostly just the background technique. I like the idea of having something designed to look at, and having them sized small - 2 1/2 x 3 1/2".


Right now, I have 81 techniques to do. By Wednesday! So guess what I'll be doing this week? Playing hard!!!

Wednesday, June 18, 2008

Colorwash Backgrounds

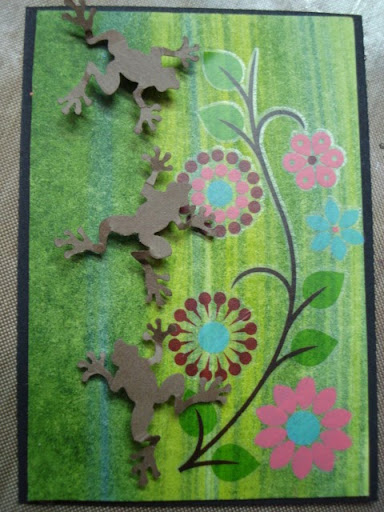
Now that I have "found" most of the things I knew were somewhere - it's time to play! Don't you love these frogs? A McGill punch, fold the legs and put a pop dot under them. Just too cute! For the background, divide a non-stick craft sheet into 3 "sections" and spray a different color of colorwash into each of 2 sections and water into the 3rd section. Dip cut n dry foam into one color and swipe it across the paper, letting it skip. Dip another piece into the second color and repeat. Dip a 3rd piece in water and swipe. Heat set. I used Bottle, lettuce and stream here. Yep - you can use more than just 2 colors!


This is a little different. Spray colorwash on the non-stick craft sheet, then take a brayer and run through it and then run the brayer over the paper. Heat set it.


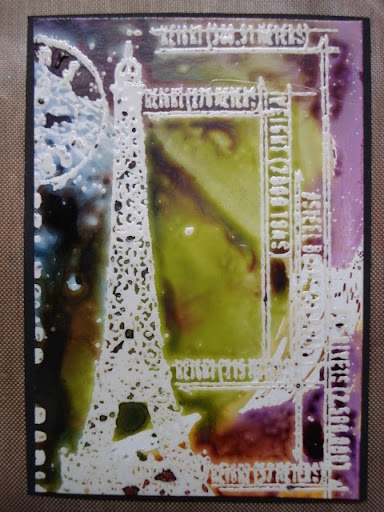
One of my favs here: stamp an image with clear embossing ink on glossy paper. Use clear embossing powder and heat set. Spray 2 - 3 colors of colorwash on the craft sheet. Then place the glossy paper face down on the sheet and swirl and pick it up. You will get a different look every single time!


And maybe my very favorite - because it's so easy! Just wet the paper, then spray on Colorwash in at least 2 colors. Let it run together. Dry with heat tool.


All of these are ATC sized technique cards that I'm putting together for classes in San Diego next month. Gee - I think I'd best hurry up and get these done and out to the store!!!

Sunday, June 15, 2008

4 ways to use Alcohol Inks

I thought today we'd compare background techniques. The first is just a straight polished stones technique using Stream, Cranberry and Lettuce alcohol inks.


This second one is the very same process, but on clear acrylic, done twice. So apply the ink, let it dry, then apply a second layer using the same piece of felt (no additional ink) on top of the first layer of ink. Back it with white cardstock. I like using peel-offs on the acrylic.


For this next technique, apply the 3 colors of AI to the felt, then apply a drop of pearl metallic mixative. Apply it to glossy cardstock. Then add some blending solution to the felt and apply a second layer. Really gives a nice, soft mottled background. The little kids and swirls are new stamps from MSE that I picked up last week. I just love the little kids!


This last one is a little different. Squiggle some copper mixative onto your non-stick craft sheet. Then I added cranberry and stream AI and some blending solution. Took my glossy cardstock and placed it shiny side down on top of the craft sheet and twisted and lifted it up. A completely different kind ol background. The copper is quite shimmery.


I used a little AI to color the silver dragonfly brad as well. That's my mom's mom as a little girl, printed on mat cardstock and colored with Ranger's foam nibs. These are 4 more techniques that I'll be teaching next month at Scrapbook Your Life!

Tuesday, June 3, 2008

Burning stuff!

Back about 1971, right after my first marriage, I burnt a pot pie. And was stupid enough to go into the office and tell what I had done. An older employee, Bill, just thought it was the funniest thing ever....that I couldn't even make a pot pie without burning it....that he dubbed me "the potpie kid." Sad to say, that nickname stuck with me for the next several years!

And then this week....I was unmounting some used rubber stamps that I picked up at the thrift store. Really tuff glue! I nuked them in the microwave for 10 seconds....nothing. 20 seconds, still nothing. 60 seconds....

well, yes, the wood started to catch on fire and even though that was 3 days ago....the whole house still has a lovely aroma of smoked wood. Not a bad smell....but I'm getting a bit bored with it!

So I thought I'd do my class sample using Ranger's burnt edge technique. Now remember, my base for all of these is just plain white cardstock. So ink, stamps, white pen and some embellishments from Stanislaus Imports:


Sort of looks like the flames started going in on the left hand side, doesn't it? And I know...you want a tutorial on how I did this, don't you? Well...not until after I get done teaching in San Diego! Make your plans to fly out for a couple of totally fun weeks in July!

Oh....I can honestly say I no longer burn pot pies......we eat out all the time!!! LOL!!!

Monday, June 2, 2008

Coloring with pen nibs

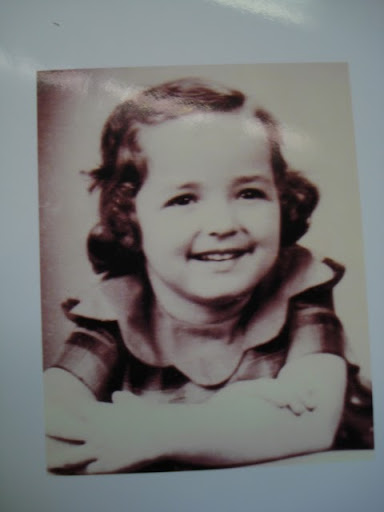
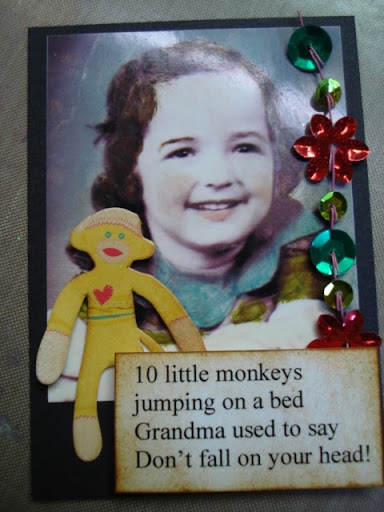
Yes, I'm a child of the 50s! Don't you love the scalloped collar? But such a plain, dull black and white photo. Shall we have a little fun today?


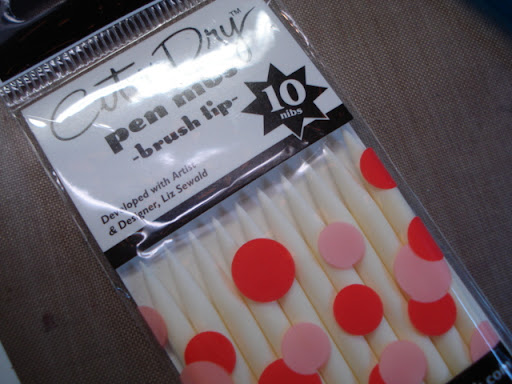
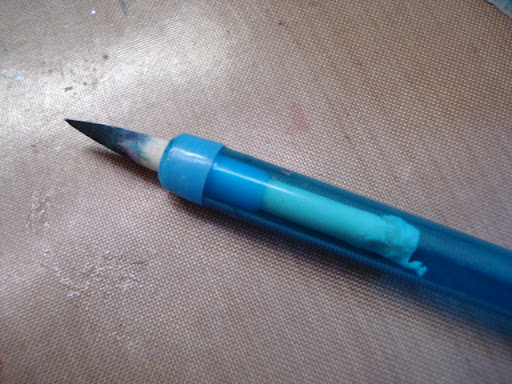
A package of pen nibs. I'm sure there are tons who manufacture them, they look like pencil tips, but are foam:


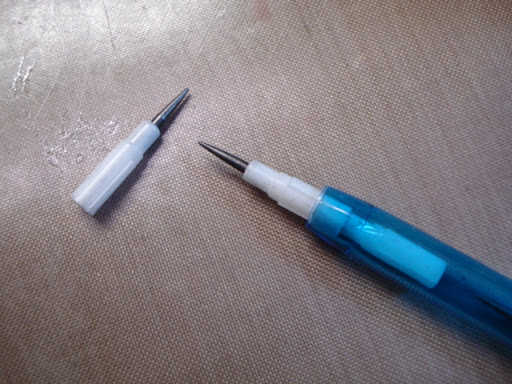
But I have a rather hard time wrapping my fingers around them. You need to find some of the old plastic pencil nib holders. I found mine at the grocery store of all places!


They have little lead pencils inside that will come out, so go ahead and take them all out!


The foam nibs fit inside perfectly. I color coordinate the drums to go with the primary colors of the inks that I use.


You can use any ink, I'm sure, but for this particular class sample, I'm using Ranger's Distress inks. Just roll the nib over the ink pad, then color it onto the old B&W photo. And of course, as always, add your style of embellishments!


I love the new "10 little monkies" from EK Success....just so appropriate for the 1950s. And of course, grandma made each of us kids our own sock monkey! Didn't you have one, too?

Just another technique I plan to teach at Scrapbook Your Life! in July. See ya there!!!