

And how I embellished it with sanding paper, ink and glossy accents:

And then I remembered my make your own stencil tutorial and decided to put it to the test. Could I use what I did yesterday as a stencil to emboss a duplicate diecut? The first step was to add a second layer of Glossy Accents and let that air dry. Then I positioned a new die over the embellished die:

Covered them completely and then spritzed the top paper generously with Lucy McGoo Wonder Goo. (if you want to purchase this, please remember to add shipping!)

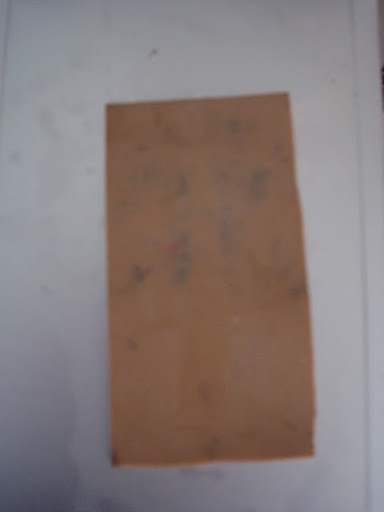
Next, added a piece of Spellbinder's tan polymer pad cut for the Revolution. Yes, I'm using the revolution with it's 12" long plate for this process since these are dies made for the Revolution. The paper is laying directly on top of the steel plate.

Completely cover the paper with the tan polymer pad:
Then I put the little 4" embossing mat from Quickutz on top. This mat comes with the Revolution or you can purchase replacement mats separately.

Look! Embossed leaves! Yeah!!!
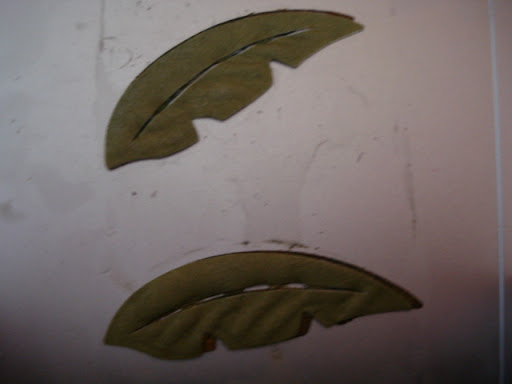
Just peel the top layer away from the bottom. Here I inked everything with Vintage Photo Distress ink. But I could have sanded and added multiple colors as well.

OK my friends!! No more flat diecuts!!! You can now emboss every single diecut that you have. Once you have the first stencil made, just put it with your die (wherever you store your die) and keep it. You can reuse it over and over. I can hardly wait to try this with all my dies. I think I'll be busy for quite some time to come! But what fun! Just another way to play hard!
No comments:
Post a Comment