
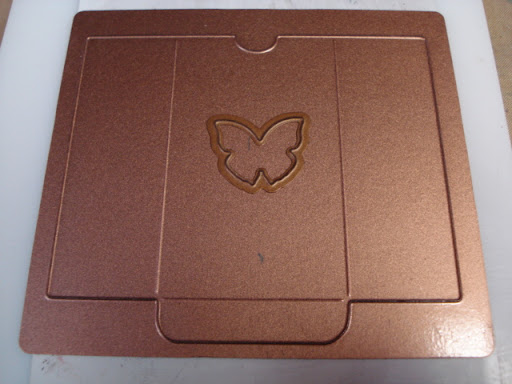
I've layered the little butterfly from Flying Fantasies on top of it. Remember, both cut sides are up.
There is always a chance that a die will move, so just put a piece a tape across it. Don't worry, the die will cut right through the tape.
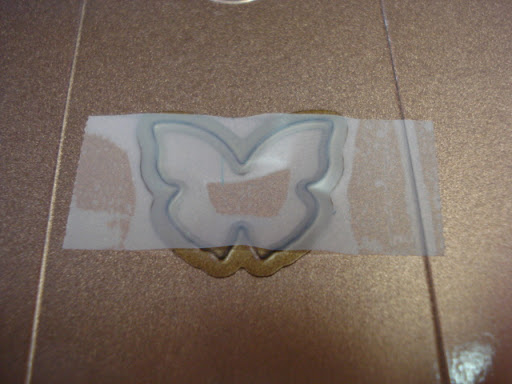
The pocket will cut and the butterfly will cut out.
Just pull the tape off and pick up the butterfly

Fold your pocket:
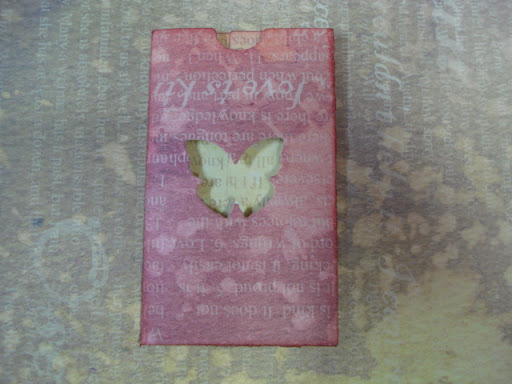
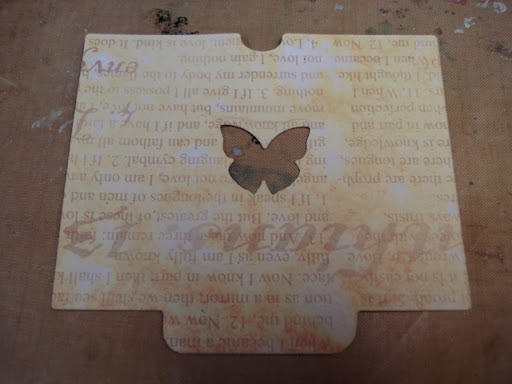
Ink the edges and then adhere the little cut out butterfly to the corner of the tag.
Very dimensional:

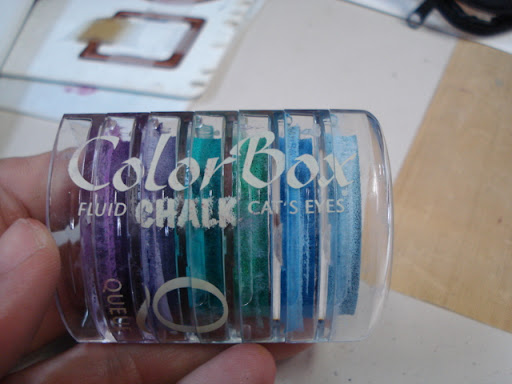
Sort of a recap of yesterday, but now to step it up. I'm going to use Colorbox Fluid Chalks:
Apply the fluid chalk directly to the cut side of the die. In random patterns. Know that the colors that are on the top are the first that will be applied to the paper when the paper touches the ink.
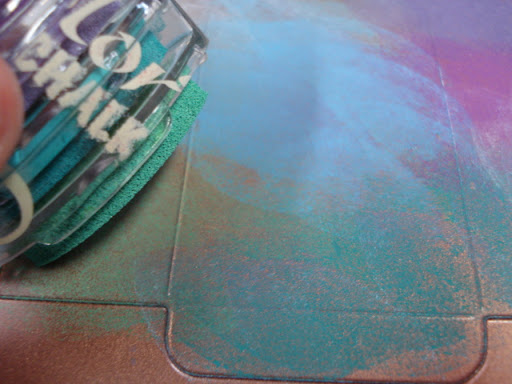
Ink the entire die.

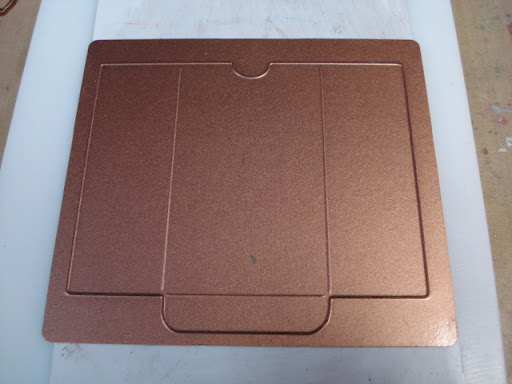
Place the little die in the center. I'm using a die from the heart nestabilities for this.

When you run it through and die cut, this is what you will get. I sort of like the wide area of white around the heart.

Next, ink the inside center side tabs of the die cut:

So when you fold the pocket up, the background inside the heart is inked.

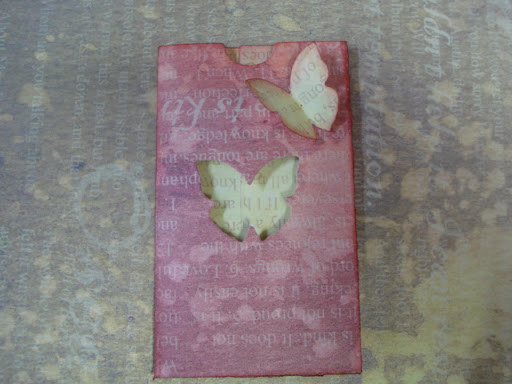
Now remember, so far, I have only die cut this. If you go ahead and emboss it, you get much more ink on the paper and a more distinct pattern around the butterfly:

Here are the 2 pocekts side by side. The butterfly was cut and embossed. The heart was only cut...not emobssed.

So, think about the possibilities of this. You could stamp any image on the die itself and then it would reverse the image onto the library pocket. Swirls would be easy and fun. You could stamp the colored ink, then stamp a black inked swirl. And it might look fun if the die moved a little and sort of smooshed the stamp.
I think any ink would work. I picked fluid chalks because they stay wet a long time. But the really cool thing is that you just let them dry on the die...they turn to chalk and you simply wipe them off with a tissue.
And what if you used watercolor paper, and then took a wet brush and blended the ink?
Fun, quick, easy....and a great way to bring an old die back to life. I think I've had this library pocket die for almost 3 years now! My...how time flies!!! This direct-to-die inking technique, also called "reverse stenciling" was inspired by my good friend Holly Craft (oh! how I wish I had "craft" as my last name!!!) and she was inspired by her fellow Spellbinders design team member Michelle Klomp, who brayered ink directly onto the die. Just something else for you to give a try!
No comments:
Post a Comment