
I've given a letter to each one, so you can follow along. They are in the order that they got posted here. I know... there is no "order", but I do hope you can make a little sense of this! Just plan to have a bit of fun and see if you can one-up my templates!

OK, Pocket T is going to be first. Just want to make sure you know these are "valley folds":

And these are "mountain" folds:

So, everything on pocket T is a valley fold and you might want to use a bone folder to press all the folds flat:
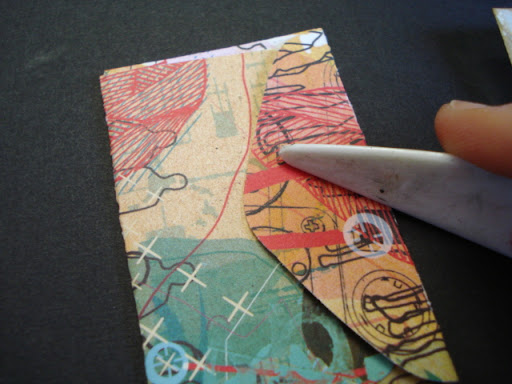
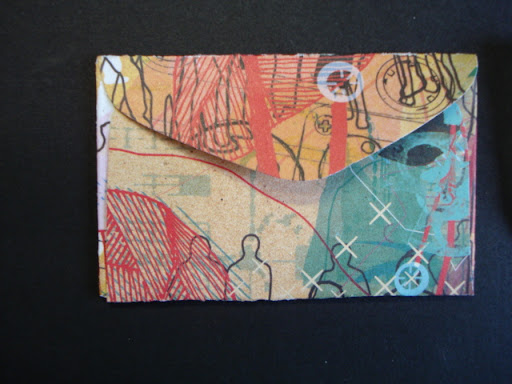
When done, it's a simple little unembellished envelope just to get you started:
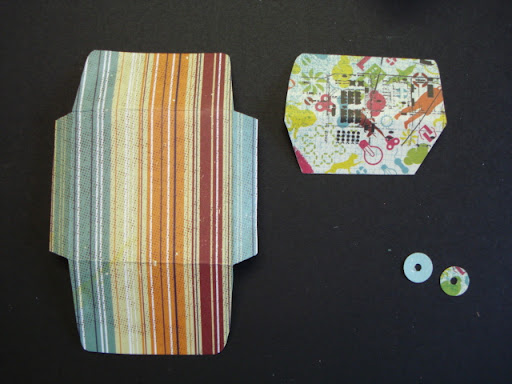
Next is pocket M from the first sheet. You want to cut it out:

Here, I am showing how you can mix papers on a pocket by cutting out a different color and overlaying it on top of the other:

We are going to make reinforcements next. I like to start by punching a 1/16" hole in my paper, then centering that in the back of a 1/2" or 3/4" circle punch.

They look like this:

And you can attach them to the pocket ends using eyelets. I prefer to set my eyelets these days using a Cropadile....but a good old punch and hammer works just fine!

Told ya this was a long blog! Get a soda! Or fix a drink! Here's the next set of pockets:

This is pocket A put together. A pocket with a tag inside of it.

For pocket B, I decided I wanted the flap to be a different paper from the rest of it and I inserted a sentiment tag in the hole:

This is what I cut out to make it:
OK, on to the next sheet:

Pocket E is the most difficult. It is the only pocket that has mountain folds. On the ends, the first fold (closest to the center) is a valley fold, then a mountain fold and another valley fold.

Across the bottom is a double valley fold. This creates and expansion pocket that you can store more stuff inside. It might have to go on the front of my calendar as it will be the thickest pocket.

And the next set of pockets:

Pocket D is next. For this one, I added a tag under the reinforcement circle. There really is no limit to what you can do to make each one of these your own individual piece of art!

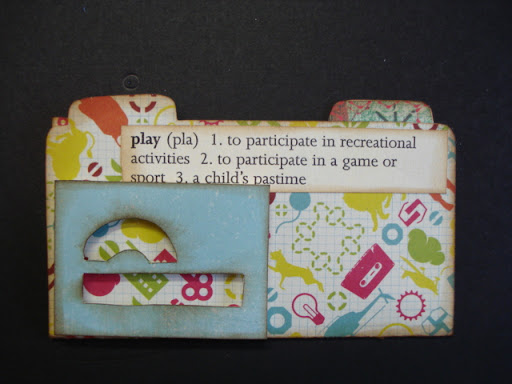
And here's pocket C, so easy, but takes a little bit of work. If you use 2 sided paper, this will be much easier, but I'm using Basic Grey which is one sided, so when a white tab sticks up, then I need to cut paper to cover it. The "P" is a stencil cut out of the paper. I used pop-dots to raise it up. You can type any definition on paper and then ink it and add it to the front of the folder. As you can see, I've started inking my pockets...just so you can get a feel for where I'm going with these.
The next template:

Pocket F. All Valley folds. Gives you a double tag pocket. Totally fun! So much you can do with this, I simply put tags in each pocket. If you own any of the diecut systems, feel free to diecut the tags to add to these...it will definitely save you time!

And for the final tag that I've completed so far, I stapled ribbons down the side, added a sentiment across the bottom, and stuck another tag inside the pocket.

I'm quitting for today....about tagged out! But here are the rest of the templates that I've sketched.

You may need to shorten or lengthen some of these:

And I know, my lines are not all that straight!

But I hope you have fun with them!

I will come back to the calendar next week. I've got some assignment deadlines...projects hat I just have to work on next. But I think you have plenty here to keep you busy all weekend long! If you have questions about the templates, feel free to post a comment or send me an email!
More than anything, just take time to play and enjoy these!
5 comments:
Wow! This is so cool, and these pockets are adorable.
Could you please explain how they make a calendar, or do they not? I was a little confused about that.
Anyway, thanks so much for taking the time to do this. I can't wait to try these!
Ah! My never ending project. Once it's done, you'll see how the pockets are used in the calendar. It's for 2009, so I suppose I have a few more days! LOL!
Will try to work on it soon!
Thanks for these designs! I'm trying them out on my own packaging.
this is an amazing collection of work. thank you ever so much for sharing it!! xoxo
This is amazing work..I will work same for Gift Card envelopes..thanks for sharing.
Post a Comment