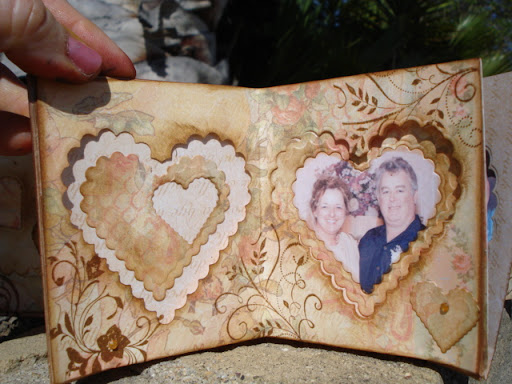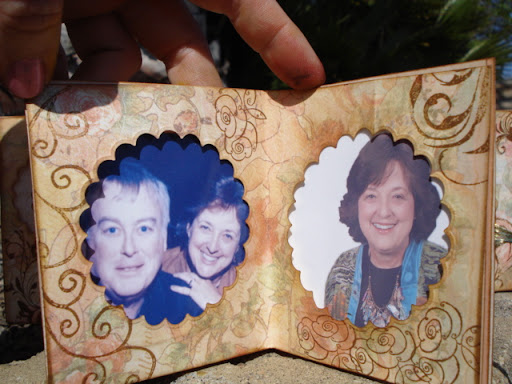
Showing posts with label Bind-it-all. Show all posts

Tuesday, September 23, 2008

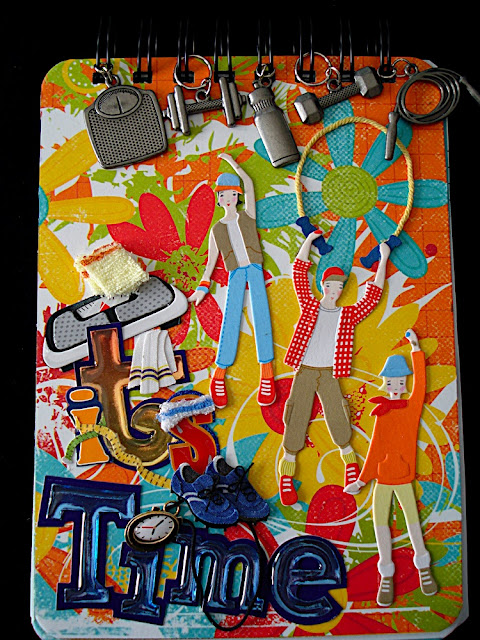
It's time

When I did the diet journal class for San Diego, several people emailed and asked me for an online class. Well, I'm not set up to do that, but we can give it a go here!


Here's what you need:

White Out Collection, Frenzy - Burst (paper)
Moxxsie, thempark Word TP-567
Meri Meri Accents, 90-1417), Happy Camper (sticker)
Karen Foster 01256 Fitness mini charms
Jolee's SPJB459 Sweat
Jolee's SPJt169 Time Out
Bind it all
1" o ring
turquoise cardstock

You will need to study the photo of the journal cover to see where I cut the cover from. It's 5" wide and 7" tall. I used the Zutter corner 1/2" corner rounder to round all the corners.

Take the "time" from the time Out sticker an dplace it at the bottom. I used the "t" from "out". Yes, I like to alter my stickers!

The sweat sticker says "no pain" and "no gain" Take the "i" out of gain and replace it with the extra weight, then use the "i" and the "s" from "sweat" to create the word "it's". The towel works for the apostrophe.

Cut apart the people from the "happy camper" sticker. Place the jump rope from the sweat sticker above the hands up character to make it look like they are jumping.

Perfectly great stickers the way they were.....but so much more fun when you cut them all apart!

Do the same with words to create your own motivational thoughts:
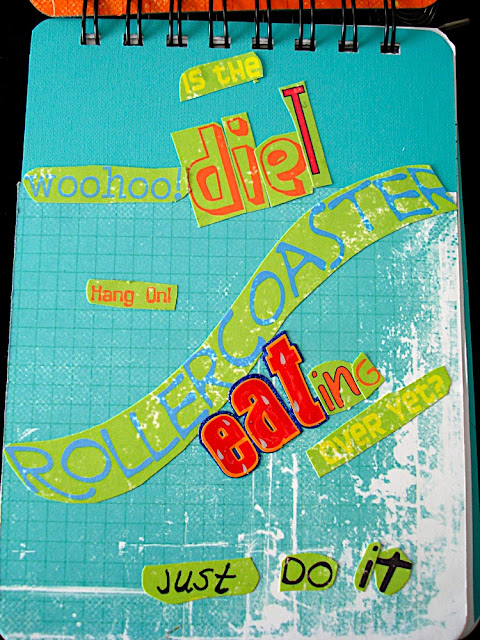


Is the diet rollercoaster eating over yet? Just do it! Woohoo! Hang on!

the "eat" in eating is from the sweat sticker.

You can make yours say anything. All from the sheet of paper.

and on the back:
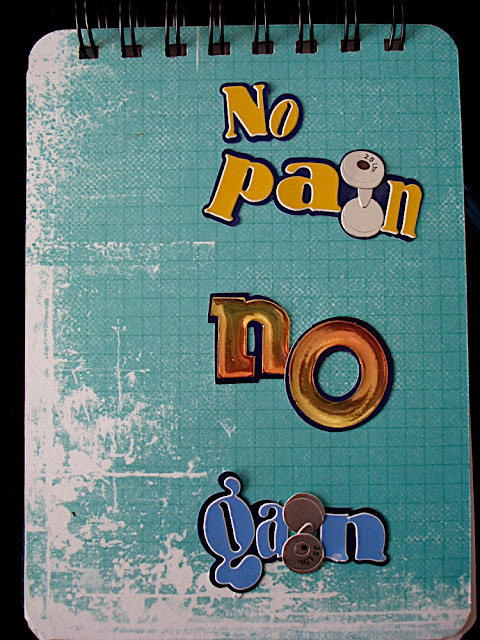


I know, what about the guts of the thing? Well, I used 120 weight cardstock from Walmart and cut it to 5"x7" and rounded the corners.

The first page is a start/goal place for measurements.
Then a "goals" page and 3 pages of charts to show weight loss. Next are pages for posting food intake, etc. It's like a mini diet book - not as expansive as the ones you buy in the store, but still, it works. Finally, lots of blank pages for journaling your thoughts as you start your journey whether it's a diet, exercise program, healthy living - I think this would work for just about anything! If you'd like the excel spreadsheet, just email me.

I turn 57 in just a few short days, so I've titled this project "It's time". Not sure what it's time for....but I just know, it's time!

Friday, August 15, 2008

Doodle-a-ramma!

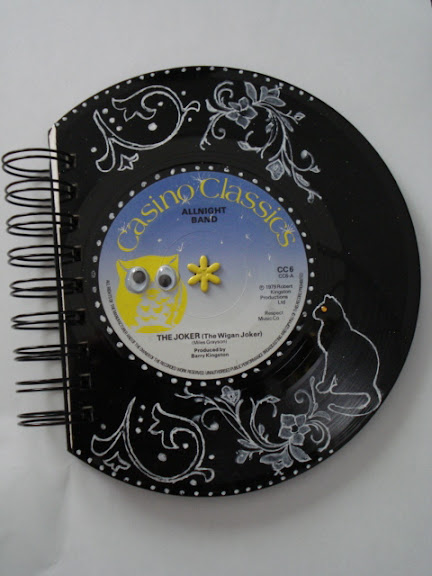
I think there should be a song!!! And yep, the bind-it-all will go through an old 45!


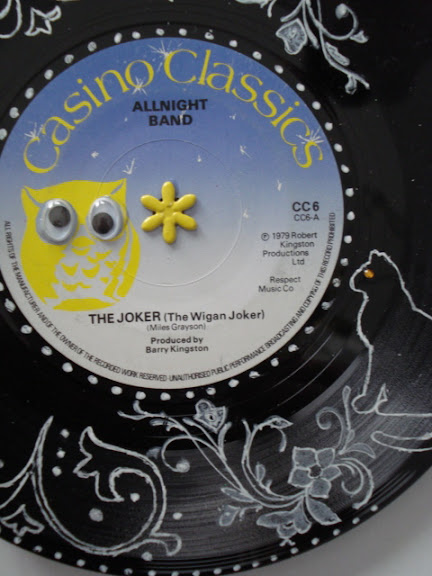
I used a Crafter's Workshop stencil for the bottom left flourish, then a Hero Arts stamp in Snowcap and outlined with a white pen, then I diecut the cat in cardstock and used that to doodle around. That Ranger white pen and Snowcap ink work just fine on old records!!! That's a tiny swarovsky crystal for the cat's eye.


The owl was on the label, and I guess I didn't get those squiggly eyes quite right, but all I have to do is shake the journal and they will reposition! And I do have the perfect little owl stamp to use those eyes with! Expect to see more!


And just so you can see, the bind-it- all cuts right through the record!


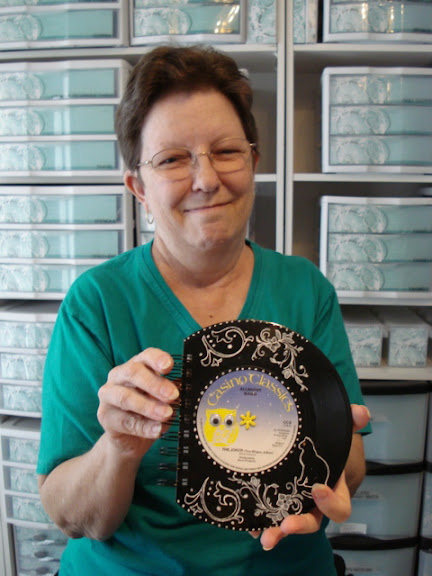
Kathy was here playing withme while I tried this out, so I "made" her pose with the journal! She thinks this should be called "the owl and the pussycat"!!


I'm thinking I could make up some kind of "log" to put inside of this where you "record" different events in your life. Then we could call this "Record the record"! LOLOL! But for the meantime - I'll just call it more doodle-a-ramma! Oh! I do think I could sit and doodle for hours and hours!

Friday, May 2, 2008

The enveloper book

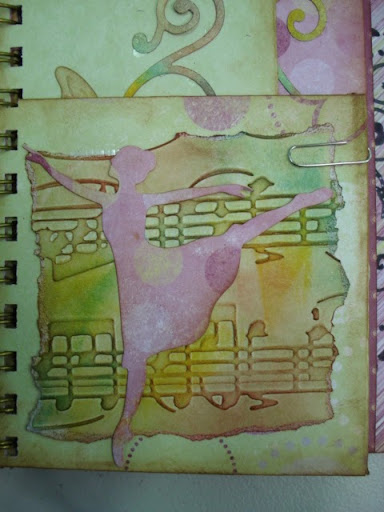
All of these "pages" are envelopes. Each one is made with the Enveloper. And then, they are bound with the bind-it-all. I was inspired by my good friend Shelly's envelope books for this project.


I used the circle nestabilities die, Ranger's white pen and a black pen for the front of this envelope. The swirl is a Quickutz die.


Cuttlebug embossing folder, Revolution (quickutz) ballerina diecut. Lots of Ranger's distress inks.


Spellbinders dies with Quickuts dies. Who says you can't layer dies from various companies?


Remember, these are all envelopes. So much fun!


quickutz swirls


I love this whole line of double sided coordinating papers. Brand new at Scrapbook Your Life! this week.


Used a crafter's Workshop stencil and black marvy marker for this envelope.


Fun paper!


The final page is not an envelope, it's just a sheet of paper. And the front is covered with a matching sized piece of clear transpanency.


What a fun project! A "book" made out of envelopes!

Tuesday, April 29, 2008

Mickey Business

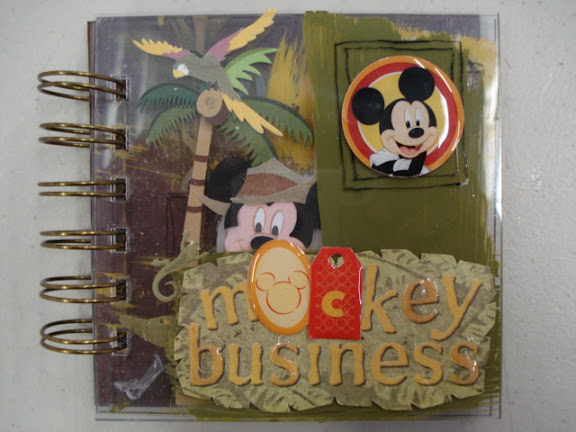
Have you ever seen me play so hard? I did this little 4" square acrylic book in less than an hour!!! Sheer fun! I decided to combine painting with acrylic and some stickers....and I love the results! So first...let's talk about altering stickers. The original sticker said "MONKEY business". See how I fixed that? LOL!

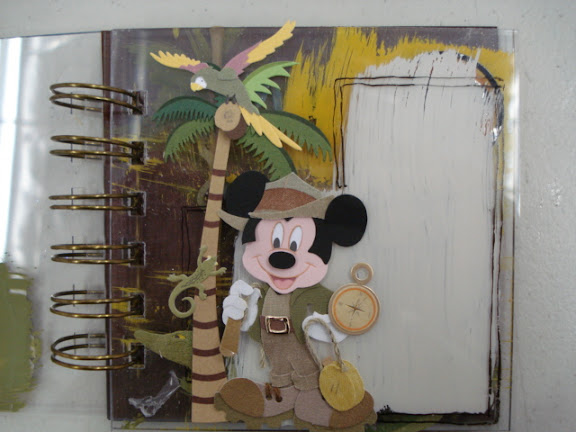
This book is just 4 pages. No paper. So watch what happens as I lift the pages (you can see through to what's behind them!)


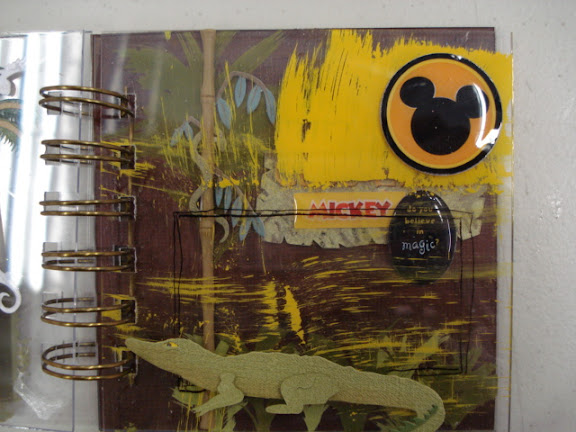
You can add photos or stamped sentiments, rubons or peel-offs to the "frames" that I created. Note I've layered various elements from different sticker packages to get the look I want. Do you see the alligator???


And who says you have to paint solid? Or in the lines? This is BETTER than kindergarten! :o) Oh, I used Ranger's cut-n-dry foam that I cut into 1" x 2" rectangle shapes to do all my painting. So easy!


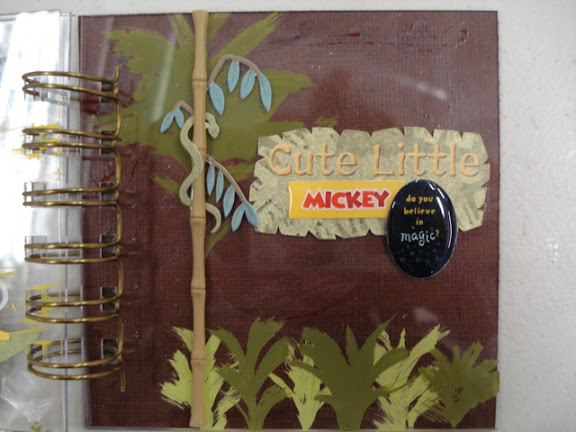
On the final page, I "painted" the palm tree leaves and the little bushes at the bottom using the foam and arylic paints. Don't forget, you can paint on the back side of the acrylic to give it some depth and then put your stickers on the front. The black sticker says "do you believe in magic?" I think the whole concept of acrylic journals is pure magic! Flip the pages....now you see it, now you don't!


And of course, I used my bind-it-all for the closure. The acrylic squares are bind-it-all covers...I just used 2 sets to make my little book as a store sample.

I do think this week, I need to make a few things just for me! Problem is, when Liz, the store owner, sees them...she wants them! LOL! I need to find some 8x8 acrylic squares. Hmm....time to go shopping???

Wednesday, April 23, 2008

High Style

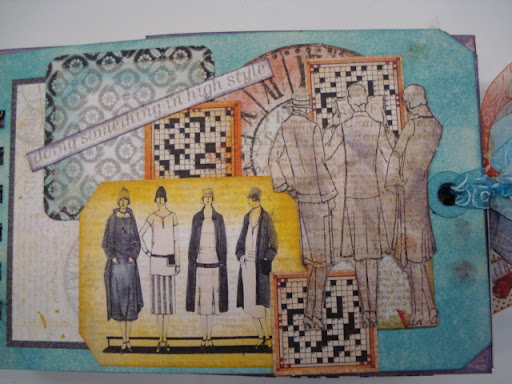
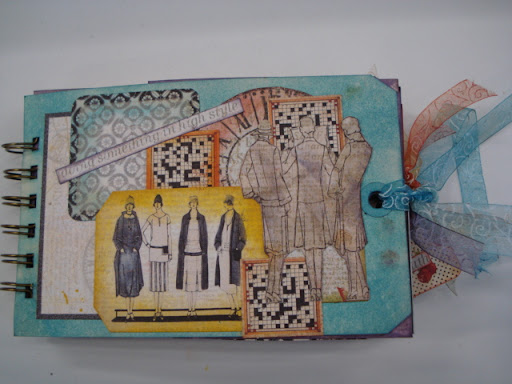
Doing something in high style....well, stick with me and at the end, I think you will agree...this is "high style"

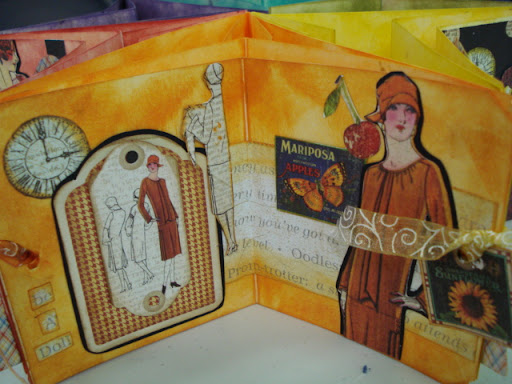
This book is made using 25 # 10 manilla tags. You can search this blog for instructions on how to make the folds. The measurements are:

8.5" x 4 1/8" tags. Cut 7 tags 6.5" x 4 1/8", punch holes on one end. Cut 6 tags 5" long, fold in half, punch holes on the fold line. Cut 6 tags 7.5" x 4 1/8", fold in half. Last 6 tags, fold in half (no cutting needed).

And then I used 2 sheets of paper and 2 sheets of tags. All from Graphic 45. Great stuff!


I'll be showing a quick, easy way to ink any white ribbon to match your pages:


and how to make your title and sentiments from your paper:


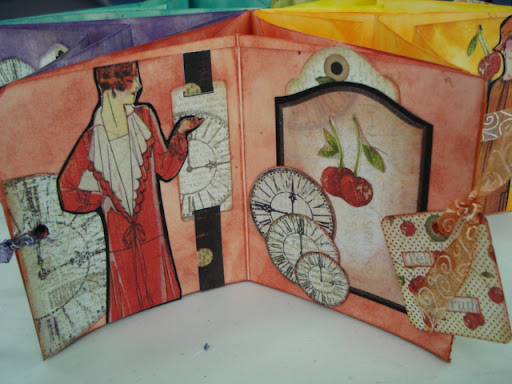
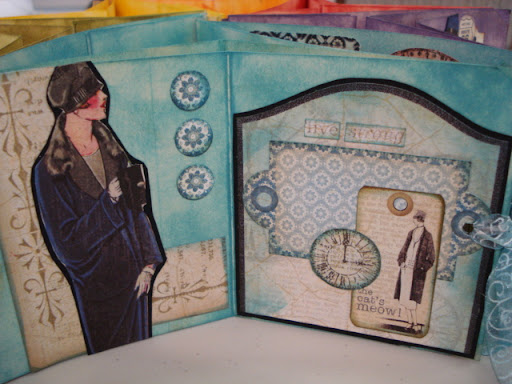
Yes, another bind-it-all star book! I like the basic concept of monochromatic....but bringing in additional color into each section:


Taking elements from the 4 sheets of paper, we will ink them to match our background. Lots of pockets and tags....that you can take home and add your stories and photos to:


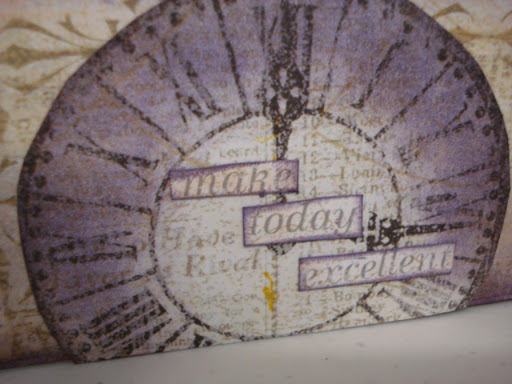
"make today excellent". I believe that in order to live in "high style"...you can be financially poor, but if you have "rules", no one will know that you don't have money.


Fired Brick ink on manilla....yummy!


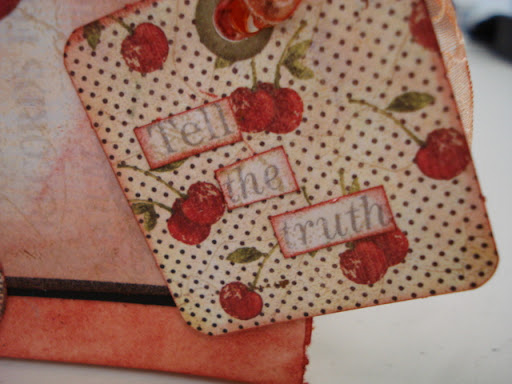
"tell the truth" - always a good rule!


Spiced Marmalade. Makes me hungry!


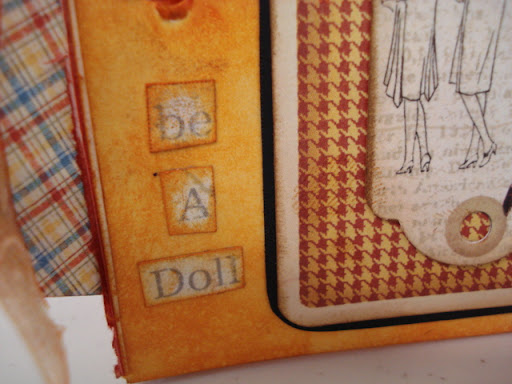
"be a doll" - so many meanings, so many ways to do this in life!


Mustard Seed ink. I swear, you can make anything match!


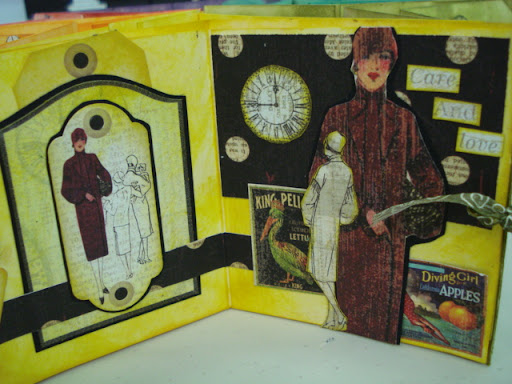
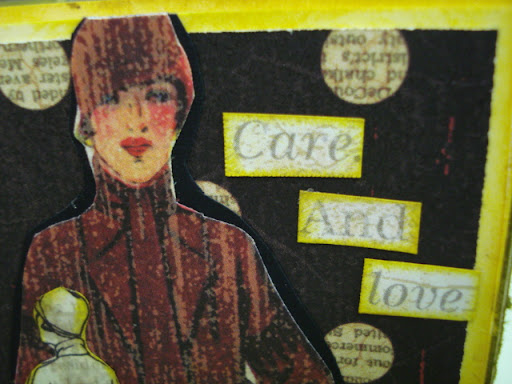
"care and love". You can't make a better rule than this.


Peeled paint ink. Aren't these women grande?


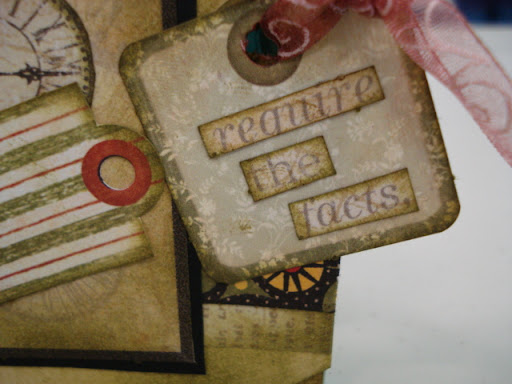
"require the facts" - another good rule to live by


Broken China ink, my all time favorite!


"live strong" - need I say more?


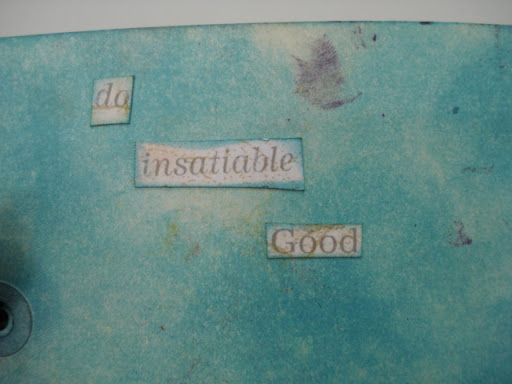
"do insatiable good" - I thought that was a great ending for the back of the book.


So, manilla tags, ink and 4 sheets of paper and tags, about a yard of white ribbon....amazing what you can do with not much at all! Well, I did use the Scor-it to make the folds, and the Bind-it-all for the center spin. But you don't "need" those...I'll have mine at the store to share!

If you live in southern California, this is my class this Sunday afternoon at Scrapbook Your LIfe! Come join us!!!

Sunday, April 20, 2008

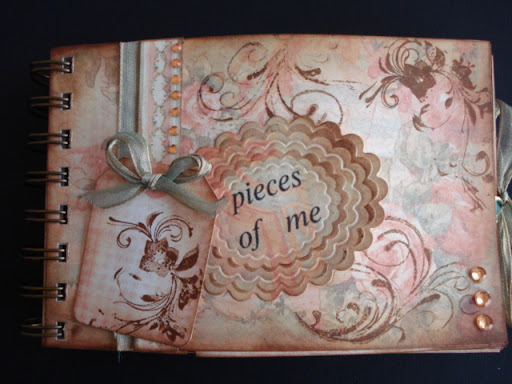
Pieces of Me

I thought it would be fun to do this project on National Scrapbook Day at "Scrapbook Your Life!"....we will "scrapbook your life"! Get it?

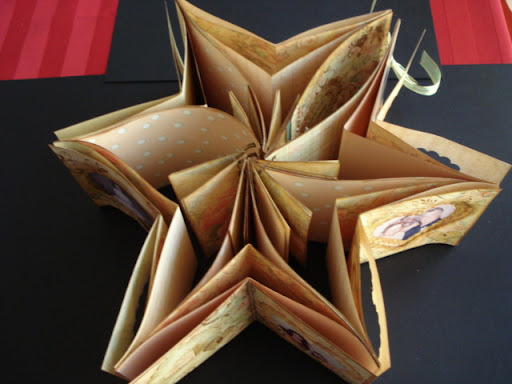
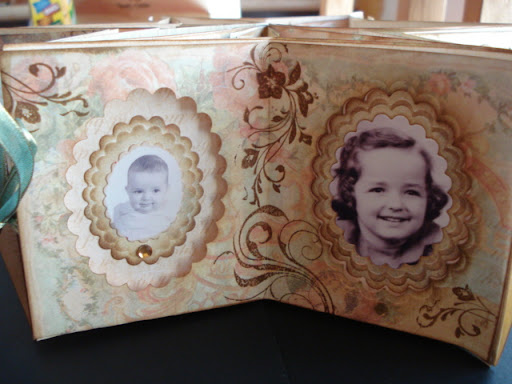
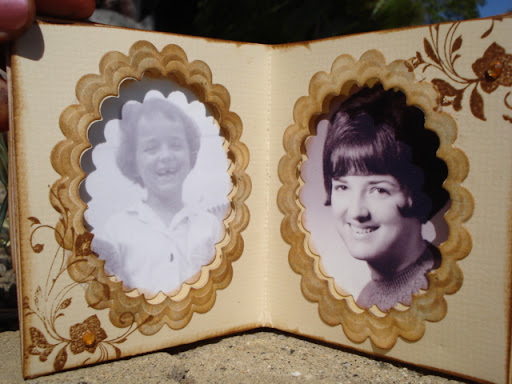
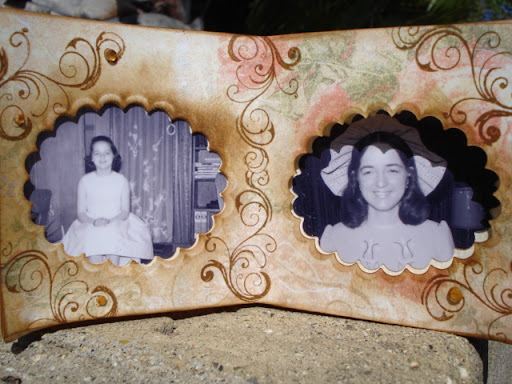
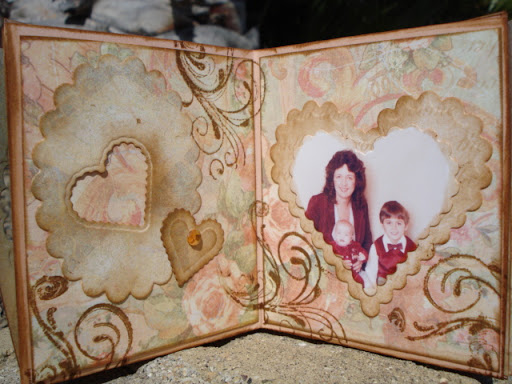
This is a 12 pocket star book and you can use it for grades 1-12, 12 photos of your life, your ancestors...anything. And as you will see..you can also do less than 12 photos. So, this is the class sample for May 3 at Scrapbook Your LIfe! in San Diego.

This front tag is a Spellbinders nestabilities oval die...embossed 3 dies smaller. Relly has a nice ruffly look.


The book opens up to a star


And there's me...quite the chubby baby. I'll be showing different ways to cut and emboss these nestability dies.


More proof that I've had bad hair all my life!


These are MSE's new swirl stamps. I adore them!!! So, don't bother asking about that hat...it was a phase circa 1972!


For this one, I used the heart inside the oval, then nested the heart.


Love the fact that you can place the die anywhere and cut it out!


Sorry about the shadows...it's that great San Diego sun!!! I do think I'm getting warm!


This class is going to be so much fun...you will just love it!!! I used the Scor-it and the Bind-it-all and will have them at the store for you to use, but I know you will want to buy your own! The store has ordered them and they should be here just in time for class!!! And there you have it...you've seen "pieces of me" from birth til now.

Wednesday, April 16, 2008

California Playin'

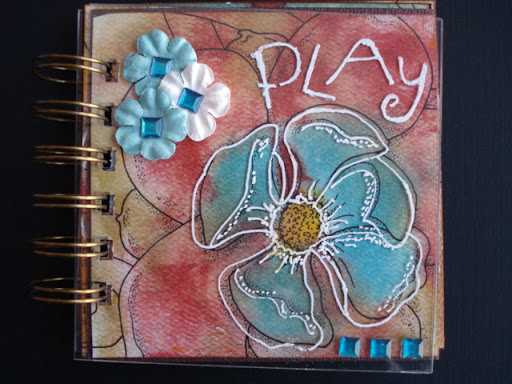
I think that will be my new byline this month! So, here is just another option for the class on April 26th. The paper on this one is black and white...then inked with distress inks.


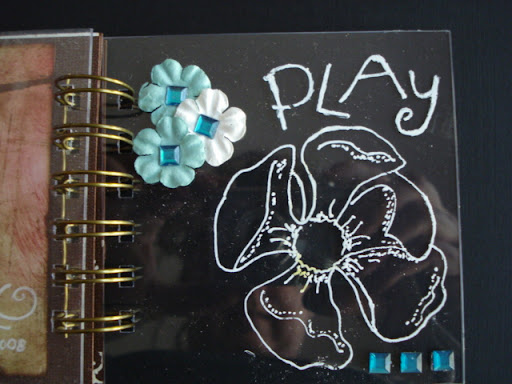
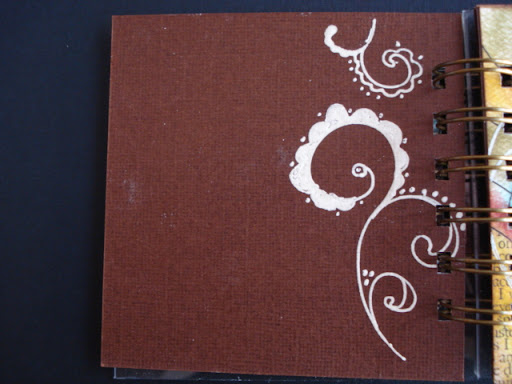
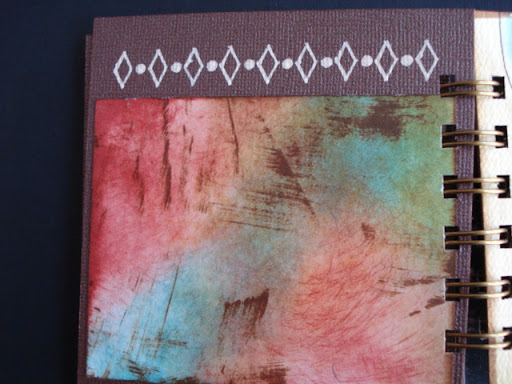
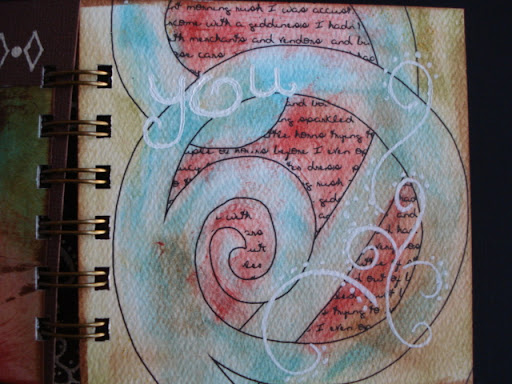
The acrylic cover with nothing behind it so you can see where the white pen goes


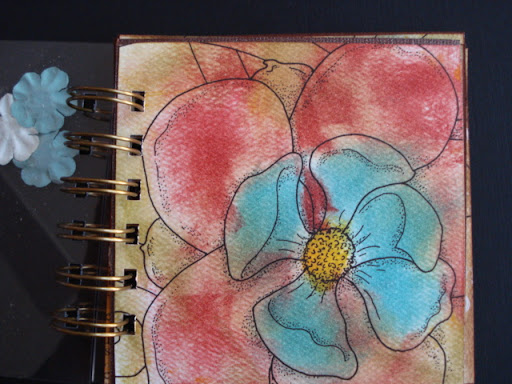
And then, the flower without the cover. I really like this paper!


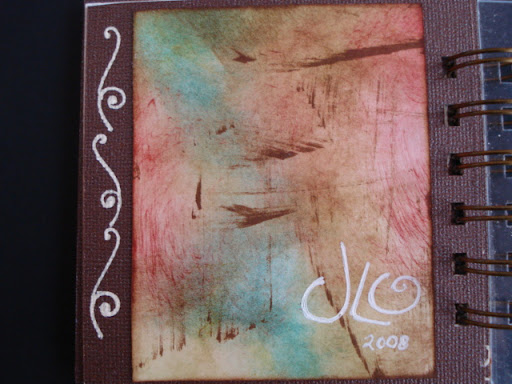
More white pen on chocolate....yumm!


This version is much simpler and a little easier than the one I posted yesterday.


In this class, I'll teach how to make your own basic gray paper. How fun is that?


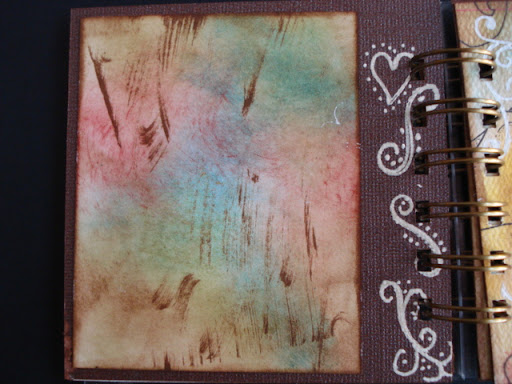
Yes, sometimes I do more than one layer of pen...just to make it pop.


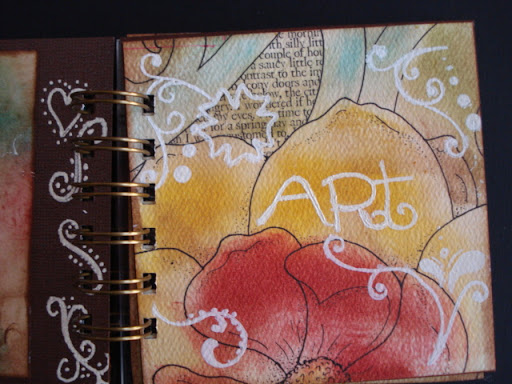
I'm using tons of stencils from The Crafter's Workshop. They really have some fun new stuff out. I really like the new 6" sized ones....perfect for the white pen.


I wanted to do a page to show that when you have a light background, the pen still works. But it's not as distinct.


I love these little bind-it-all acrylic books. This one is ready for photos. No ribbons needed. But then..I also wanted to design this class so the student can pick their own colors/paper/ribbons and really design this to meet their own creative spirit. I think it's going to be such a fun class! Can't wait!