Showing posts with label Crafters Workshop. Show all posts

Friday, August 15, 2008

Doodle-a-ramma!

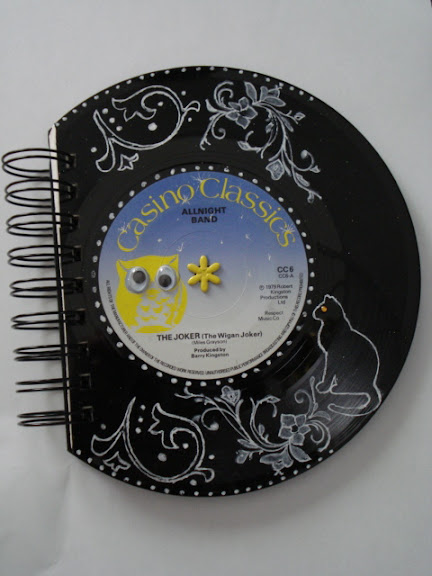
I think there should be a song!!! And yep, the bind-it-all will go through an old 45!


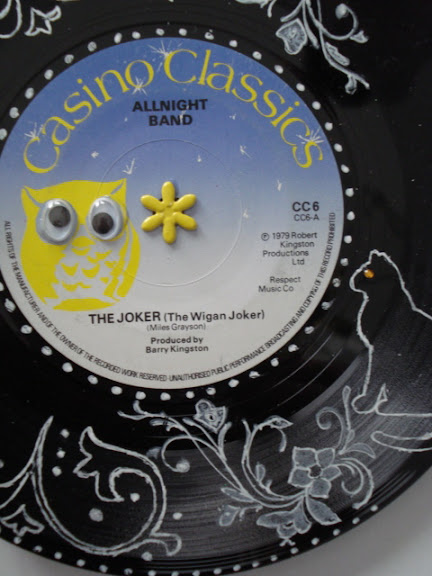
I used a Crafter's Workshop stencil for the bottom left flourish, then a Hero Arts stamp in Snowcap and outlined with a white pen, then I diecut the cat in cardstock and used that to doodle around. That Ranger white pen and Snowcap ink work just fine on old records!!! That's a tiny swarovsky crystal for the cat's eye.


The owl was on the label, and I guess I didn't get those squiggly eyes quite right, but all I have to do is shake the journal and they will reposition! And I do have the perfect little owl stamp to use those eyes with! Expect to see more!


And just so you can see, the bind-it- all cuts right through the record!


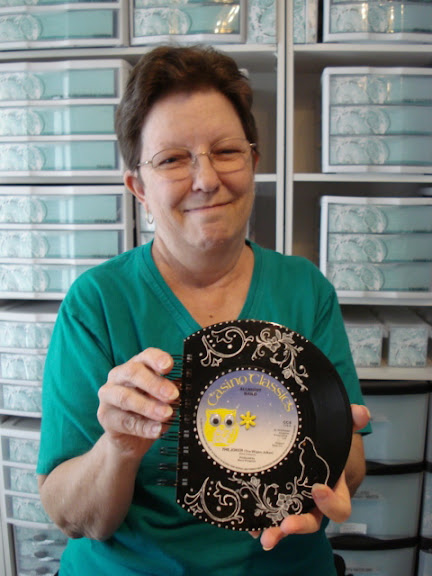
Kathy was here playing withme while I tried this out, so I "made" her pose with the journal! She thinks this should be called "the owl and the pussycat"!!


I'm thinking I could make up some kind of "log" to put inside of this where you "record" different events in your life. Then we could call this "Record the record"! LOLOL! But for the meantime - I'll just call it more doodle-a-ramma! Oh! I do think I could sit and doodle for hours and hours!

Sunday, August 3, 2008

Collage stamping - one up!

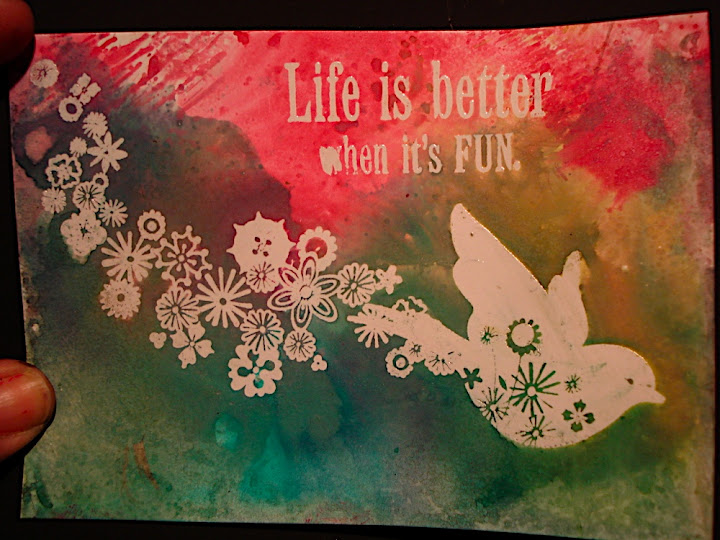
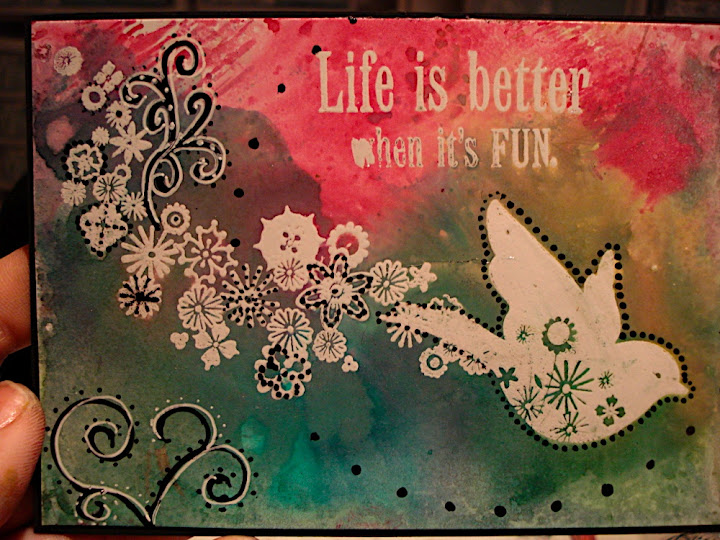
Oh me, I do like to play! Inkadinkadoo has new stamps that I truly adore! And then the sentiments from Cloud 9 - everything just works together so well! And I decided to play! For this first card, I stamped and embossed glossy cardstock with clear EP, then swiped it through colorwash on my craft sheet.


and then I added black pen and white pen using doodling stencils:


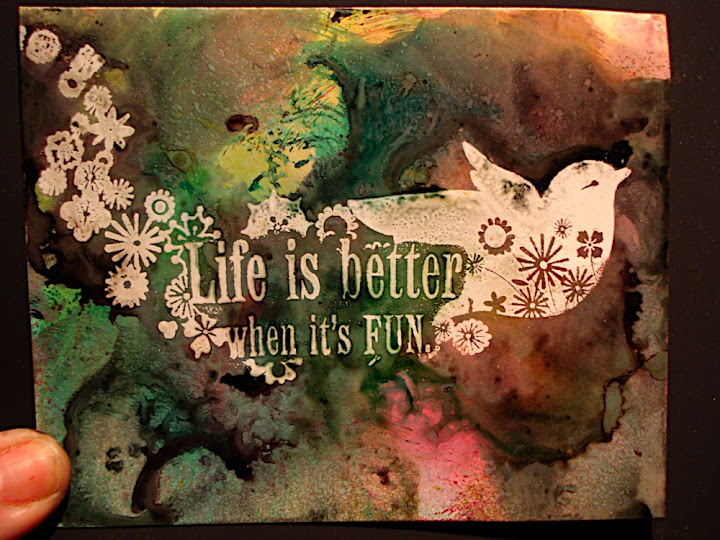
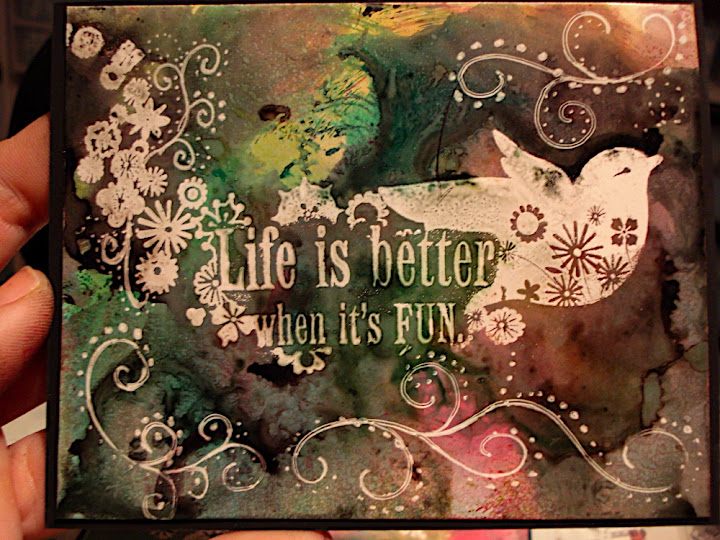
And since I'm working on collage stamping, I wondered what you could do by collaging stamps using clear EP. Of course, it's just a tad more difficult, but I managed to pull it off! And the background is 3 layers of colorwash so it came out a whole lot darker - but used the same 3 colors as in the first card. What a difference!


And then I added white pen with the doodling templates. Just too easy to do!


Definitely a card class for San Diego! Can't wait! We are going to play so hard!!!

Saturday, August 2, 2008

Playing with Colorwash and Nesties

An all new heritage star book class for my next trip to San Diego! This is just too much fun. I'm playing with braille paper this week and wanted to see what happens when you colorwash it. I used Stream, Lettuce and Cranberry.


Used Spellbinders nestabilities to cut apertures in each side of each page. You can cut 2 at one time.


No, this is not 3 diecuts, this is one single diecut, embossed. How cool is this?


I used it on the cover and for this project, I'm doing both white and black pen work.

Tell me Quick! What was I made of?
Sugar and Spice? Everything nice?
A bit of you, and him, and her?
Wish I could still ask your advice!


Here's a close up of the oval with pen work on top.


The inside of the star when open:


And from the side:


Mom and her mom. Not for these pages, I used a green glitter pen with the white pen. There are just so many different variations you can use with the nesties. So much fun!


I left some photo mounts blank just so students can see what it would look like. These are oval frames on top of the page


Oval frames, embossed with pen work:


For these, I used the die as a stencil and just did pen work on the outside page. The inside frames are embossed only.


Even more ideas for using the white pen with the nesties:


Here I used black pen on the frames inside the ovals and then white pen on the outside flourishes:


close up of one example:


another closeup:


and another one:


This is a 4 hour class and it will go fast! But what fun! I did mine as a heritage book, but you could change up the colors and once again, pick almost any theme! I truly like how this one turned out and think this is going to be a totally fun class! The date and time will be posted on the SBL! site soon!

Friday, July 25, 2008

Lions, Tigers & Bears, oh my!!!

Today (Friday) is the last day we are doing layouts for the charity event. Come on down and play! 10 am - 4 pm.

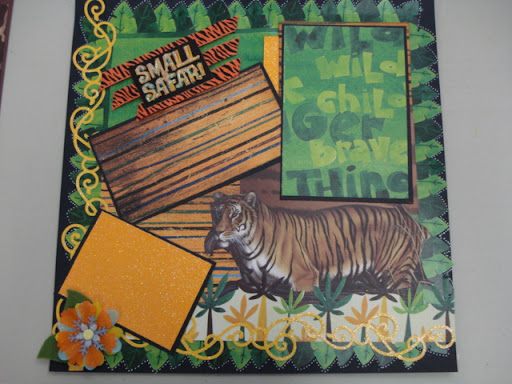
This is my favorite one so far. Lots of white pen around the flourishes. Stunning in person!


But I really like this one, it's just plain fun!


Doodle Zoo font, printed, then colored with watercolor pencils, and Glossy Accents on top of it. What a great way to make a quick, simple title!


But I'm thinking I could put a photo of me and Lucky in this one cause when we get together to play, like today, there really is a little "wild cat" in both of us! LOL!


Lucky got tired and looked at me and said, "HELP!"


So we just started cutting and layering and I think we both liked the end result!


How fun to play in a huge 6400 square foot store and just go pull whatever you need to play with. Oh my gosh!!! I can't believe I've been here a full week - time flies when you are having this much fun! Next time - I just have to stay for 3 weeks. But don't tell Kerry! LOLOL!

Saturday, May 10, 2008

DIY = Decorate It Yourself!

I spent today at mom's, making cards with some amazing women. Some of them in their 90s! And they did great. I'll blog their art tomorrow. I'm beyond exhausted tonight, but just wanted to share this. I think you can decorate anything...any way that you want. I started with this mottled paper.


Using a white pen and Crafter's workshop stencils.....


Just so much fun. So quick, so easy....and you could alter any piece of paper that you have with this simple method.

I do think I'll turn this into a card front. The first person to post a comment to this blog will get the finished card in the mail!

Wednesday, May 7, 2008

Collage tips

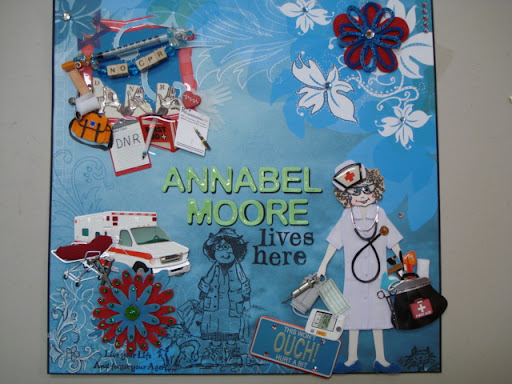
Well mom, how do you like this "welcome"sign that I've made for your door? On second thought....maybe it will keep everyone out! LOLOL!


So many people that I meet tell me that they just cannot collage. And I find it to be just the easiest thing ever, so I thought I'd show one of my collage techniques today. I started with several packages of stickers like this
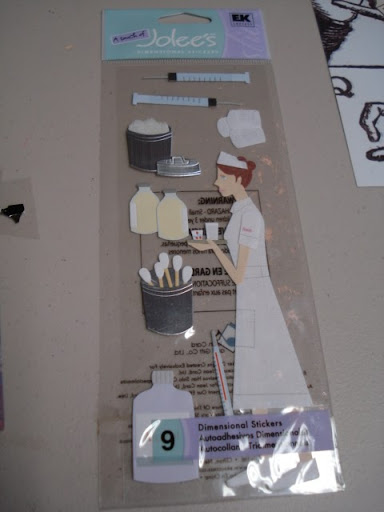


Cut them all apart, leaving the acrylic backing intact....to preserve the stickiness
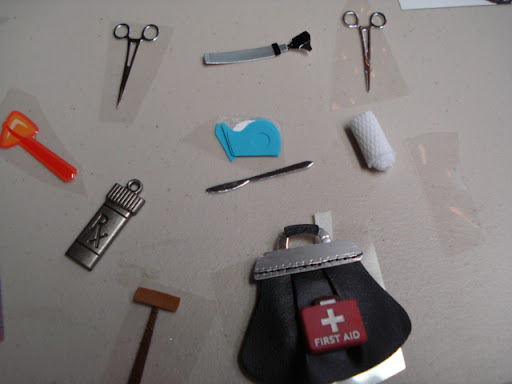


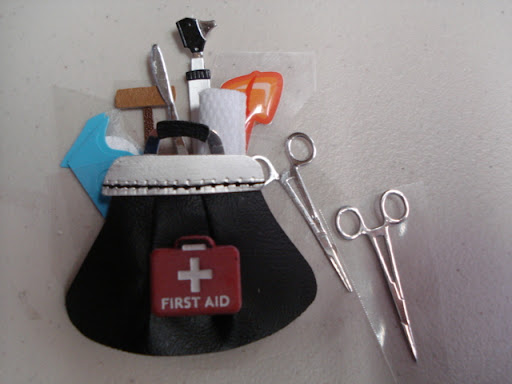
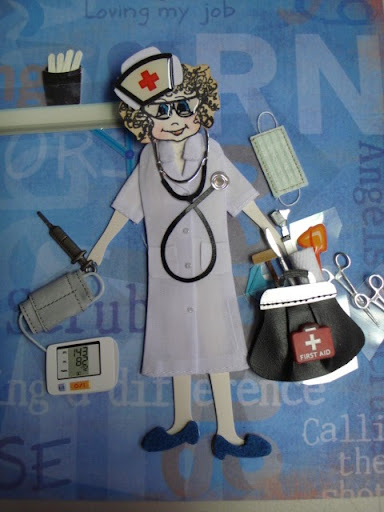
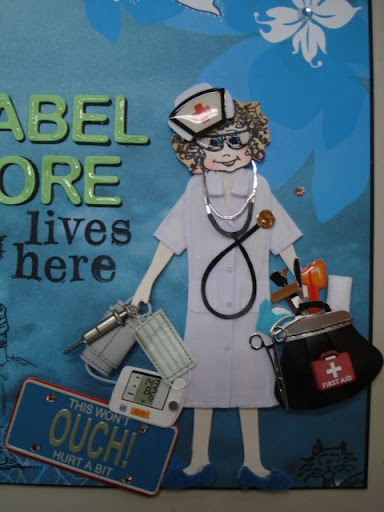
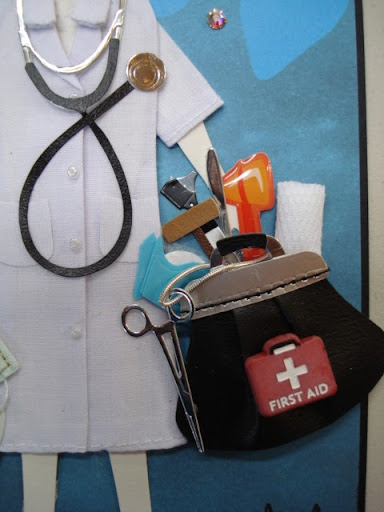
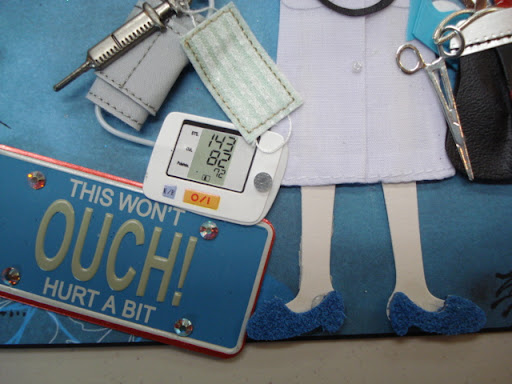
Then I start to "make" things out of them. I didn't like the empty doctor's bag, so added a brad to the front of it, filled it with stuff, and thought it would be cute to "tie" scissors hanging from the bag. So this is how the ideas start to formulate....little bits and pieces at a time.


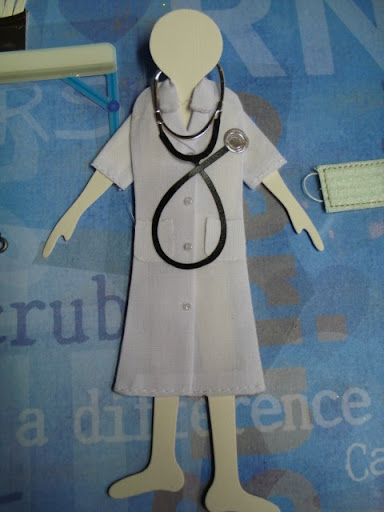
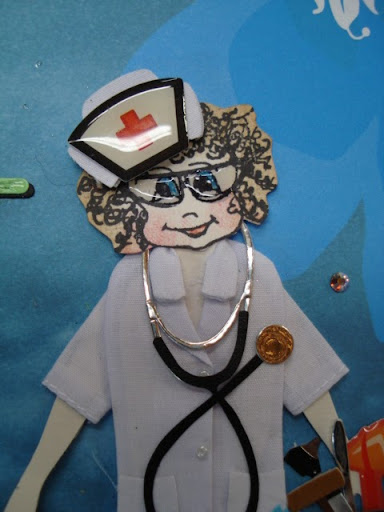
And who says you can't alter stickers? This was a plain white Nurse's dress on a sticker. I diecut an art doll and put her up inside then layered the stethescope on top. Hmmm....don't really like that blank face!


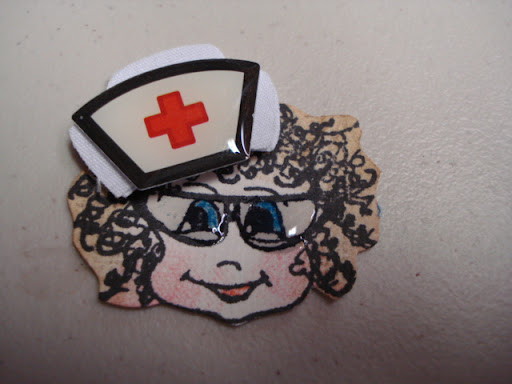
Stamped Lucy's head on flesh tone paper, inked her, cut her out. Added the plain white cap and layered the glossy sticker on top. Used Glossy accents for her glasses. This also helps blend glossy stickers with flat stickers.


Now remember, I'm just layering stickers at this point so her neck looks a little scrunched down. But is this totally cute or what?


I continue around my paper and while I'm starting to get a feel for where I want to go....I just am not happy with this paper. Too busy or something...but I want to stick with my theme from yesterday of green and blue to match mom's bruises!


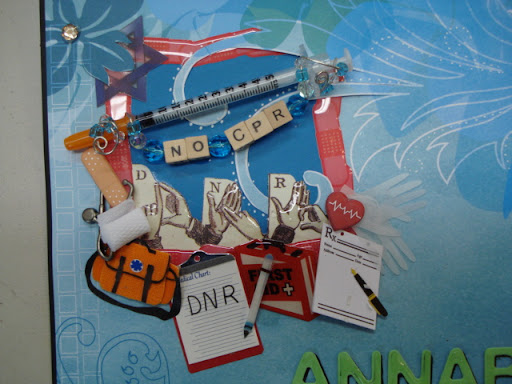
This is a bandaid photo phrame on blue cardstock, cut up under the flowers. Yes, I wire wrapped "No CPR" with beads around a real syringe! When I asked Kerry if I could have one of his diabetic syringes....well...we won't even go there!!! LOLOL! The "D-N-R" in sign language is cut from a piece of patterned paper that I found at SBYL! last week...it was perfect!


The paper that I finally decided on is from Rouge de Garance. I first met them when I attended Ranger University and I just fell in love with their entire line. And now I've convinced SBYL! to carry them! Can hardly wait til they are in stock!!!

But look how easy you can do pen work with no stamps! Their papers are perfect for this technique!


I think the little Lucy nurse came out just fine! I love her bag! MUCH better than the original stickers!


Well, I think a crystal slid off...it's supposed to be on the stethescope!


I used a broken bit of silver necklace chain to "tie" the scissors to the bag.


And "adhered" the license plate with heat-set chrystals. Note....she has "blue suede shoes"!!!


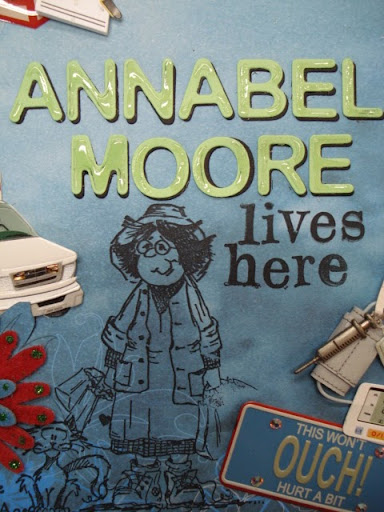
And then I stamped the old lady and her cat. Is that mom? To make the name, I diecut and embossed the green letters, then diecut the same letters in black (did not emboss). Ran the green through my xyron sticker maker and adhered them to the black a little offset so the black is a shadow. Then ran them through the xyron again, adhered them to the page and popped them with glossy accents over the embossed areas.

I used my Cuttlebug for doing the fonts as I could lay ALL of the letters on plate C and cut them all in one pass. There's just more room on that plate than there is on a Spellbinders mat. Worked great!


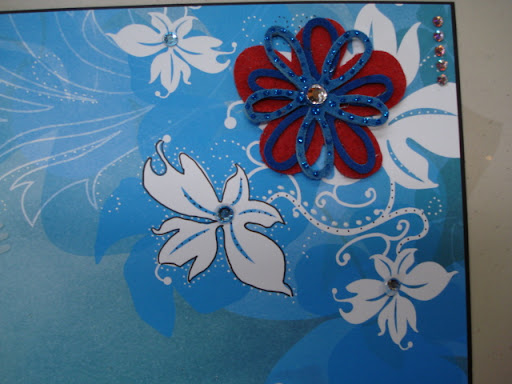
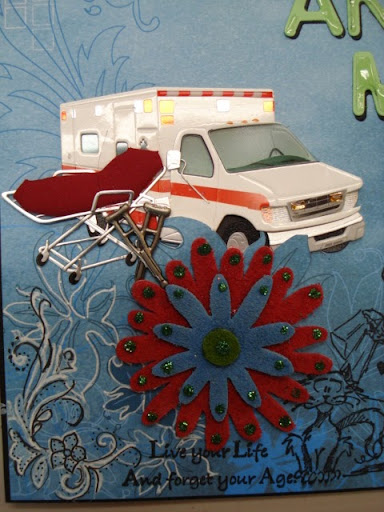
Cut out the flowers from the paper and slid the ambulance partially behind them. More black and white pen work in the lower corner. Added suede flowers from a previous blog.


I happen to think that it all came together pretty good. One sheet of paper...5 packages of stickers!
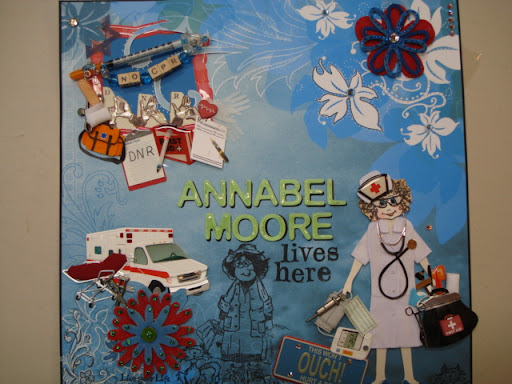


Now I have to find a protective sleeve to put it in and it's ready to hang on mom's door. What do you think mom? Good enough? I figure it will either keep everyone out....or they are all going to come over and want you to make one for their doors! LOL!