Showing posts with label acrylic word books. Show all posts

Tuesday, July 22, 2008

It's never too late!

Liz bought tons of these little custom cut acrylic albums that say "Class of 2008" and of course, graduation is long gone. Well, I suppose it's never to late to go back and scrap the event, but normally, you would do it before the event and give it as a gift.


So, the question was - what to do with the leftover ones?

Of course, you know me, I quickly threw things on it and I just think this is adorable!!! I'm going to fill the journal with photos I take of our classes this week. And I've changed the title - now how hard was that???


Cute little Meri Meri stickers along the bottom all heading off to their next fun class! Used AI on the back of the letters and distress inks on watercolor paper behind that. Spellbinders nestie over the old "of" and the new "act" is AI on white glitter letters.

I also thought I could do one that said "Classy Ladies - 2008", or I could do Class Schedule 2008 and do like a schedule for fall classes starting this fall. I'm sure you could come up with even more ideas!

Just wanted to show that you can alter/change just about anything!!!

I think there are 2 of these left in the store. Want one? They are $13.99 + tax + shipping. But you know what? If we sell these 2 and you really want one, I'll bet we can order them in! :o)

Oh! I do love to enable my friends and help them spend all their money! LOL!

PS. To all of you who live here in San Diego, tomorrow and Thursday, we are going to be in the store during the day making layouts for a charity event. These are lion/tiger based and will be in a raffle. they will be ready for the winner to just put in their photos and journaling, so should be easy! The store is going to provide all the product - if you want to come play just bring your basic kit to work with, you know, scissors, trimmer, adhesive.....ok, I'll provide the adhesive! Just come play! 10 am - 4 pm tomorrow and Thursday! It's never too late to give a few hours to a good cause!

Tuesday, April 29, 2008

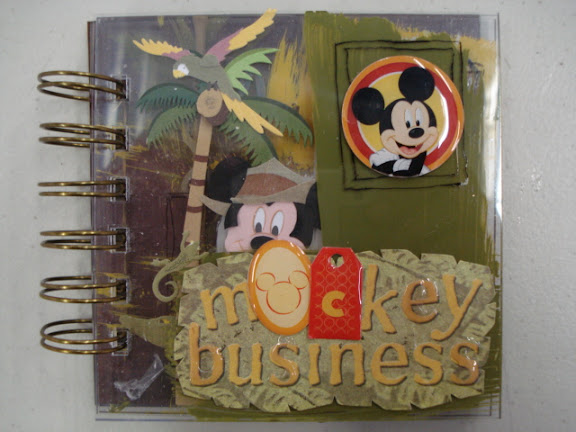
Mickey Business

Have you ever seen me play so hard? I did this little 4" square acrylic book in less than an hour!!! Sheer fun! I decided to combine painting with acrylic and some stickers....and I love the results! So first...let's talk about altering stickers. The original sticker said "MONKEY business". See how I fixed that? LOL!

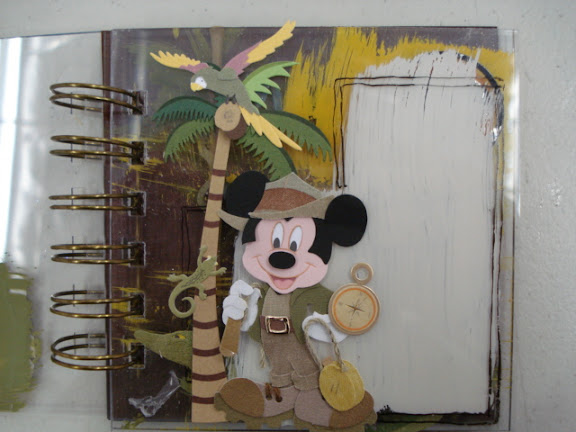
This book is just 4 pages. No paper. So watch what happens as I lift the pages (you can see through to what's behind them!)


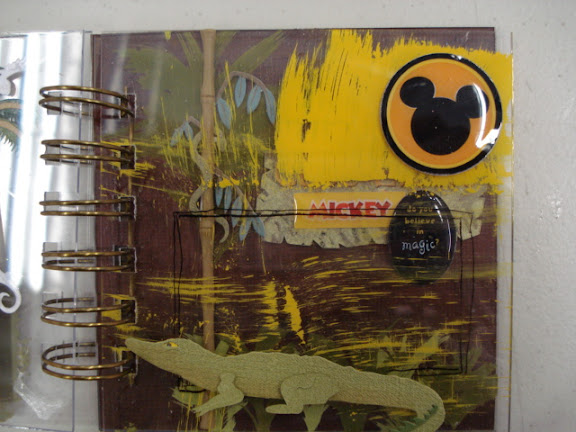
You can add photos or stamped sentiments, rubons or peel-offs to the "frames" that I created. Note I've layered various elements from different sticker packages to get the look I want. Do you see the alligator???


And who says you have to paint solid? Or in the lines? This is BETTER than kindergarten! :o) Oh, I used Ranger's cut-n-dry foam that I cut into 1" x 2" rectangle shapes to do all my painting. So easy!


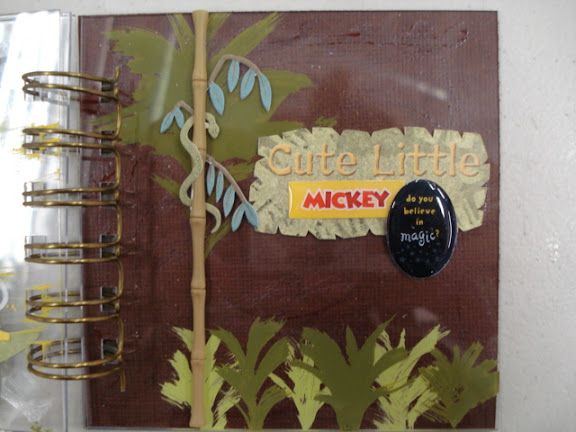
On the final page, I "painted" the palm tree leaves and the little bushes at the bottom using the foam and arylic paints. Don't forget, you can paint on the back side of the acrylic to give it some depth and then put your stickers on the front. The black sticker says "do you believe in magic?" I think the whole concept of acrylic journals is pure magic! Flip the pages....now you see it, now you don't!


And of course, I used my bind-it-all for the closure. The acrylic squares are bind-it-all covers...I just used 2 sets to make my little book as a store sample.

I do think this week, I need to make a few things just for me! Problem is, when Liz, the store owner, sees them...she wants them! LOL! I need to find some 8x8 acrylic squares. Hmm....time to go shopping???

Sunday, April 27, 2008

Happy Mother's Day!

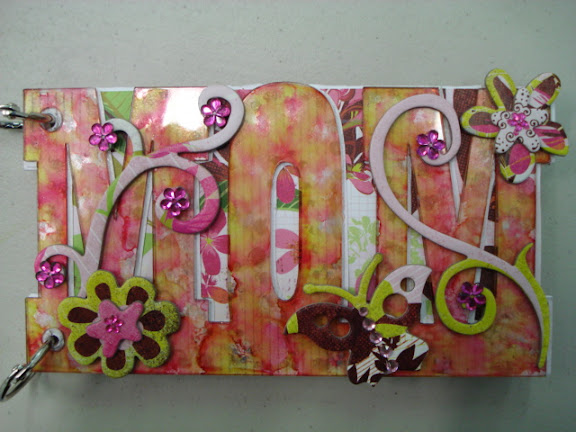
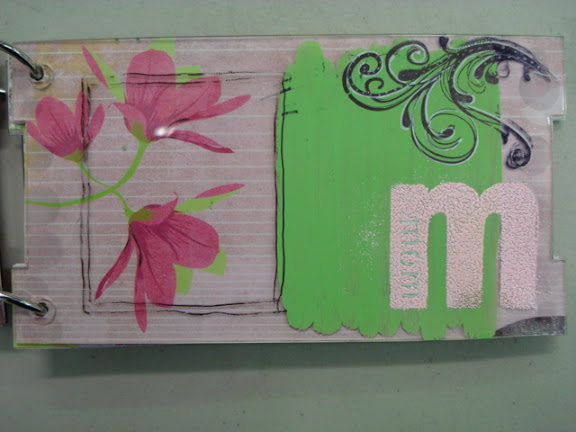
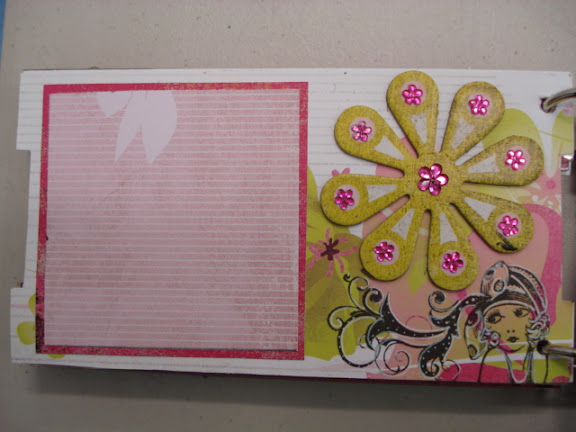
Another acrylic word book. I need to remind you that you these run between $11.99 and 14.99 each and you can custom order any word up to 15 letters. "Mom" is a standard generic one that the store has in stock. I did the polished stones technique on the back of "mom, backed it with white paper so it would show and added chipboard cutouts on top.


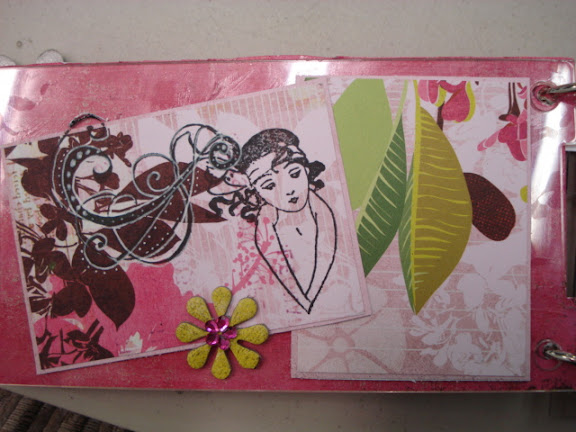
Created my photo mounts on the back...then decided since I don't have photos with me, I'd stamp and use my Ranger white pen. The girl and the flourish are 2 separate stamps.


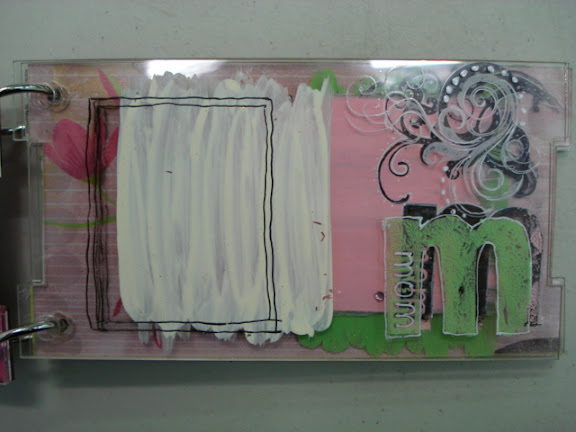
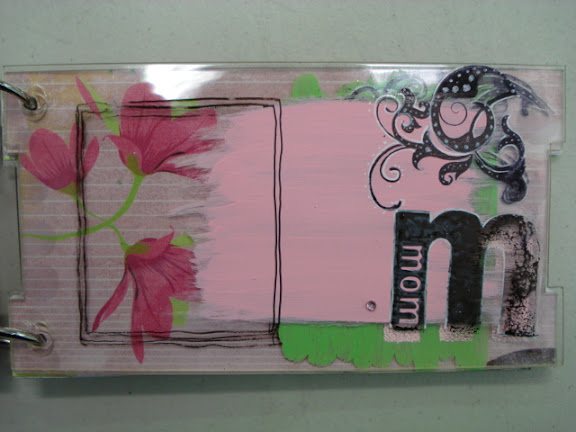
The next 3 pages are all clear acrylic. I painted on these and stamped with acrylic paint. Then drew my "photo mounts" with a black pen. I also used the white pen....but look closely, you can see through to what's on the 2 pages behind this page. The best way to "watch" this is to look at th epink flower on the far left side.


Now you see 3 flowers...pink paint in a smaller area than where the white paint was. Another "photo mount" squared off in black


and here you see the whole flower. This was a really fun project. The "M" on this page is done with pale pink embossing poswer...just be careful not to heat the acrlic! It will melt!

Just ask me how I know this! LOLOL!


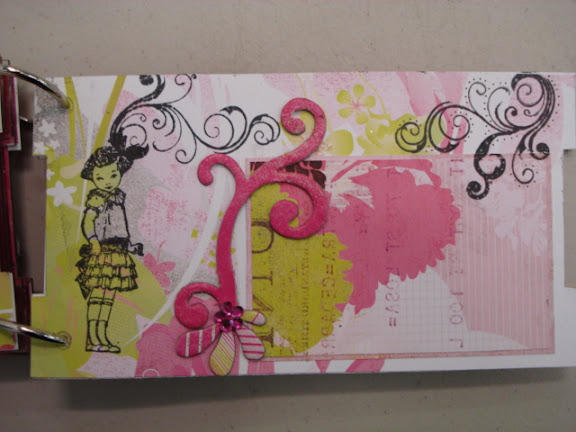
Should have said I'm using a few MSE stamps on this one...but the girl here is from 100 Proof Press, with an MSE swirl from her had. More Ranger white pen.


I love these little girls from CI Stamps. More MSE swirls and chipboard on this page. Note, for this one, I used black pen against the light background.


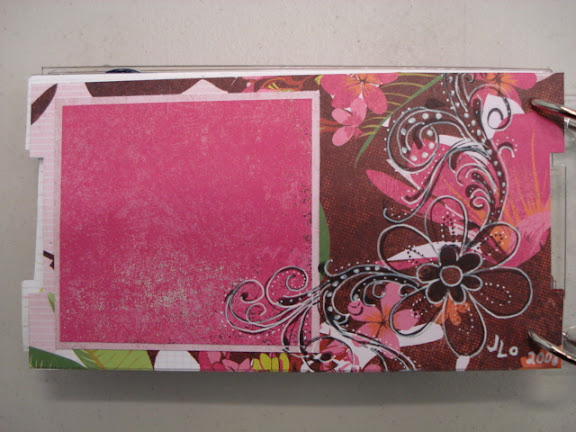
Finally, a Stampin Up stamp and an MSE swirl repeated with white pen. Totally fun!


I'm only blogging one project per day....and there are so many more that I haven't posted yet. This has truly been such a fun time out here in San Diego.

So I must end today's blog with a shout out to Liz and Kristal. Today, I walked into the store and they surprised me with a Revolution (die cut system)!!! I spent the whole evening playing with it and I'll have it with me Tuesday so you can come play with it, too!!! I really didn't think I wanted to learn yet another diecut system...but you know what? It's just another way to spend my time playing!!!

Friday, April 25, 2008

Princess Rachel

Finished up my "Rachel" book....another acrylic word book. There's still time to order your custom word...just email what you want to liz@scrapbookyourlife.com


I found a hair clip at the swap meet that was the shape of a crown. Horribly rusty rhinestones....so I blotted some cranberry alcohol ink over it and I justLOVE the results!!

Lots of stamping with white stazon ink.


and on the other side, instead of jute for the cothesline, I threaded swarovsky crystals on ribbon. Now there's a clothesline for you!!!


I also added a couple of carms tothe lower right side. I just love this book. Now, remember, Rachel is 15, and she' Liz's daughter and has epilepsy. You should have seen the look on her face when I gave this to her last night! Sheer delight!!!


And here's the page behind the cover. Used the new wood laser cut swirls, dipped in ink, covered with glitter. Just perfect on the top flower swirl.


PHoto mounts ready for Rachel to add her pics:


Is this adorable? A true princess!


My girly grunge that I blogged yesterday. Lots of white pen over ink.


OK, let's hear the oohs! and aahs! Quickutz cookie cutter 12" flourish border in pewter, textured with metal repoussee tools from MercArtUSA, painted with alcohol inks, covered in glossy accents, adhered to the acrylic page.....


and a background page added....I LOVE this die!!!


Here's a closeup of the detail of the die:


Spellbinders nestabilities, placed randomly on paper, cut out (not embossed) and I'm using the negative here over lighter paper....funky little photo frames for Rachel to use:


That was the photo mount on the left, this is the page behind the flourish border:


and the photo mount on the back of that


what a fun page! Lots of stamps on the top


more ungrunged grungeboard


and even more:


and here it is without the acrylic overlay:


This is Melissa's technique...mix glitter with faux flock and adhere on wet glue:


which is an asolutely adorable way to add fur to the poodle!!!


butterfly brads dipped in silver embossing powder


and dipped in purple glitter embossing powder


and the last photo mount


Now, back to that cover. I cut the jammies out of a sheet of paper, twice, and popped with dots, adhered to the hanger and used a glitter pen on the dark pink


the dress is an adorable stamp that I double stamped and layered with pop dots and tied a delicate ribbon around the top


and a purchased ballerina sticker. Mine look just as good!


a close up of the crown, but also an paper flower...I really like these!


Tiny little fairies stamped throuhout the book that you have to hunt to find


more of the glitter technique on wood diecuts


these little gals are about 1" tall....and they are hidden throughout the book as well


Can you tell that I truly let the little girl in me dance and play as I put this all together? I just kept thinking....act like you are 15...find the child in you, let her play.

I think we did well!!!

Saturday, April 19, 2008

Beach Acrylic book

Yesterday, I showed the cover of this totally fun book and said to call the store if you wanted to custome order a book or two. I walked in today and my dear friend, Kathleen, was on the phone with the owner! So Liz says, can you change your blog and ask people to email me what they want and include their phone number and I will call them back?

Do you get the feeling the store is a little busy? LOLOL!

So, if you want to custom order an acrylic word book, email liz@scrapbookyourlife.com and be sure to put your telephone number in the email!

I finished my book! YEAH! So here's the cover and then the rest of the book:


On the back of each page, I've put photo place marks. All I have to do now is get to the beach and take a few shots!


The front page is the word, then the rest of the pages are solid acrylic. For most of them, I did a collage, covered it with acrylic and then stamped on the acrylic. The gal with the martini in her hand...it says, "I've got a master's degree in beach walking!"

I thought that was just perfect!!!

I've used the new MSE swirls on this page..sized perfectly!


I found all of this in the store....just so much fun. OK...the little shirts....stamped images


More photo holders:


A piece of paper. And then I simply took Ranger's white pen and wrote over the words on the acrylic. In the middle of it all, I stamped my new fav stamp: "Some people live in the fast lane, I live in oncoming traffic."

I just love that!

And guess what...I have been to every single place written on this page!!!


No, not on this trip...but in the 9 years that I lived out here I hit them all....numerous times!


More places for photos. I really need to get to the beach!


I love how this one turned out. I love white stazon ink!


This is what the acrylic looks like:


And this is the collage page under it


More photo holders


Another fun page. I found this ribbon....it was white. So I inked it and turned it into colors that I liked.


I distressed the tag and outlined the letters with the white pen.


Here's the back


And on the acrylic, I put these little faux sea glass letters:


You can use your crop-a-dile and punch holes in the acrylic and add little dangling charms:


Isn't this just an adorable book? All I have to do next is get my photos in it and add a little journaling about my trip to San Deigo. Hmmm...or I could leave it as it is and put it up for auction on ebay. Hmmmm.......oh! the ideas that float around in my head! LOLOL!