Showing posts with label cut and emboss dies. Show all posts

Monday, January 26, 2009

Give your own embossed design to Spellbinders dies

and how to use the flip side of an embossed die in fun ways!!


Youtube link

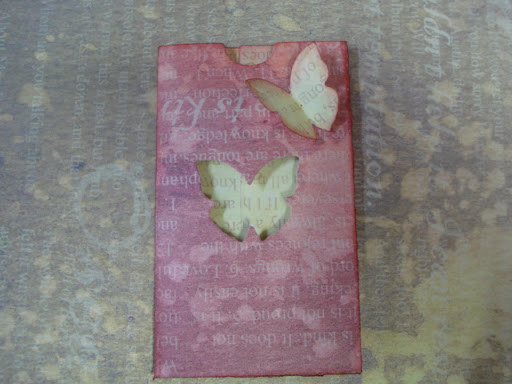
Here are the original 3 hearts, diecut, embossed and inked, using a Spellbinders style die:


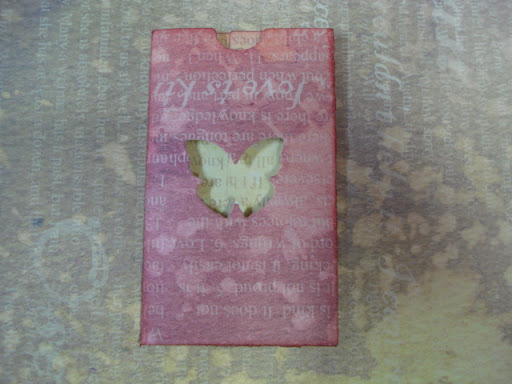
A closeup of the one with holes in it:


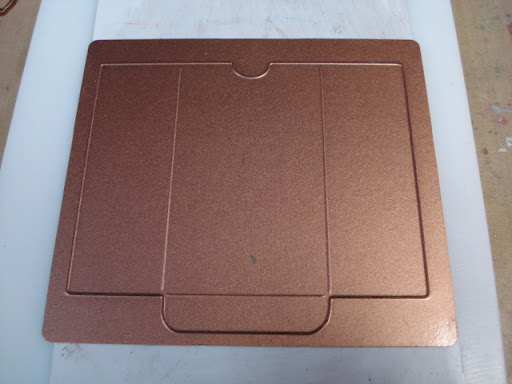
Diecut, not embossed:

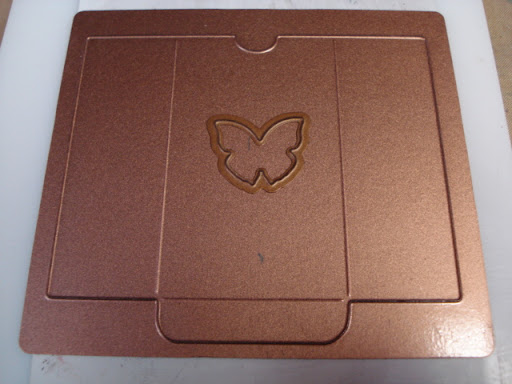
Sketch a new design and apply 1 or 2 layers of glossy accents over the sketched design.  Let dry.


You can see how it gives dimension to the piece:

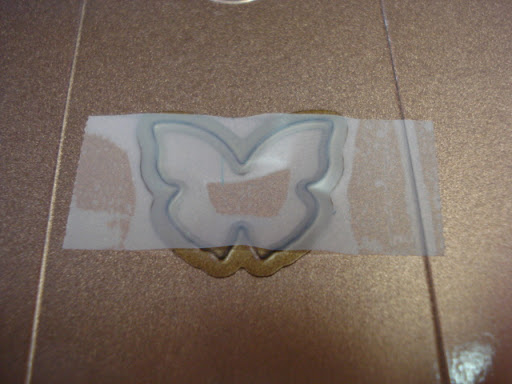
Diecut out another heart.  Spritz the TOP with Wonder Goo.  Place it on top of the stencil you just made with glossy accents, build a sandwich and emboss the design into the new flat diecut, then apply ink to make the embossed ridges pop:

The original die, my new stencil, and the new die - as you can imagine, you can alter any design to fit the project you are working on!

A closeup of the large heart


My new stencil


The new embossed diecut:
Comparing Spellbinders design with my design.  It only works to make your dies much more versatile!!!


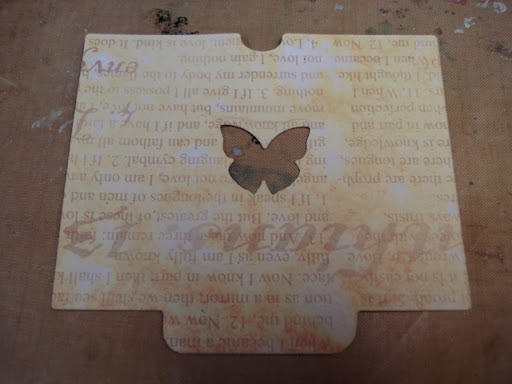
This is what happens if you spritz the side of the paper that you put next to the Glossy Accents...it sticks!  LOL! But never fear...it's still great - you can use it just the same!


My new design inked:


You can also ink the reverse side - the debossed side:


And you can fill the debossed areas with anything.  I used Stickles here, but in the past I've used rhinestones, mica powders, colored diamond glaze...just a number of things.  We first did debossing techniques in our Lucy McGoo manual in January 2005 - I just keep forgetting to mention a lot of what we were doing back then!

And here is a comparison of the new template, debossed, embossed, and the original spellbinders die:


Is this just too much fun or what?  So I guess tomorrow  night we will have to show you some fun things to do with Cuttlebug's cut n emboss dies.  Yes, We've shown you Quickutz, Sizzix and Spellbinders....so Cuttlebug is next!!!

Friday, August 29, 2008

I give up!

LOLOL! I have told so many people that I just was NOT going to even try copic markers. Nope, not me! And then I went to the Scrapbook expo in San Diego today and that dang Stacey Caron, owner of Spellbinders, convinced me to try them. I tell you what.....that girl can get me to try anything! LOL!

So here they are with some glitter on Spellbinders new cupcake die. OK, you gotta go to their website and buy this die now!


And then I had to try the copic markers with the new 12 inch flourish border die....you really have to love how the colors will blend from one to the other:


Up close with a little bit of glitter.....absolutely gorgeous!!!


Once again.....one word is all you need to describe this! YUMM!!!!!


Stacey, I love you to pieces! Thanks for getting me hooked on yet another product!


Isn't it wonderful to have friends who are this "bad"?????

Sunday, April 20, 2008

Pieces of Me

I thought it would be fun to do this project on National Scrapbook Day at "Scrapbook Your Life!"....we will "scrapbook your life"! Get it?

This is a 12 pocket star book and you can use it for grades 1-12, 12 photos of your life, your ancestors...anything. And as you will see..you can also do less than 12 photos. So, this is the class sample for May 3 at Scrapbook Your LIfe! in San Diego.

This front tag is a Spellbinders nestabilities oval die...embossed 3 dies smaller. Relly has a nice ruffly look.


The book opens up to a star


And there's me...quite the chubby baby. I'll be showing different ways to cut and emboss these nestability dies.


More proof that I've had bad hair all my life!


These are MSE's new swirl stamps. I adore them!!! So, don't bother asking about that hat...it was a phase circa 1972!


For this one, I used the heart inside the oval, then nested the heart.


Love the fact that you can place the die anywhere and cut it out!


Sorry about the shadows...it's that great San Diego sun!!! I do think I'm getting warm!


This class is going to be so much fun...you will just love it!!! I used the Scor-it and the Bind-it-all and will have them at the store for you to use, but I know you will want to buy your own! The store has ordered them and they should be here just in time for class!!! And there you have it...you've seen "pieces of me" from birth til now.

Monday, March 24, 2008

Layering dies, stepping it up!

OK, are you ready? Stepping up yesterday's blog. And I'm using the library pocket die. I actually love this die and use it quite a bit.


I've layered the little butterfly from Flying Fantasies on top of it. Remember, both cut sides are up.


There is always a chance that a die will move, so just put a piece a tape across it. Don't worry, the die will cut right through the tape.


The pocket will cut and the butterfly will cut out.


Just pull the tape off and pick up the butterfly


Fold your pocket:


Ink the edges and then adhere the little cut out butterfly to the corner of the tag.


Very dimensional:


Sort of a recap of yesterday, but now to step it up. I'm going to use Colorbox Fluid Chalks:


Apply the fluid chalk directly to the cut side of the die. In random patterns. Know that the colors that are on the top are the first that will be applied to the paper when the paper touches the ink.


Ink the entire die.


Place the little die in the center. I'm using a die from the heart nestabilities for this.


When you run it through and die cut, this is what you will get. I sort of like the wide area of white around the heart.


Next, ink the inside center side tabs of the die cut:


So when you fold the pocket up, the background inside the heart is inked.


Now remember, so far, I have only die cut this. If you go ahead and emboss it, you get much more ink on the paper and a more distinct pattern around the butterfly:


Here are the 2 pocekts side by side. The butterfly was cut and embossed. The heart was only cut...not emobssed.


So, think about the possibilities of this. You could stamp any image on the die itself and then it would reverse the image onto the library pocket. Swirls would be easy and fun. You could stamp the colored ink, then stamp a black inked swirl. And it might look fun if the die moved a little and sort of smooshed the stamp.

I think any ink would work. I picked fluid chalks because they stay wet a long time. But the really cool thing is that you just let them dry on the die...they turn to chalk and you simply wipe them off with a tissue.

And what if you used watercolor paper, and then took a wet brush and blended the ink?

Fun, quick, easy....and a great way to bring an old die back to life. I think I've had this library pocket die for almost 3 years now! My...how time flies!!! This direct-to-die inking technique, also called "reverse stenciling" was inspired by my good friend Holly Craft (oh! how I wish I had "craft" as my last name!!!) and she was inspired by her fellow Spellbinders design team member Michelle Klomp, who brayered ink directly onto the die. Just something else for you to give a try!

Monday, March 10, 2008

Wizard-bugging

Well, why not make up words that work? Using Cuttlebug dies in the Wizard, "wizard-bugging"! I have been waiting anxiously for the release of the new cuttlebug 2-part cut and emboss dies and they are here! I bought Mickey:


This is the embossing folder.


It's a 2-step process. You cut the paper first. For the Wizard, the sandwich will be:

White emboss mat
Die, cut (foam) side up
Paper
White cut mat


And then you place the cut out die inside the embossing folder and run that through the Wizard. You just put the paper inside the folder and place the folder between the white cut mat and the white emboss mat. Doesn't matter which mat is on the top of bottom, but for consistency, we'll put the sandwich as:

white emboss mat
embossing folder with paper inside
white cut mat


Be sure to spritz your paper with Lucy McGoo Wonder Goo. Yes...that's a commercial...but hey, it really does make the embossing pop!


Look at the detail that you get! I used some Basic Gray solid paper for this.


Next, place the diecut on a Ranger non-stick craft sheet. Using Broken China Distress ink, tap a 1" x 2" square of Ranger cut 'n dry foam onto the pad and ink it up.


Starting on the craft sheet, rub the ink side of the foam on to the diecut. Rub as much or as little ink as you like:


I also bought the flower petal 2 part die from Cuttlebug. Same technique. I cut out 5 sets for this flower:


I embossed each of the scalloped petals identical, but gave each of the center petals a different look. All of these designs come with the same die.


I used Ranger distress ink with the same technique as above, just different colors. You can layer this on top of each other:


Matching colors on top of each other:


Fan them out:


And even curl the edges up a little for a 3D look:


You really should give these a try. They go through the wizard so easy and the embossed detail is absolutely fabulous! Now that I have this great flower and this cut Mickey, I'll have to decide what to do with them next! Stay tuned!!!