Showing posts with label jewelry. Show all posts

Monday, April 24, 2017

Sterling Silver Jewelry

While we were in Israel, I made a decision that it's time to start downsizing.  But I want to use up as much of my "products" as I can before I do that.  So this is going to be the summer that I play hard.  And you ask yourself, "can she play harder than she already does???"  LOL!!!

So Monday mornings are my "never ending watercolor class" and Monday afternoons will be jewelry making  time with my sisters.  We had a fun afternoon and I managed to make 1 pair of earrings.


Sterling silver ovals soldered together, swarovski crystals, turquoise beads.   I did the soldering/polishing last week.   I had to ask myself....am I too old to solder?  I didn't get the top on tight on the can (using a large butane type torch that they use to solder pipes) and a gigantic flame popped up from the leaking gas and just about scared me to death!  Fortunately, the house is still standing!!!  And yes, I do have 2 large fire extinguishers out in the garage where I've set up my jewelry making stations.

I made these to go with a necklace that I had made several years ago.  But I no longer liked the necklace, so I altered it - here's what it looks like now:


That center piece is at least 15 years old - a sterling silver Paula Best charm.  I always loved her stamps and when I came across this charm, I knew it was mine!

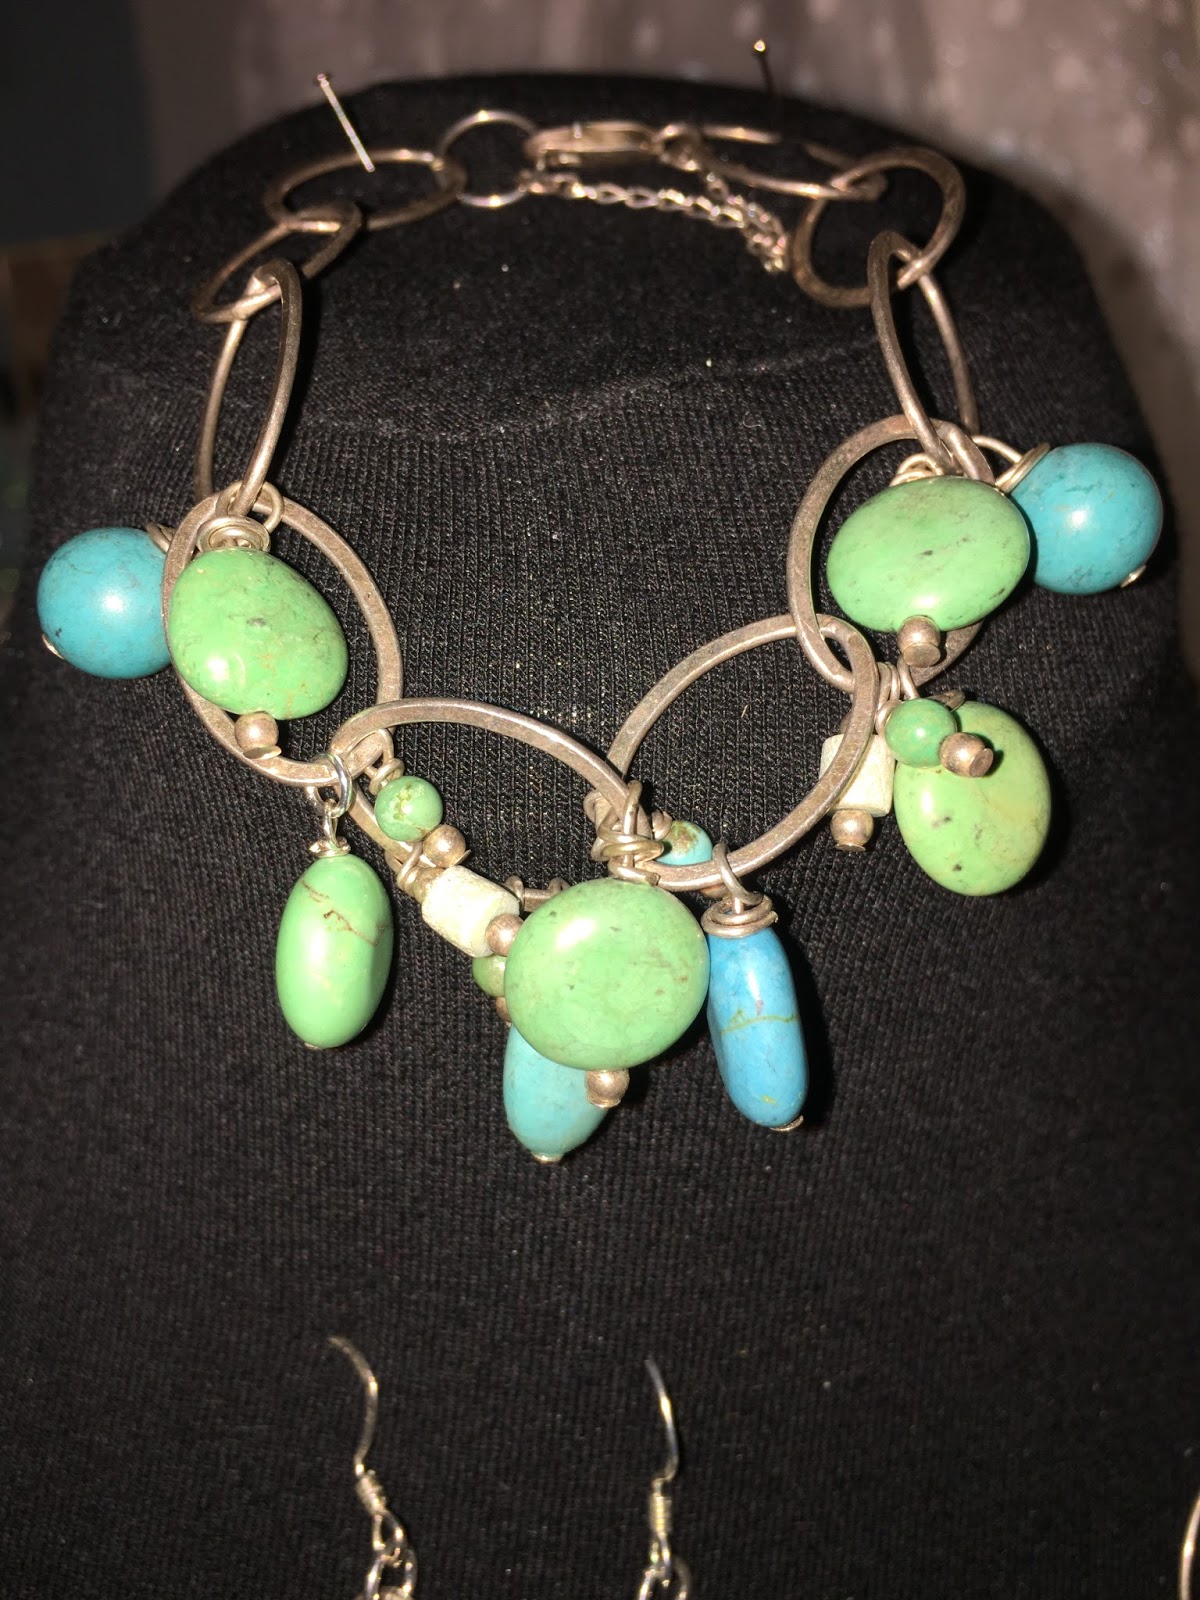
And there's a bracelet to match.


Here's all 3 pieces.  I think I'm happy with them now.  All .925 sterling silver so don't bother to ask how much I have in it!  It's not what you spend on an item, it's how much you love it!!!  This one will not go on etsy, it's for me.  :)


We're making jewelry out in my garage which is finished, air conditioned and I even have heat out there if/when we need it.  I've set up a glass cutting station, a grinding station, a drilling place and now a torching space.  If you have ever worked with sterling silver you know that you have to clean the silver, add the flux, solder, quench and dip in pickling.  That takes up a lot of space in itself.  But I also know I need to get back to making dichroic glass pendants to put on some of the necklaces I'm working on.  That requires glass cutting, grinding, polishing, then into the kiln to fuse the glass and I normally have to repeat that process at least twice to get it just right!

So stay tuned as I hope to blog some of the things we are making out in the garage this summer.

If you are local, and you want to come make jewelry with us, just get ahold of me and we'll see how much space we have.  I think it's going to be a really fun summer!!!  Are you ready to play???

Tuesday, December 24, 2013

Burlap Bling


All of a sudden, I am loving glass!  These are used Yankee candle jars from the thrifty store.  I melted the used was out of the 2 larger ones, but the candle in the small one had not been lit, so I left it.


I used sheet music paper, glitter ribbon, broken jewelry, and burlap on this one.  The die cut is from Elizabeth Craft.  That's a large distressed key hanging from the right side.


For the middle one - mostly the same things.  But dictionary paper this time.


for this little one, the front flower, I stamped music on fabric and then die cut it.  The flowers are all from Sizzix - the Tim Holtz line.


I think they turned out great.  Here's my tip when working with burlap (the kind you get at Walmart).  It is so loosely woven that when you die cut it, the leaves fall off.  Simply adhere it to paper before you die cut it.  It will keep the burlap from fraying and keeps the fabric from flopping around.  These little jars are going to be part of a larger display in a few more days.  :o)

Thursday, January 31, 2013

Making the best of what you have!

Last blog, stranded in Kingman.  I'm back home in Colorado now.....with a 2013 Ford Focus.  Nice little car that made the trip home just fine.  So I had another whole week in Kingman and got the "office" and the kitchen cleaned out.  Sort of glad I had to stay as now those tasks are done.

Kerry's grandma Mae passed away 3 years ago, and they had not gotten rid of much of her stuff.  She painted china.  She was an amazing artist.  But many of her pieces have chips or breaks in them.  I didn't want to toss them and no one would buy them at a garage sale, so I decided to play.

Now, when you play like this, you do need certain aids/tools.....like chocolate, a low temp glue gun, diet coke....


The pedestal dish had a big chip out of the corner of it:


The bear and the snowman at the bottom left of the top photo were taken apart and undressed using undu.  Yep, you can use undu on fabric!!!  And the little pilgrim bear was undressed as well.  I found some broken bits of jewelry as I was cleaning up, so I used those as well.  Glued most of the pieces to the base mirror so they wouldn't slide around.  Added the matching plate on a stand in the background. Pulled apart some very old silk flowers and put them down into a little vase that matched.  Added barbie ornaments as my mother-in-law collected those.


If you click on this photo to enlarge, you can get a better view of the details.  Earrings glued to the side of the pedestal dish.  A silver bear earring glued to the bear's paw.  The other earring glued to a button on the center of the bears chest.  Earring posts clipped off and glued down into the silk flowers.  Netting and ribbon from Mae's sewing box threaded among the items.


I took apart a silk flower (on the bear's ear) and took apart a plastic hair barrette and layered the 2 together, glued it back and used it on the bear's head.  More earring studs on the shoulder on the lace.  Broken beads and one complete necklace draped around the bear and into the dish.


Once I got the flowers arranged, I simply glued them together and stuck them down in the vase.  The paintings on the 3 pieces of china "match", but 2 are wisteria and 1 is grape clusters.  Can you tell which is which?


This is the little bear that had it's arms around the snowman.  I left the arms stitched together and threaded the hanky between them.  Glued beads together to make the pearl necklace and glued grandma's earrings as a "ribbon" on the ear and a brooch.  Now this one is just too cute!!!


When my father-in-law saw what I had done with broken bits and pieces, he was quite pleased.  We decided to set this on the end table in the family room.  I don't think "trash" has ever looked quite so good!!!  Barbies, jewelry, hand-painted china, bits and pieces of lace, old hankies on a mirror - reflect the memories of times gone, but not forgotten.

Monday, March 7, 2011

Crimp my style!

I think that crimping may be the perfect way to "crimp" on beads! By crimping and leaving space...you save....and still get a great look:


I used one of my dichroic glass beads as thefocal point and added star of david charms in the first crimped section


love the use of swarovsky beads with other beads


For my second one, I used an old patera setting that I made quite some time ago - metal clay over polymer clay.  Love the vintage glass beads in this one.


Have a few more ideas in mind for crimping.  Thinking a pair of crimped earrings would go great as well!

Monday, May 17, 2010

Is it ok to have this much fun????

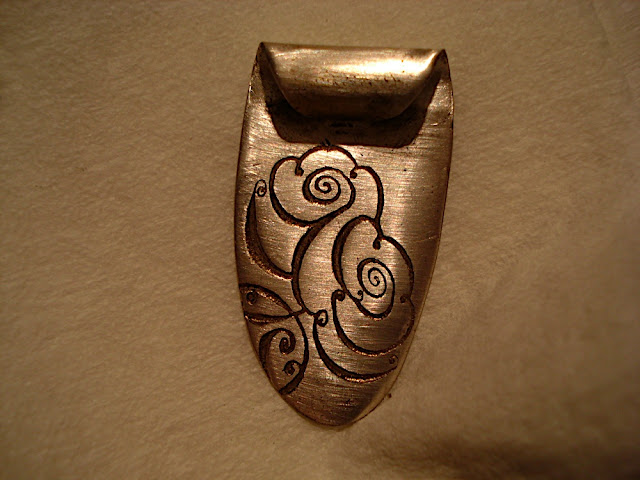
For this piece, I took an old Golden Bear belt loop/buckle. Actually, I think this was a slider to go on a belt. I've had several of these for at least 20 years. Sterling Silver. Turns out they make a wonderful centerpiece for necklaces! I might just have to make more!

Glass beads, swarovsky crystals, crystal rondells - I can't wait to wear this one!

Oh Kerry!!! When do you want to go out?

LOL!!!

Sunday, May 16, 2010

Some days, it's all just so easy

Do you have those days? When stuff just falls into place. Everything is so easy? I think it most happens when I'm working on a project that truly inspires me.

Paula Best charm in the middle. Sterling silver looped chain. Turquoise stones. Sterling charms.

Extremely light weight - doesn't look it, but it is

And enough left over to make a matching bracelet with a safety lock. Gotta love it!


Thursday, April 2, 2009

Susan Mostek's Friendly Plastic

I just had to share these pieces - she's such an amazing "student". Look at this first one. The center looks like a watercolor painting that she framed...but it's not It's one piece of inlaid friendly plastic - made with scraps. And then embellished with wire and beads. I think this is such a gorgeous pendant! Amazing wha tyou can do with scraps!


And here's one she did with a butterfly that Jodi made and didn't like. Yes, Jodi, you did too say you didn't like it! LOLOL!!! Hmmm....do I have Susan digging in the trash over here? LOL! Such a stunning piece of jewelry - I might have to make some butterflies like this!


I really love the background she did behind the butterfly.

OK, I ran to walmart and have to tell you this. At the checkout, the young girl looked at me and asked, "Are you over 18?" I was perfectly dumb-founded and just stood there - literally unable to answer her I was in such shock. (OK, just in case you don't know - I'm 57 years old and I couldn't understand how on earth she couldn't figure that one out!!!) She continued, "By law, we have to ask that question to anyone who buys Sharpie markers - apparently the kids are sniffing them."

I immediately said, "If I were 18 and had this body - I'd be sniffing them, too!"

I thought she and the lady behind me were both going to die laughing!

LOLOL!!!

OK, now you have had your funny for the day!

Monday, March 16, 2009

Friendly Plastic Cuttlebug Jewelry - San Diego Class

OK, I think I've got this down pat and can teach it while I'm out in San Diego. It's Friendly Plastic pellets melted and turned into a sheet, embosed, inked, and then turned into jewelry:


And I'll show you Linda Peterson's bezel setting:

Look at that depth!  You'll have to come to class to see how I did that!!!

If I have time later this summer, maybe I'll put together some kits so those of you who don't live in southern California can do this.  Hmmm....might be something we do at the Lucy McGoo retreat this fall!!  I really love how this turned out....and I think we can make them in under 2 hours!

Wednesday, February 18, 2009

Something to try

You know, it just never hurts to try something! So yesterday while Susan was here, I decided to try alcohol inks in UTEE. OK, so Ranger's chemist might tell you NOT to do this....but where's the fun in that?


You can get amazingly different looks by changing the process of mixing the elements together. Try stirring, dropping, cooling and mixing, mixing while heating...


Can you see the impressions on this piece? Yet another chemical reaction!


Add in some perfect pearls:


I think this is what I'll have to call "endless play".....you get a different look every time!


With a little flex, you can cut these to any shape you want:

>

and back them with a little pewter!


Yep....another class for San Diego? My next door neighbor has the coin bezels for sale so if you are interested in buying some from her just send me a note and I'll get you the prices. What a fun play day we had!!!

Friday, December 5, 2008

Art Clay Silver and wood bracelet

Several people have asked when I'm going to sell my art....well, I've started! And I don't think I posted this piece here. I made it this summer.


After Midnight Stamps has blank wood bangle bracelets. This one has flat sides on the outside which were prefect to place diecuts on.


The diecuts are fired pieces of art clay silver paper type. So .999 fine silver! And then silver and turquoise wire wrapped around it with swarovski crystals on the wire.


It makes such a pretty bracelet. I even stamped the inside.


Not sure why, but I just decided this might be a fun piece to put on ebay....it is definitely a Jen Lowe Designs original!!!

Click here to find this auction!

Thursday, September 25, 2008

Have I gone to far?

Having run out of seashells to airbrush, I took a look around the house and there it was....pieces of metal clay jewelry that need a touch of color!


Airbrush the color on by masking off the areas where you don't want the color to hit. So easy! And I sealed it with super seal. Love that stuff!


Not even my jewelry is safe! LOL! This piece was made with Art Clay Silver and my Lucy McGoo stamps. Now I need to go buy something new to wear this with!!!

Hmmmm....maybe Kerry would prefer that I simply airbrush his shirts!!!

Monday, September 22, 2008

D'Art

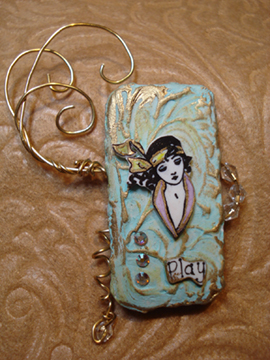
Domino Art. Working on samples for one of the classes I'll be teaching at the retreat. Oh my....are we just going to have a blast or what??? So, these are just about 2" x 1".....not very big at all, but ever so cute! My good friend, Linda Moore, is the originator of this idea. She lives out in Poway CA and if you ever get a chance.....take a class from her! You can find her at Stamping Details - a fabulous store!!! Just click on the link to their classes.

I used a stamp from Stamp of Excellence in Canon City CO


and for this one, my fav stamp from 100 Proof Press


so, ummm....I guess I'll be teaching a bit of wire wrapping as well! LOL! I think we scheduled 2 hours for this class...might have to rethink that one!

Sunday, July 13, 2008

Coin bezel Art - fine silver jewelry and more!

My friend, Cindy, came over and brought a bunch of coin bezels and said, "what can we do with these?" And she tossed out a handful of coin bezels on the table.


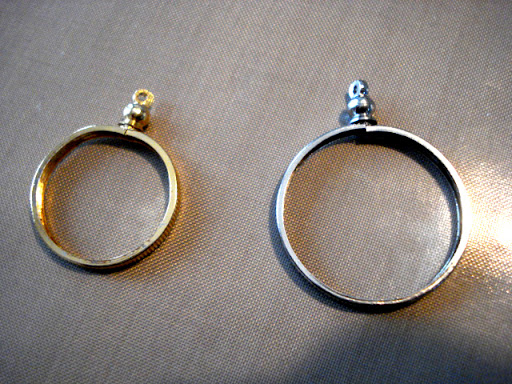
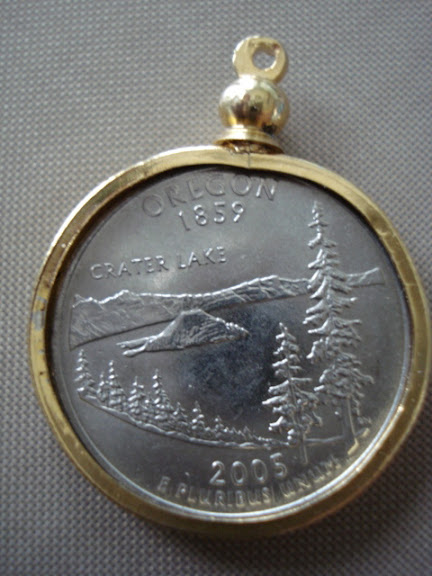
You know me, my brain just jumped into high gear! LOL! You unscrew the knob on top and pull open the bezel like this:


and insert a coin, screw the top back on, and it's an automatic pendant.


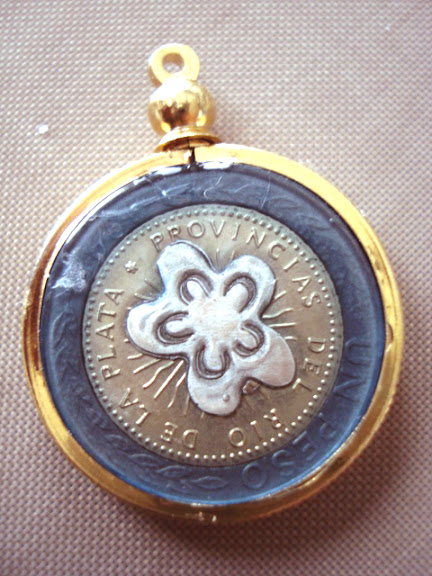
Kerry has traveled all over the world, so I ran upstairs to the desk and pulled out all the foreign coins we have. I found this one from Argentina that fit in the quarter bezel. I layered a piece of Art Clay Silver paper type (that I had already diecut and fired) in the center of the coin. Then covered it all with Glossy Accents and let it dry. Not bad, huh? Just another method of showcasing fine silver in a piece of jewelry!


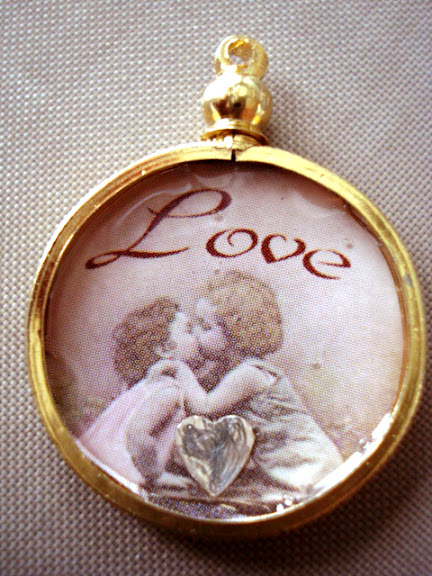
There is a little depth to these bezels - enough to encase a quarter, so I thought......paper? For this next one, I simply cut out a circle from a Crafty Secrets sticker and placed it on a piece of poster board inside the circle. Then I added a fine silver heart on top. Hey! I think we are on to something!


So, Cindy and I started thinking up names and of course, Coin Bezel Art - CBAs came to mind and just stuck! She's off preparing a website to showcase our new line of jewelry and will be selling the bezels. So if you want bezels, just click here to email her!

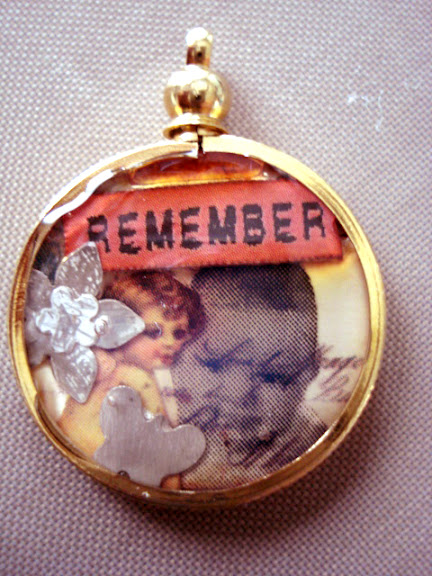
For the next one, I decided to go full blown mini collage. Just cut up tiny little pieces. Now, that's my baby photo printed on vellum with a postcard behind it, a little cherub to the left, the word "Remember" on top. and 3 pieces of Art Clay Silver paper type (punched and fired) over on the left. So that I will "remember that angels have watched over me my entire life!"


Of course, you don't have to put fine silver in yours - you can do anything you want! And you could just punch a circle of clear acrylic to put over the top (hey! I forgot, Lucy's little store has inkjet and laser sheets for just $.50 each!)

And Cindy's already working on a Coin Bezel Art website! That girl is FAST!!!

Coin Bezel Art! I think we should have a CBA swap! Anyone want to trade art? I also want to get the bezels in dime or nickel size and make a bracelet - oh dear! I just need more play time! Hmm....Kerry, can we just skip lunch today? LOLOL!!!