Showing posts with label flowers. Show all posts

Tuesday, December 24, 2013

Burlap Bling


All of a sudden, I am loving glass!  These are used Yankee candle jars from the thrifty store.  I melted the used was out of the 2 larger ones, but the candle in the small one had not been lit, so I left it.


I used sheet music paper, glitter ribbon, broken jewelry, and burlap on this one.  The die cut is from Elizabeth Craft.  That's a large distressed key hanging from the right side.


For the middle one - mostly the same things.  But dictionary paper this time.


for this little one, the front flower, I stamped music on fabric and then die cut it.  The flowers are all from Sizzix - the Tim Holtz line.


I think they turned out great.  Here's my tip when working with burlap (the kind you get at Walmart).  It is so loosely woven that when you die cut it, the leaves fall off.  Simply adhere it to paper before you die cut it.  It will keep the burlap from fraying and keeps the fabric from flopping around.  These little jars are going to be part of a larger display in a few more days.  :o)

Monday, July 26, 2010

Thank you cards with all those flowers

I decided to turn all the flowers into "thank you" cards for Kerry to send out for the gifts he received during his surgery. So, if you read my blog - don't expect one - yours is here! LOLOL!!!

On this one, the sentiment is inside


I didn't make a video of this flower, it's just to easy. Cut scalloped rings, cut in half, fold over with a brad in the center - fun, huh?


Might have to do more of these:

When you make the whole background match, the flower really stands out:


Another one:

I could have done them all the same, but what's the fun in that? So variations you can make using the videos I've done over the past 4 days. And of course, you can cut these in fabric, metal, leather....anything. Give it a try!

Finally, with just petals I had left over, I put this cute card together:

Quick, easy, fun.....I hope the recipients enjoy them as well!

Thanks for watching the videos. I'm off working on more!

Saturday, July 24, 2010

Video # 3 - nestabilities flowers

Could I have any more fun? I am so grateful to Kerry for all the video equipment and editing software he buys - I get his hand-me-downs to play with! LOL!

Tonight's flower is a little different because the way you fold it automatically gets you a built in background.


Direct link to this video is here

Give it a try and post back here and let me know your results!

Friday, July 23, 2010

Nestabilities Folded Flowers - Video 2

I think this is my favorite flower design -but I'm always working on new folds, so who knows?


Direct link to the video is here

I really think there are endless possibilities for folding your nestabilities into wonderful flowers. I have a few more ideas floating around in my head - wonder what we could do with the scalloped heart dies? Always more to try!

Thursday, July 22, 2010

All new Nestabilities folded flower tutorials (No. 1)

These are so much fun to make! I did several different designs over a year ago when I was demoing with After Midnight Stamps. And I'm finally getting around to doing tutorials on more of them.

Linda at After Midnight Stamps actually did the first video. I created the design and here's a link to her video:

AMStamps


The second design is HERE


So now on to the next 4 designs - here's the first one:


If the video doesn't show up, just click here

Here's hoping that by the 4th video I also have my card samples all done to share! So keep checking back each night just to see what's new!

Friday, June 19, 2009

Diecut crepe paper flowers

We also diecut crepe paper yesterday. What I absolutely love is that you can cut at least 9 layers at the same time. Sure takes the "work" out of making flowers! Here I used a sizzix die....so I could have done at least 20 layers at once.


And here's one of the many cute flowers we made.


Well, I have a problem! I was trying to upload even more flowers to share and can you believe - I have used up my entire 1M of free space at Picasa! Wow! That's a whole lot of photos. So now, I have to pay $20 a year because I'm way too lazy to learn another system for my blog. They take 24 hours to process my payment (yeah, I know, I should have done this days ago when they started sending me alerts- but I didn't!) So tonight, just 2 pics and hopefully tomorrow night I can share even more. I found crepe paper flowers to be quite fun....but I'm not so sure how small you can go with them. Susan was best at making the tiny ones.

Today, we had our "Fun Friday" and it was just a hoot. Karen was making paper dolls with animal heads and putting hats on them and I laugh til I cried! Kathleen and I were working on metal clay diecuts. Susan and Marcia worked on nicho boxes. Shelly made gorgeous polymer clay beads and Kathy worked with diecuts. It was just a fun day and I spent all morning playing the "ornery one"!!! Tomorrow is "shopping saturday" and I think I need to get to bed early so I have a little energy left!

By the way - day 5 on Weight Watchers. We'll see if I can make it to day 7 or not! It's so much easier to diet when your husband is out of town!!!

Tuesday, June 9, 2009

Revival time

HA! As in reviving the past art of crepe paper flowers. And then vintage tissue paper garlands, and then honeycomb cards!!!

Today - it's crepe paper flowers. So, I have to tell you, my good friend Torrey Scott once did a layout that was beyond amazing. She went to the thrift store and bought up all kinds of silk flowers. Took them apart. Traced each petal in white paper, then took those paper petals, reassembled them into all white flowers and framed her page with them. It was amazing!

But I'm not quite that industrious!!! But I still like my results:


and I did mine the lazy way. I folded 9 layers of crepe paper together and cut them with Spellbinders rose die and paisley die. Yep, you can cut 9 layers in one pass - the paper is that thin!


 Just pull them apart..... 


and layer smaller sizes between the larger sizes - here I alternated with white and pink


wrap a wire around the bottom and cover that with florists tape - 2 of the absolute cheapest products ever!


and then just twist as you pull the petals apart and give shape to your flower


So pretty!!!


OK, your turn to give this a try!!!

Friday, January 9, 2009

My first Bible

Isn't it amazing the things we keep? Now why on earth did I keep this? Given to me at school in 1961....but it's just one of those things I cannot throw away. Why? Well, I remember the excitement and anticipation of waiting for this Bible. It was like you were getting "promoted".....the adults trusted you with a Bible....it was your very own....you had to take care of it....it was a passing of age. And I remember waiting anxiously for that day to arrive....when they handed out our Bibles in school.


So rather than keep it tucked away in a box, I decided I wanted to add it to my wall of art. Is this wall ever going to be done? LOL! Well, all I can say is that I am having a great time pulling out things that have special meaning....that I think will inspire me to create even better art....and that will be a joy for others who come to visit.


I took apart a clear acrylic frame, made a new back using chipboard.  The little angel is a Lenox ornament and she fit just inside the Gideon Seal - so the gold sort of looks like a halo. 


And then I made a little sign with the inscription that I had written on the front page  inside the Bible.  It must have been important because I even put down the date that I got this Bible!


It is old, worn, and falling apart.  So I must have read it a lot.  I remember taking it to school with me every day for the rest of that year.  How fun to take something so precious from my past and add it to a wall that I will look at every day.  My wall of ART - you're going to want to make one for yourself!!!


Sunday, May 4, 2008

Take time to renew

"but those who hope in the Lord will renew their strength. They will soar on wings like eagles: they will run and not grow weary, they will walk and not be faint" Isaiah 40:31

My life verse. Picked when I was 12 years old. My strength is renewed daily because I find my hope in Jehovah.

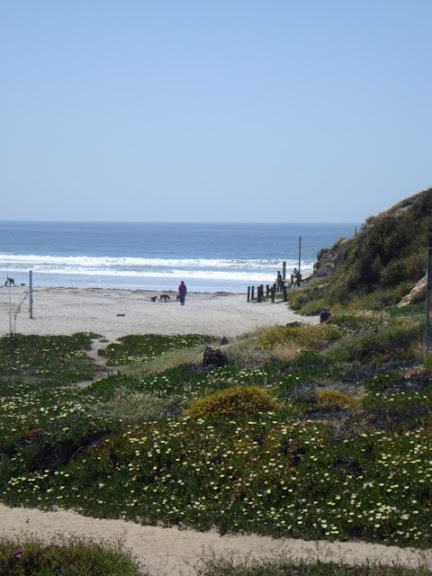
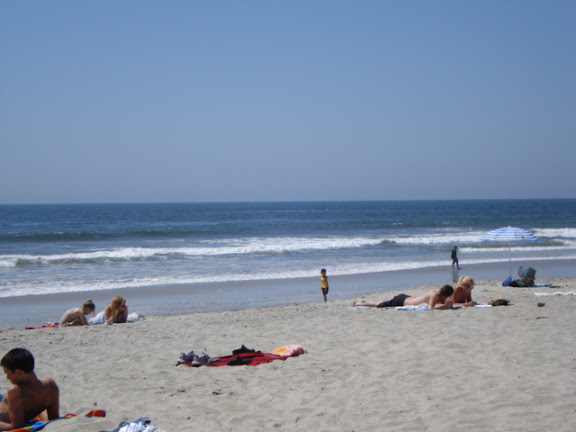
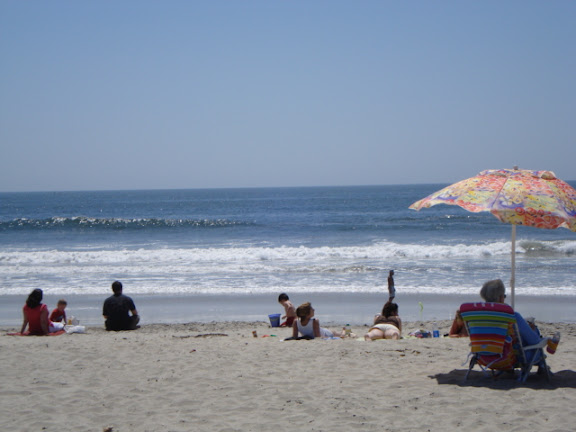
But sitting by the sea, looking at the grandeur of His designs, I could feel my body renewing itself. Breathing in the salt air, I felt like I could run again, even at my age.


"But from everlasting to everlasting the Lord's love is with those who fear Him, and His righteousness with their children's children". Ps 103:17

I look to the skies and know that it is because of my parents that I believe in Jehovah.


If only you had paid attention to my commands, your peace would have been like a river, your well-being like the waves of the sea. Isaiah 48: 13

There must be a reason why I find such comfort sitting by the sea, watching and listening to the waves!


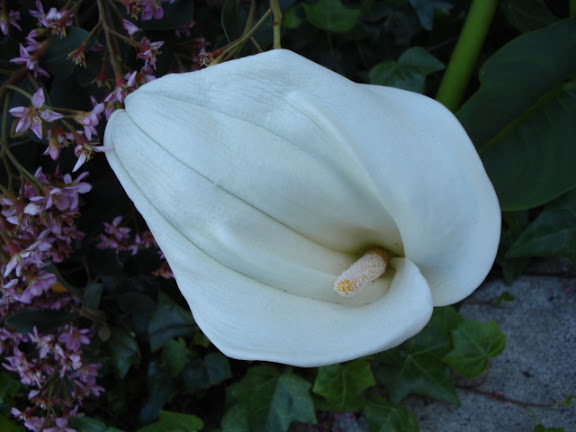
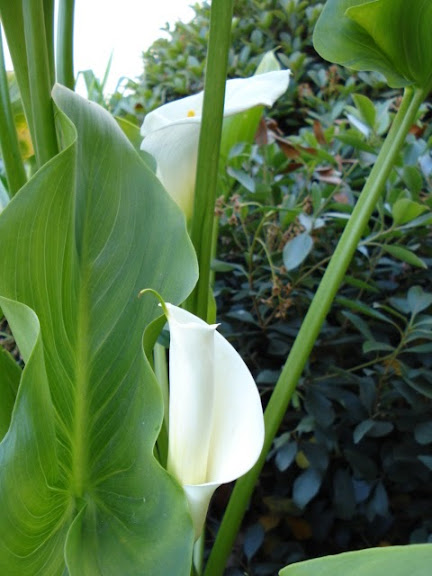
My favorite flower is the callalily. The first time I saw one, I think I gasped. Simple, clear beauty. Hos 14:5 repentatant Israel shall "blossom as the lily."


And the lily was an architectural ornament, translated "lily-work," which appeared upon the capitals of the columns in the temple porch (1 Ki 7:19)


I have come to sit by the sea for a spell, to listen to the sound of the waves, to behold the beauty of the flowers, to heal my spirit and my soul....and to play. It has been absolutely wonderful!

And now, I have traveled home and will pick up life where I left off 3 weeks ago.

Monday, April 14, 2008

Nighttime Flowers

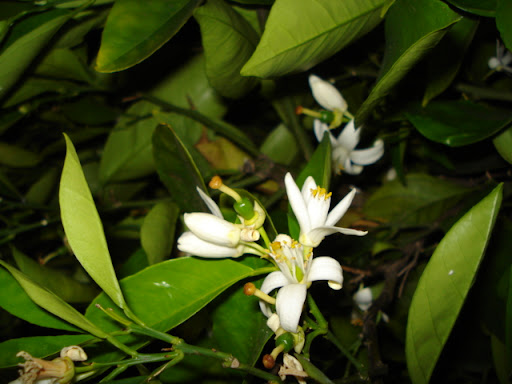
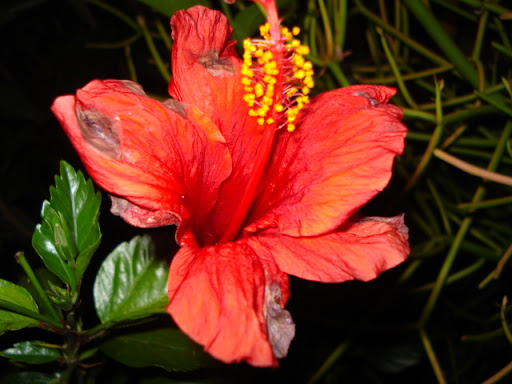
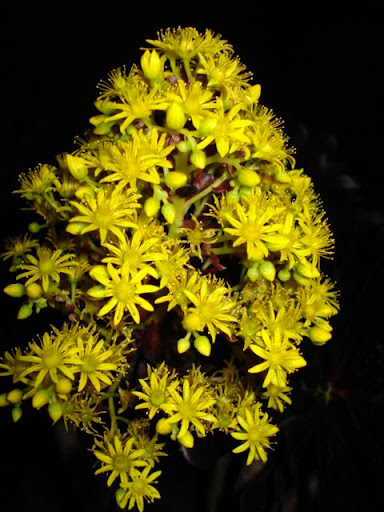
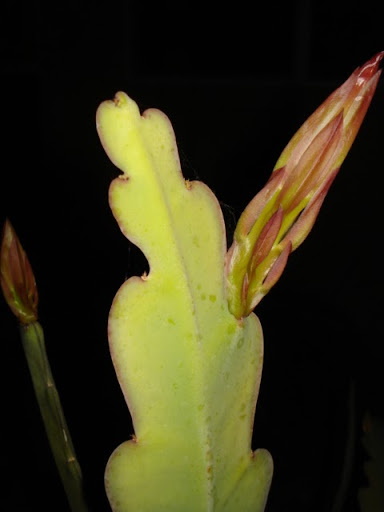
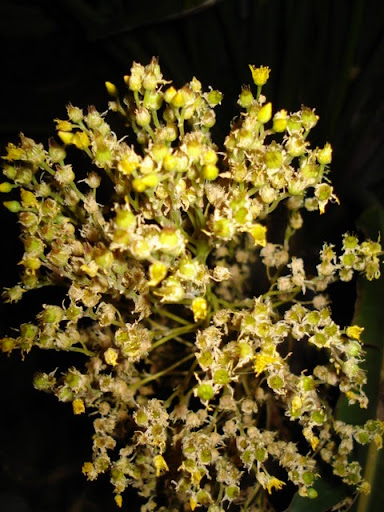
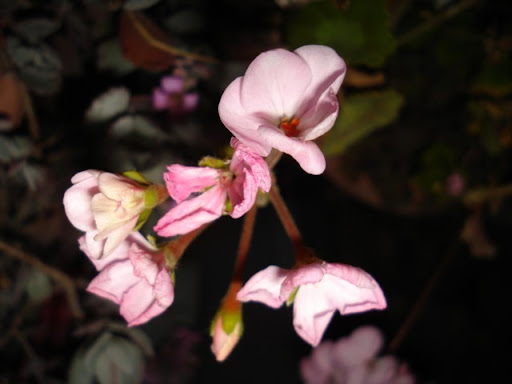
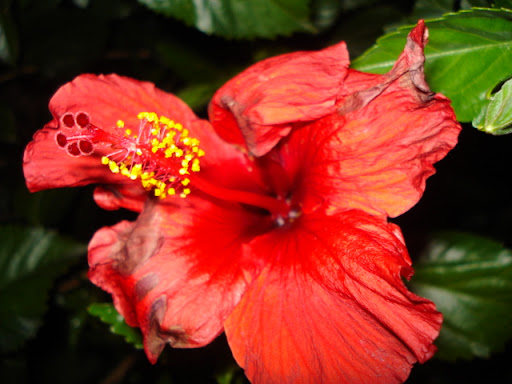
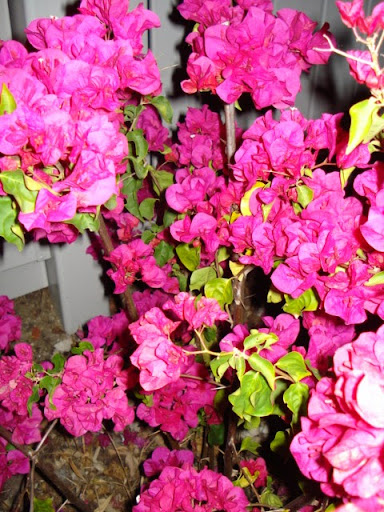
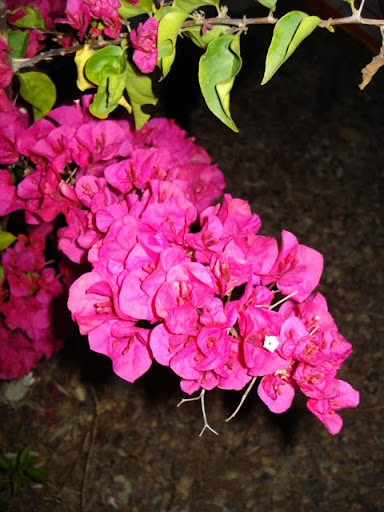
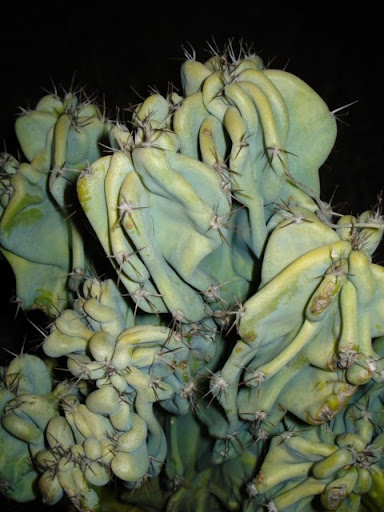
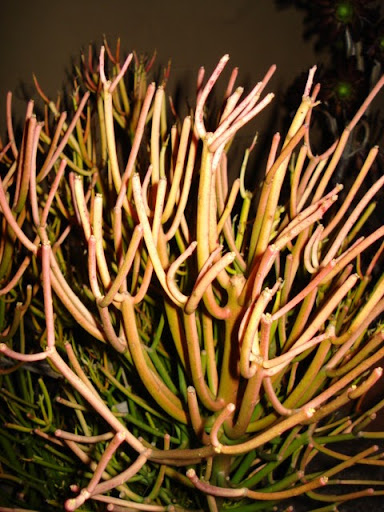
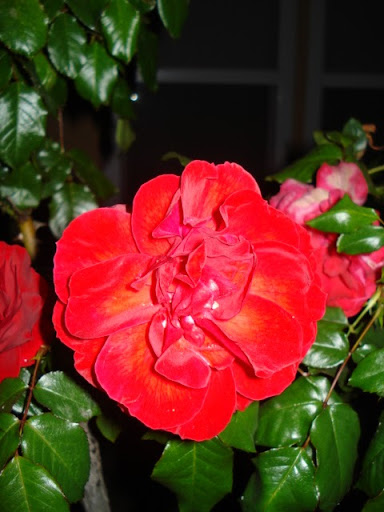
One of my favorite things about San Diego is the flowers. This city has flowers like nowhere else on earth. Beautiful, gorgeous, awe-inspiring flowers of unlimited varieties. And my friend, Lucky, has created a wonderland of flowers and cactus in her yard. So last night, I photographed them after dark


An interesting task....to focus on a flower...in the middle of the night. Not always sure what I was going to get.


But I do love how the background is so black....and with the flash, the flowers really do "pop".


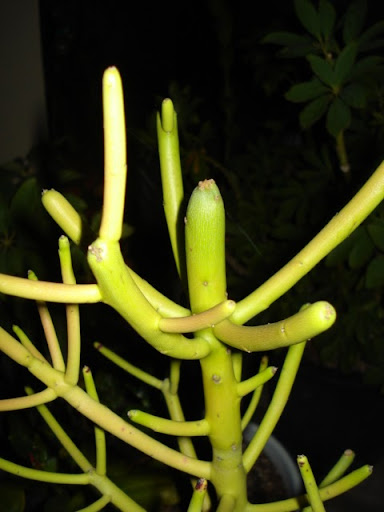
You will have to decide what is what, but there are orange blossoms, cactus in bloom, bird of paradise, bouganvilla...


In my opinion, this is just more evidence that Jehovah is an amazing artist....and we can only pretend to see the tip of what He has created to inspire us to be more imaginative in what we attempt to do.

San Diego. My second home. A place to rest. A place to be inspired by incredible art in nature.

Monday, March 17, 2008

Nesting Nestabilities, part 2


Yesterday, I showed how to fold the Nestabilities circle die into a cute flower on a tag. I do think you can nest and fold these into unlimited ways. I have a tiny amount of experience with origami, and decided to play some more with this concept.

Once again, start with a half folded circle. Same products, inks, papers as yesterday. You want to bone fold this crease.


Fold up in half again, but do not bone fold or score this fold line.


Pretend the center of the straight side is letter B. One end is letter A and the other end is letter C. The center of the scalloped edge is D.

You want to fold from D, straight down to B. But because this is the scalloped edge you ar folding, don't worry about getting it perfect. Just fold it over like this!


Fold the other side up the same way. They will overlap. Looks a little like a heart.


Open up the scallops and fold the center top down. Again, Don't crease any of this, just do it with our hands. You don't want a scored fold....just what I call a soft fold.


Definitely time for a manicure! LOL! OK, from another angle...open the scallops and fold in the tips


Do that to both sides:


Pull the centers up and it should look just like this. You can shape it to look more like a petal like this:


Look what happens if you set these as a square. Hmmm....I might have to do something with this!


This is 3 circles folded:


This is 4 circles folded:


Next I used the Sizzix scalloped tag die in my Wizard and then embossed it with the new music embossing folder from Cuttlebug in the Wizard. No look at this. Do you see my intentional mistakes?


The paper is upside down and it is debossed, not embossed. Seriously. Would you purposely do this all backwards and upside down? Well, why not? It makes you step outside your box and see things a little differently. Hold on, I think you might like it!

Attach the flower. I decided to go back to just 3 circles. I like it much better


Add a stamp, som swirl stamps, some fiber, and those are vintage paper flowers in the center of the nested nestabilities.


So, upside down paper, debossed music score, stamps, and nested nestabilities. Would you rather make this tag at the show in San Diego? And don't you dare email and tell me you want ot make both tags! There's just not enough time! LOLOL!!!