Showing posts with label burlap. Show all posts

Wednesday, December 25, 2013

Burlap bling bear

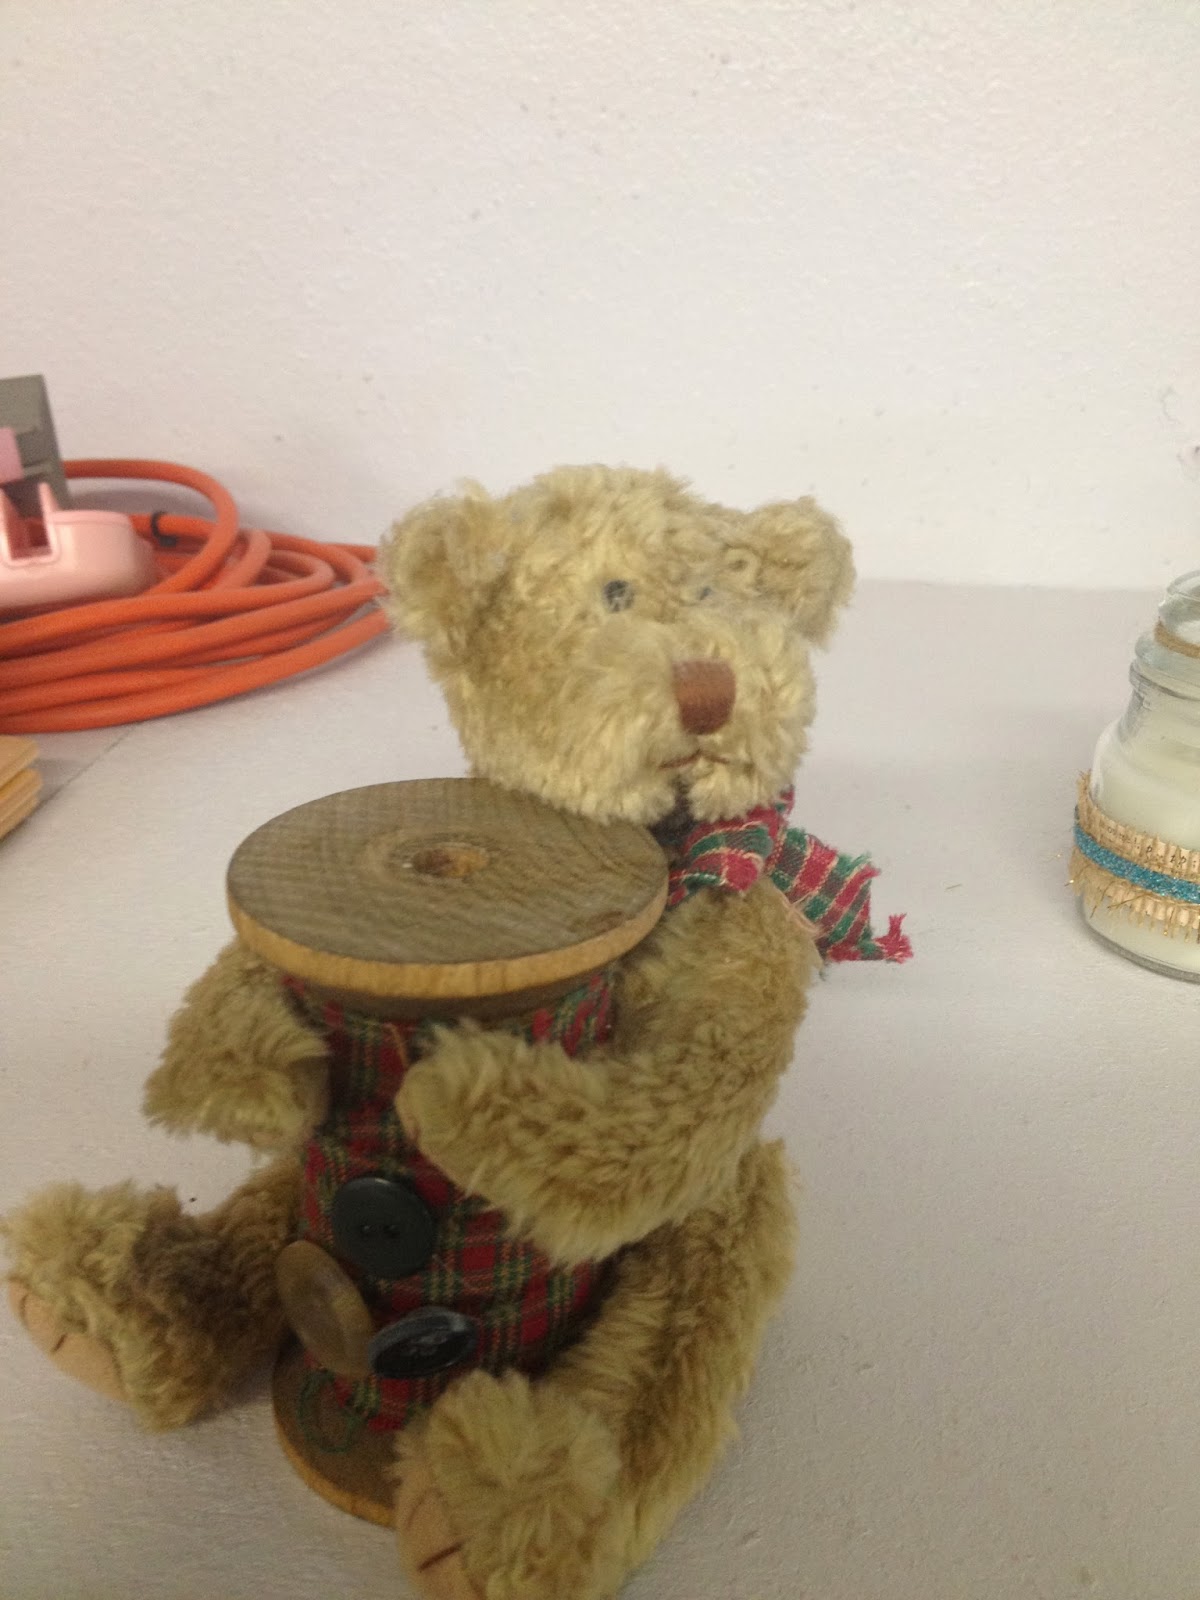
I found this adorable bear at the thrifty store.  No tag, so I don't know who made it.  But it is jointed and can be posed.  I didn't like the red/green fabric and thought it looked a bit drab or worn out.  I used undu to remove the fabric and take the bear away from the spool.  Undu undoes just about anything!


I wanted it to match my jars from yesterday.  I think it looks great!


I wound jute around the spool.  Added a flower to the top - made of paper, burlap, and broken jewelry. Used Tim Holtz dies on this one.  Added the ribbon around the neck with some bling in the center and bling sprays that I picked up in the wedding section at Hobby Lobby.  Used a low temp glue gun to reattach the bear to the spool.


Still thinking about what's next to go with this little "dust catcher" scenario!  Sure is wonderful to have the time and ability to just play!

Tuesday, December 24, 2013

Burlap Bling


All of a sudden, I am loving glass!  These are used Yankee candle jars from the thrifty store.  I melted the used was out of the 2 larger ones, but the candle in the small one had not been lit, so I left it.


I used sheet music paper, glitter ribbon, broken jewelry, and burlap on this one.  The die cut is from Elizabeth Craft.  That's a large distressed key hanging from the right side.


For the middle one - mostly the same things.  But dictionary paper this time.


for this little one, the front flower, I stamped music on fabric and then die cut it.  The flowers are all from Sizzix - the Tim Holtz line.


I think they turned out great.  Here's my tip when working with burlap (the kind you get at Walmart).  It is so loosely woven that when you die cut it, the leaves fall off.  Simply adhere it to paper before you die cut it.  It will keep the burlap from fraying and keeps the fabric from flopping around.  These little jars are going to be part of a larger display in a few more days.  :o)

Tuesday, November 26, 2013

Embellishing - making it even more attractive!

In our shopping yesterday, I found this adorable burlap covered deer.  Notice the burlap has been printed with sheet music.  And you can't really see, but it is glittery!!!  Found this at the florist shop here in town, so it's brand new.  I simply couldn't resist!


Colleen got these at Hobby Lobby and I "borrowed" them from her.  LOL!


Found this little ornament at the florist:


and of course, they had this gorgeous glittery bow that I had to have!!!


So I embellished the deer!  Now don't bother asking what goes on in my mind when I see things, but I knew that original deer was great, but just too plain for me!


I took apart the spray I "borrowed" from Colleen and hot glued each individual piece allowing them to drape from the antlers in the exact position I wanted.  I put that gorgeous bow on the back and removed the greenery from the front.  (Yes, there are those who say I'm quite dangerous with a hot glue gun!!!  LOL!!!)


I added a bit of greenery from yesterday's project around the neck, added the ornament to the front, and added more glitter balls from the spray to the ornament to give it dimension.


She's going to be a perfect addition to my winter decor on the dining room table!


I may take her back to the florist just to show them what I did with items I purchased from them.  My advice, don't go to this shop!  I guarantee you will want everything in site!  It's a Touch of Love Florist on S 9th st here in town.  Their website doesn't do them justice as I happen to think they are one of our truly hidden secrets!!!  The store is so much more than what the website presents!

Hoping that you will start looking at things as how they might become with just a little bit of imagination and embellishment!!!