Showing posts with label Fluid Chalks. Show all posts

Tuesday, March 25, 2008

Stenciling vs Reverse Stenciling

I thought I would use the cali-lilly die to showcase the difference between stenciling and reverse stenciling. You might want to go back to yesterday's blog for a little refresher.

So, on the cut side of the die, I used my Fluid Chalks and applied ink directly to the die. I sort of made the flowers purple, the stems green and then just added different colors wherever. This is an edgeability die, so the sandwich is just a little different because you have the back side of the card that you do not want to cut or emboss (or ink!)


Place the inked die, ink side down on the FRONT side of an open card. Note that I have started to bend the back of the card up here.


Place the thin white spacer plate on top of the die


Then fold the back of the card up over the top of the thin white spacer plate


You will place this "package" on top of the white cut mat, cut side up.


Place your emboss mat on top of this, emboss side down and run it through the Wizard.

When you remove the cut mat and the emboss mat, you will have a cut line that looks like this.


For the emboss sandwich, you want to place that cut line that you just saw against the tan embossing mat. AFTER you remove the thin white spacer plate.

I know, it's a little confusing, but hang in there...once you've done a hundred of these...it's a piece of cake! LOL!

OK, the emboss sandwich will be (from the bottom to the top)

White cut mat, cut side up
tan polymer pad
paper that has been cut, still in the die
die, cut side down
fold the back of the card to be on top of this
White emboss mat, emboss side down

And run it back through the Wizard


When you take the card out of the die, you will then have ink on the de-bossed areas of the card. The embossed areas will remain white like the original card. Sort of cool, huh?


As you can see, the die is a bit shorter than the card, so next, just trim off the top and bottom, if you want.


That is "reverse stenciling" or "direct-to-die inking" that I talked about yesterday. The embossed areas are not inked.

With this die, you also get 2 separate flowers. I diecut and embossed these, then while the paper is still in the die, flip it over and add fluid chalk to the openings in the die.


This inks the embossed areas of the die....and the debossed areas stay white


Whe you lay the embossed-inked stems next to the debossed-inked card...you can see the difference:


And then I added sentiments from MSE. I just thought this would make a great sympathy card....and I happen to need one to send out this week.


When you open the card...you get the sentiment from the window and the 2 little stems.


And my little bonus secret....take those stems, cut and emboss them 3 times in paper type Art Clay Silver, fire them layered as a bouquet and it makes a gorgeous little pen!!!


So many ways to play with this die....so little time!!! Sort of the story of my life!!!

Monday, March 24, 2008

Layering dies, stepping it up!

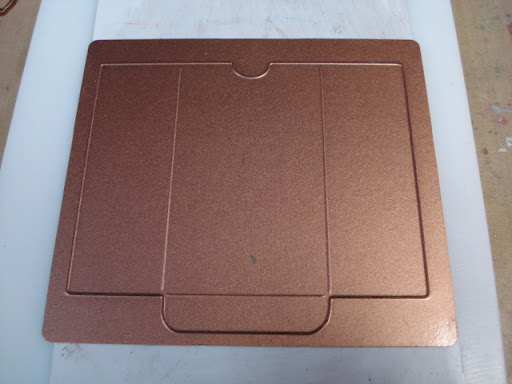
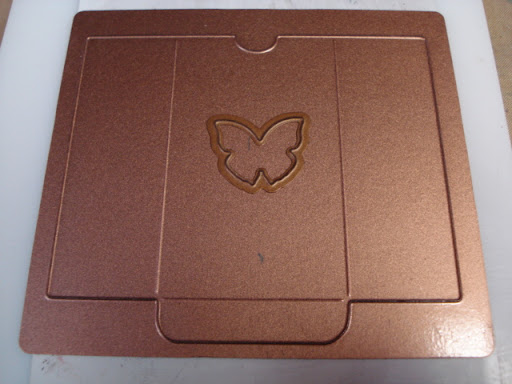
OK, are you ready? Stepping up yesterday's blog. And I'm using the library pocket die. I actually love this die and use it quite a bit.


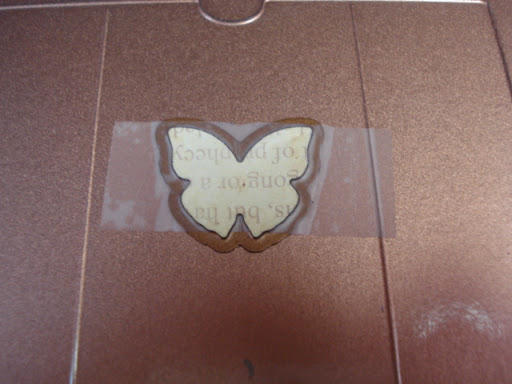
I've layered the little butterfly from Flying Fantasies on top of it. Remember, both cut sides are up.


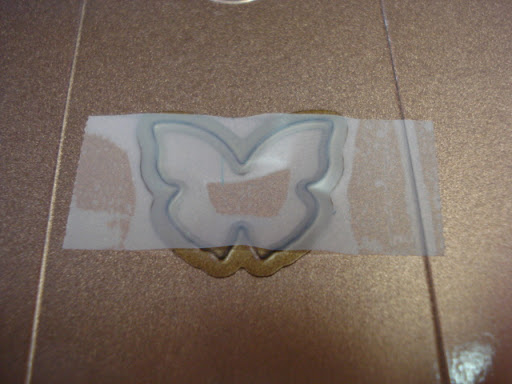
There is always a chance that a die will move, so just put a piece a tape across it. Don't worry, the die will cut right through the tape.


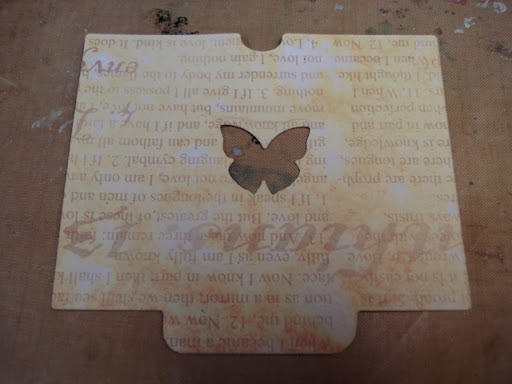
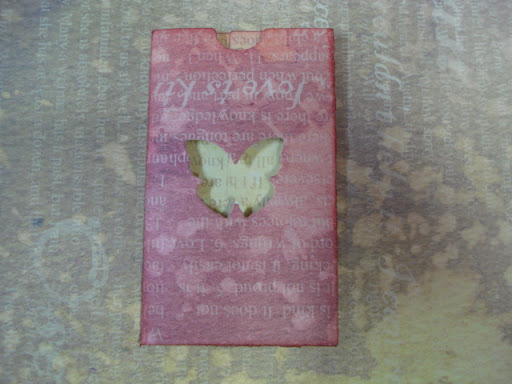
The pocket will cut and the butterfly will cut out.


Just pull the tape off and pick up the butterfly


Fold your pocket:


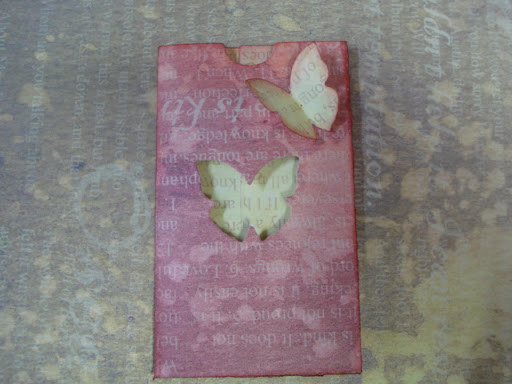
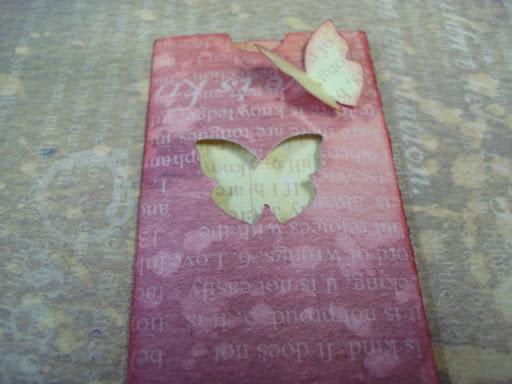
Ink the edges and then adhere the little cut out butterfly to the corner of the tag.


Very dimensional:


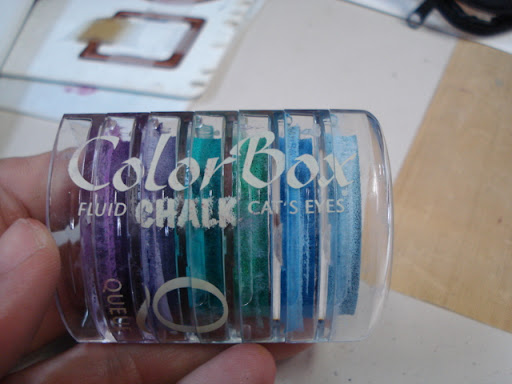
Sort of a recap of yesterday, but now to step it up. I'm going to use Colorbox Fluid Chalks:


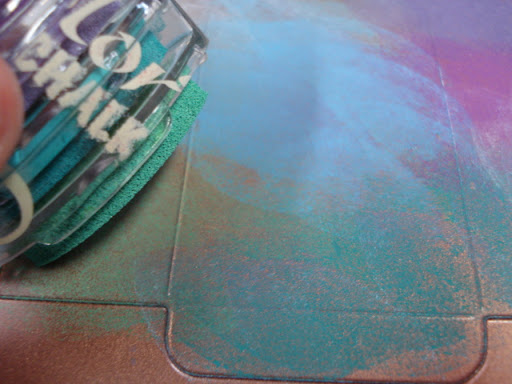
Apply the fluid chalk directly to the cut side of the die. In random patterns. Know that the colors that are on the top are the first that will be applied to the paper when the paper touches the ink.


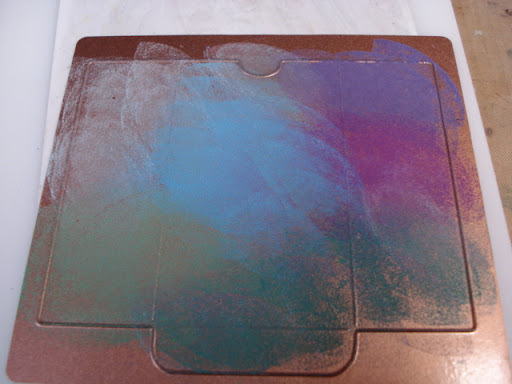
Ink the entire die.


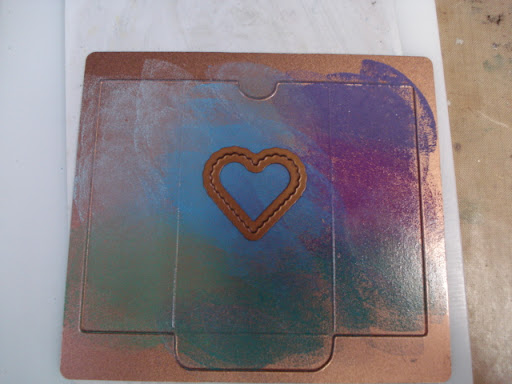
Place the little die in the center. I'm using a die from the heart nestabilities for this.


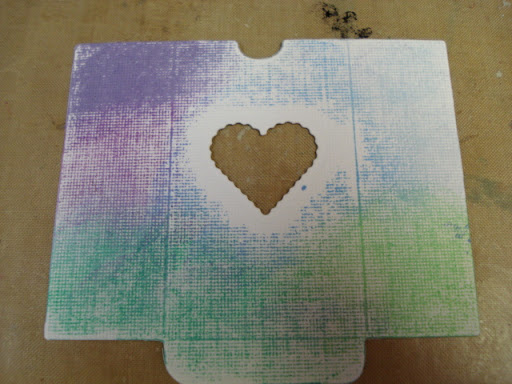
When you run it through and die cut, this is what you will get. I sort of like the wide area of white around the heart.


Next, ink the inside center side tabs of the die cut:


So when you fold the pocket up, the background inside the heart is inked.


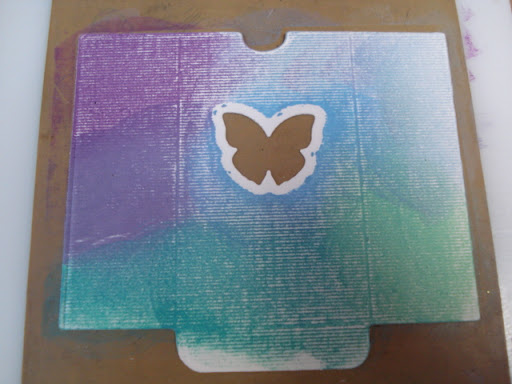
Now remember, so far, I have only die cut this. If you go ahead and emboss it, you get much more ink on the paper and a more distinct pattern around the butterfly:


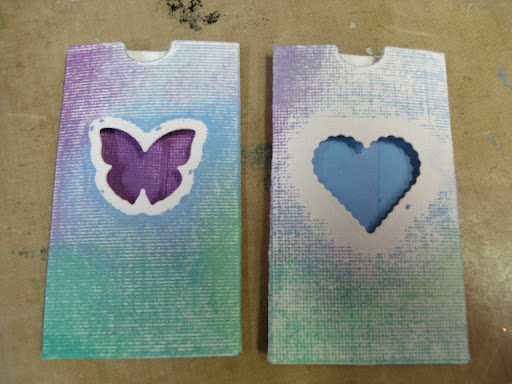
Here are the 2 pocekts side by side. The butterfly was cut and embossed. The heart was only cut...not emobssed.


So, think about the possibilities of this. You could stamp any image on the die itself and then it would reverse the image onto the library pocket. Swirls would be easy and fun. You could stamp the colored ink, then stamp a black inked swirl. And it might look fun if the die moved a little and sort of smooshed the stamp.

I think any ink would work. I picked fluid chalks because they stay wet a long time. But the really cool thing is that you just let them dry on the die...they turn to chalk and you simply wipe them off with a tissue.

And what if you used watercolor paper, and then took a wet brush and blended the ink?

Fun, quick, easy....and a great way to bring an old die back to life. I think I've had this library pocket die for almost 3 years now! My...how time flies!!! This direct-to-die inking technique, also called "reverse stenciling" was inspired by my good friend Holly Craft (oh! how I wish I had "craft" as my last name!!!) and she was inspired by her fellow Spellbinders design team member Michelle Klomp, who brayered ink directly onto the die. Just something else for you to give a try!