Showing posts with label Cigar Boxes. Show all posts

Tuesday, March 11, 2008

Wizard-kutz

Well, tonight I'm going to share the new Quickutz Flourish die cut with the Wizard. Not a tutorial this time, just a sample. If you go to my website and click on videos, Torrey and I did one that shows you how to emboss long things in the Wizard. Just follow that. It's the video called "Rustic Bling".


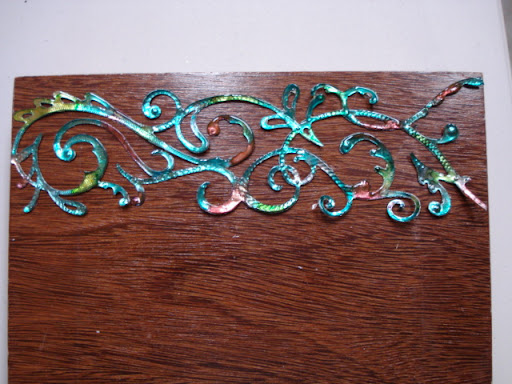
Is that just stunning? This particular cigar box had such gorgeous wood that I decided I didn't want to cover it. So I used undu to remove the label (remember, it's Bestine!)

I diecut this 12" die in the Wizard using Amaco Pewter. I then used my MercArt tools and added some texture to the pewter, and added the raised dots.
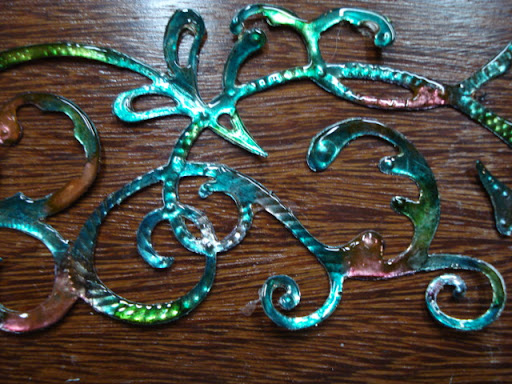


Then I "painted" the silver pewter by using my 1" x 2" pieces of Ranger cut 'n dry foam and tapping on alcohol ink. Pour some ink on your craft sheet, pick it up with the foam, and tap it onto the metal. You can get a very nicely blended color by doing this....and void the "polished stone" technique. Next, I applied a layer of glossy accents and let it dry clear.


The ballerina is another quickutz die cut in pewter. I used my tools to give texture to her dress area, sponged on cranberry alcohol ink and applied GA to just the dress. Isn't she darling?
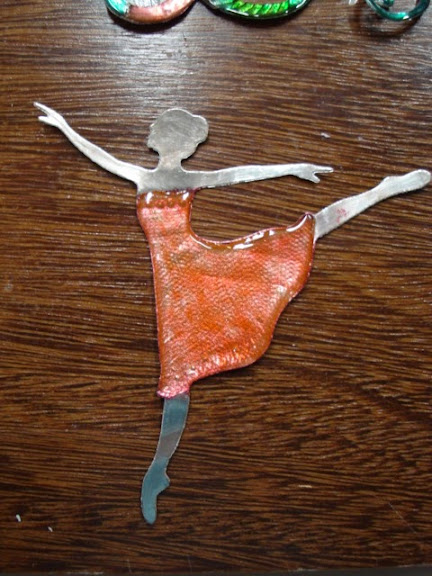


There is a 3rd Quickutz die that I used to make the smaller flourishes that I added around the ballerina:
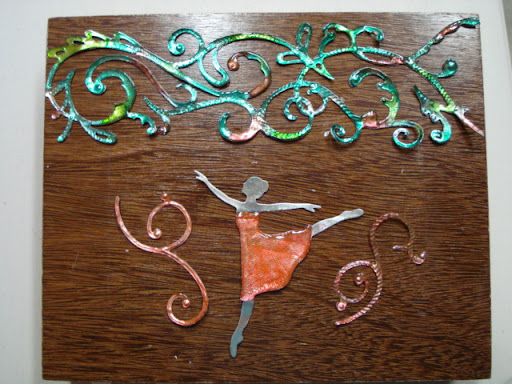


And added a couple of flourishes colored with Meadow


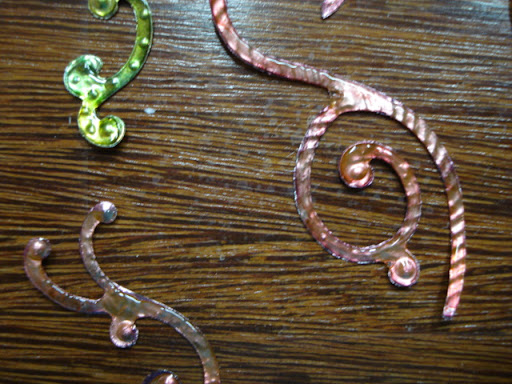
A closeup of some of the texture


This was done with a textured roller


You could do any arrangement you wanted....I sort of liked her dancing through the swirls!
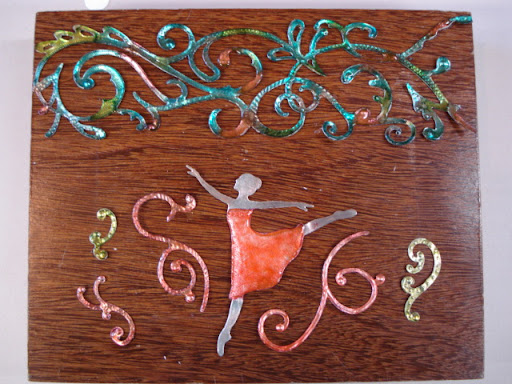


This way I preserve the beautiful wood from the box:
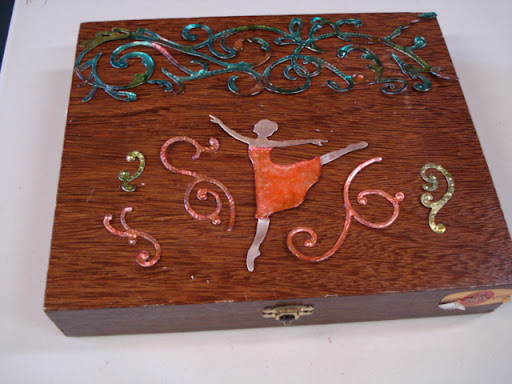


This will definitely make a wonderful treasure box for some little girl....but I think for the time being I will keep it on my dresser! How fun to make such pretty little things using my Wizard and a few Quickutz! A little ink, a little metal, and a little glossy accents. Doesn't take much to make something so pretty. And once again, I'm using a cigar box....something the local smoke shop would toss if I didn't grab it!

Sunday, March 2, 2008

Forever Yours

Treasure boxes, places to keep the things that are dear


Made with stickers, cut up paper, and chipboard. You might think this is a box for love? No...think again!


Pink dabber on chipboard, then gold marker, then Glossy Accents, let it dry, Cranberry alcohol ink and more gold marker. It's a lot of layers, but you get a lot of depth.


Magenta stickles on chipboard buried under Glossy Accents. All on chipboard swirls shaped into a heart.


Forever your throughout all time
Stories lost and trinkets found
Memories to share for years to come
Generations forever bound.


So, truly, a keepsake box to keep things for future generations, things to give to your great grandkids, a place to store wonderful things!


Love is not just about the love between 2 people....it's about the love between generations and what you pass on. That is what is truly "forever yours".

Friday, February 29, 2008

Sticker Mania

What do you do with all your really really really old stickers? I mean the ones you have had for 3 years or longer? I made a keepsake box!


Yet another idea for a cigar box in case you don't like the purses I've been doing! Inside the lid, I typed:

Once upon a time
We put your things here
Keeping them for you...
We hope they've grown dear!


10 stickers on this end. So much fun to turn them into little collages:


13 stickers on this end. Also note the stickles that I applied directly to the cigar box diamond band that I left uncovered.


10 stickers on this end and a metal letter. Who says you can't mix metal and paper? I did use glossy accents over the B, A, and Y to make them pop.


And even on the bottom of the box. I inked the DCWV paper to add color to it, distressed and inked the bunny.


This is on the front side. One long running sticker:


Back to the top, DCWV paper (2 sheets for the entire box), I backed the stickers with cardstock and cut them out, then popped them with pop dots. Used a wood knob for a handle to open the box and covered it with a flower sticker. Use Glossy Accents on different parts of the stickers (Peter's jacket and the shoe):


By backing the stickers with cardstock and layering them with different thickness of pop dots, you get a 3D collage look:


I'm really not a huge Beatrix Potter fan, but I could fall in love with this little scene. Note the tiny little mouse under the back of the shoe!


3 transparent stickers that I distressed and then added glossy accents to the fruit:


3 more stickers that I added Glossy Accents to pop the berries:


And yes, take a look, just plain, dull little stickers that have been on the shelf for years.


Amazing what you can do with a little ink and accents! I probably have less than $5 in this entire project. And the inside is lined with sticky backed black felt.

I feel like a sticker mania challenge coming on. I guess I could even give away a prize....more stickers! LOLOL!

Sunday, February 10, 2008

Harley Barbie

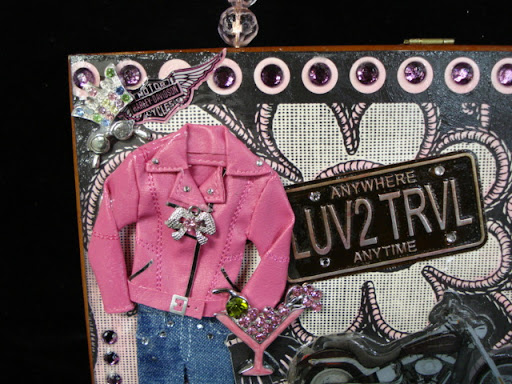
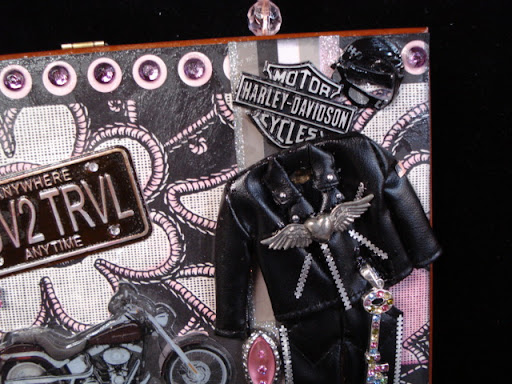
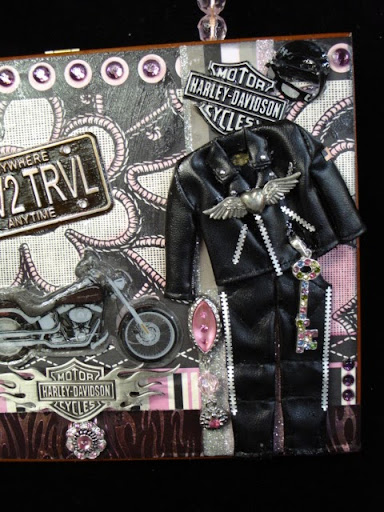
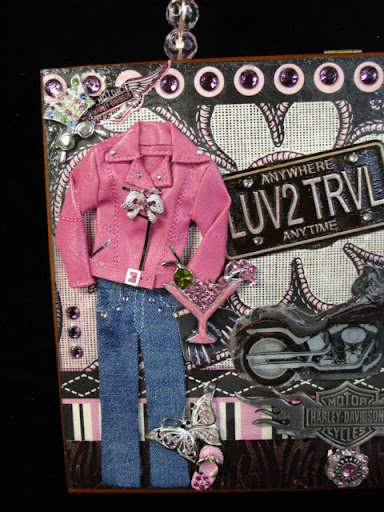
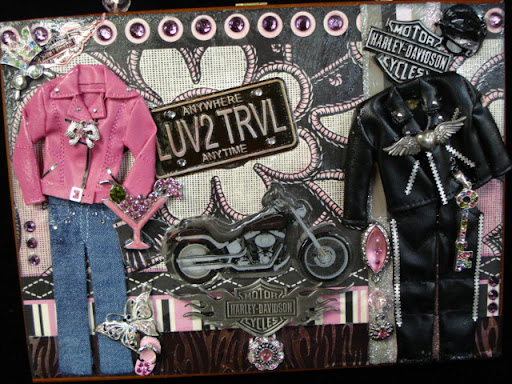
Well, there is nothing Barbie to this purse except for the pink. LOL! I said I had a vision of a Harley purse done in pink and black....here it is!


These are going together just a little too fast.....but so much fun! Once again, I've used a lot of EK Success sticker embellishments. Yep, all the clothes are stickers!


Karen Foster License Plates, lots of bling pieces from jewelry that was taken apart.


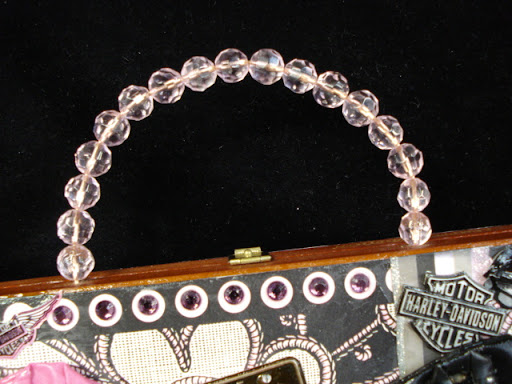
The handle is made of cheap pink beads, but when you string them over a copper tube....well, it just looks way better in person than in the photo. Guess you'll have to come over to see it!


I did ink the background paper to give it more pink. Used Creative Crystals across the top and to adhere the license plate.


Fun little butterfly and sandal at the bottom.


I made this with my friend, Lucky, in mind. She gets to pick between this and the first Harley purse that I made. I can hear her now....."I want them both!!!"


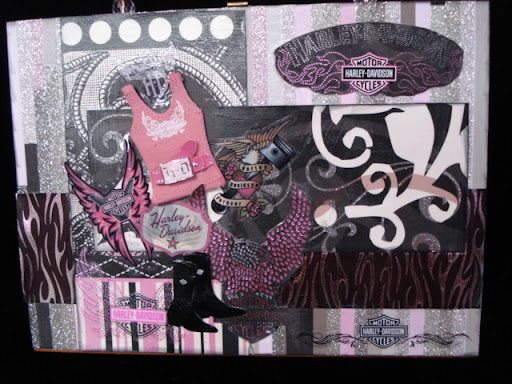
On the back, I just used all the leftover stickers, bits and pices and put it all together to make one huge mess! LOL!


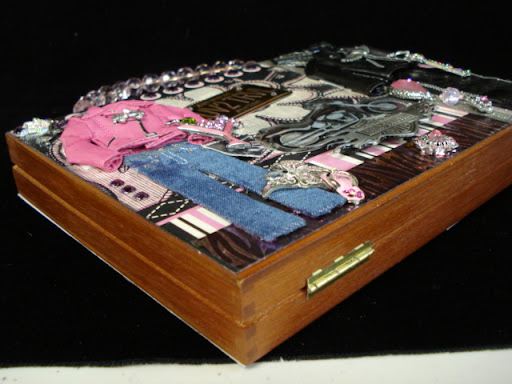
You can see that even though it's dimensional, it's not really too thick or lumpy.


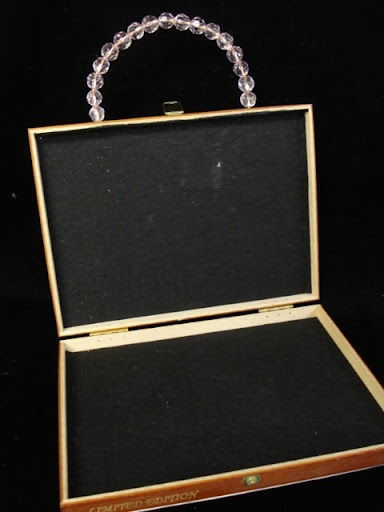
For the inside of each of these cigar box purses, I've lined them all with black felt. Easy, yet it gives it a finished look.


Like I said, I wonder if it ever ends. I have a Bingo purse laid out, but just haven't found enough elements to pull it off yet. Think I'll switch gears and do a Scrabble purse next. Should be a fun night!!!

Saturday, February 9, 2008

Kiss the Cook

After cooking for 33 years, I decided that when I retired from the office, I would retire from the kitchen as well! LOL! OK, so I do still cook, but not near as often or as much as I did when the boys were growing up. We do tend to eat out a lot and I've already blogged about our favorite place, Zamparelli's.

In my recent craze of doing cigar box purses, I decided to do one as a gift for Nancy, one of the owners of Z's. And I just think this little purse it way too cute!


It's relatively difficult to find Italian embellishments. So the grapes are from a broken necklace. Not bad, huh?


Basic Gray paper, lots of Peeled Paint and Spiced Marmalade inks as those are the colors on the wall inside the restaurant. I used Glossy Accents to adhere everything. This side is all EK Success stickers....distress, inked, taken apart, put back together as a collage....I like the bread board.


More EK Success stickers. I just love them! Fun how you can totally change the look by distressing them.


For the back, I just printed out their website logo.


The beads on the handle are from another old necklace. I buy them at garage sales and flea markets every chance I can. Thrift stores are another good source for broken bits of jewelry. Never know when it will come in handy.


Looking straight down on the top of the purse....quite a collage of things! But just so much fun!!!


In the top right corner, I just had to giggle when I came across the wine opener and the tiny cork. Perfect for this piece.


In the lower left hand corner, more tiny charms, the pot holders are more EK Success that have been inked.


The chef's hat, more EK Success. and the wine glasses, more pieces of jewelry.


I'm going to surprise Nancy with this on Monday when I'm taking 10 gals over for lunch (again!). Kiss the cook? Anyone who wants to cook lunch for me deserves more than that! Think she will like it?

Friday, February 8, 2008

Harley Babe!

I'm on a roll! So many ideas....and it's the first time in about 3 years that I haven't had to design using a specific product...I can use anything!


I just covered up the Indian Cigar words with stickers. So easy!


And a few strips of paper....and some rhinestones. Gotta love that bling!


Not truly as easy as it looks as the lid opened upside down, so I had to take it off and remount it. Used some book binding tape and inked over it with an Adirondack marker.


The handle is just the best! It's a drawer pull from Lowes (lumber store). It is absolutely perfect for this purse!


About 2 hours and it would have been only 30 minutes if the paper on the lid had been right side up! Have an idea for tomorrow for a Harley purse using pink and black or brown. My best friend, Lucky, is a Harley girl. I can't wait til she sees this....she is gonna beg for it! And I'm just ornery enough to let her beg for a week or two. So we won't tell her that I made it especially for her! LOL!