
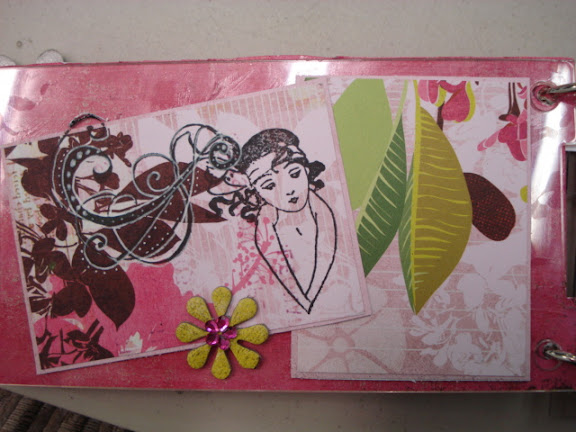
Created my photo mounts on the back...then decided since I don't have photos with me, I'd stamp and use my Ranger white pen. The girl and the flourish are 2 separate stamps.
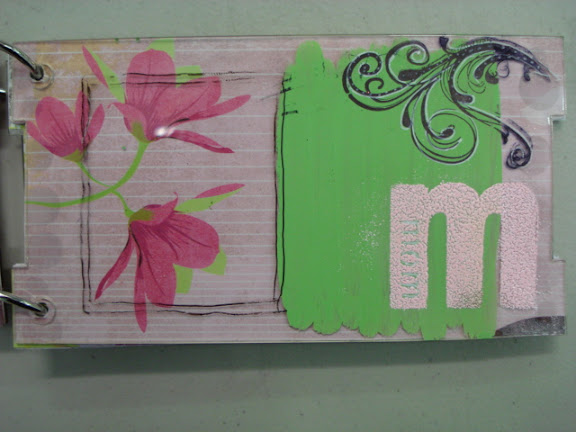
The next 3 pages are all clear acrylic. I painted on these and stamped with acrylic paint. Then drew my "photo mounts" with a black pen. I also used the white pen....but look closely, you can see through to what's on the 2 pages behind this page. The best way to "watch" this is to look at th epink flower on the far left side.
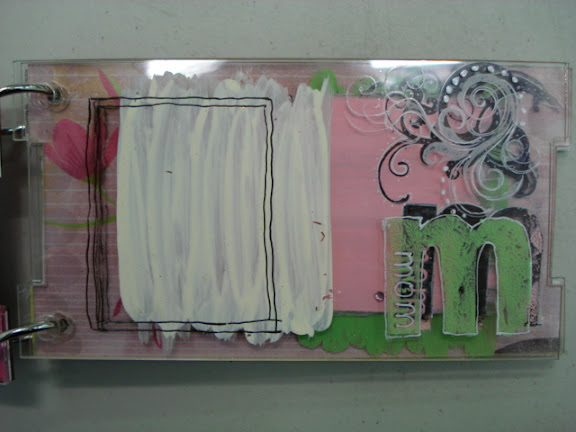
Now you see 3 flowers...pink paint in a smaller area than where the white paint was. Another "photo mount" squared off in black
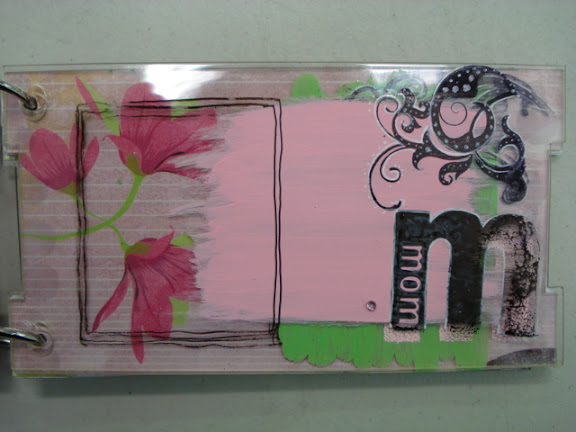
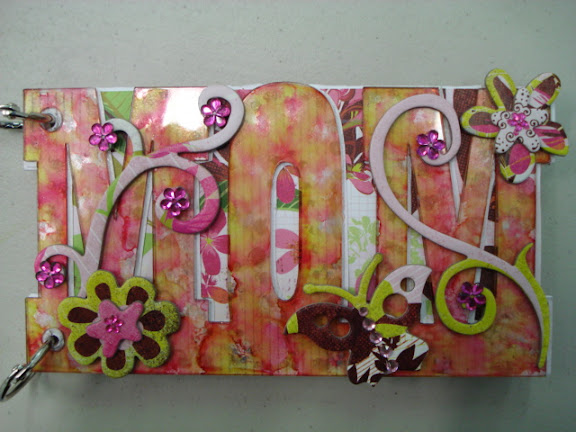
and here you see the whole flower. This was a really fun project. The "M" on this page is done with pale pink embossing poswer...just be careful not to heat the acrlic! It will melt!
Just ask me how I know this! LOLOL!
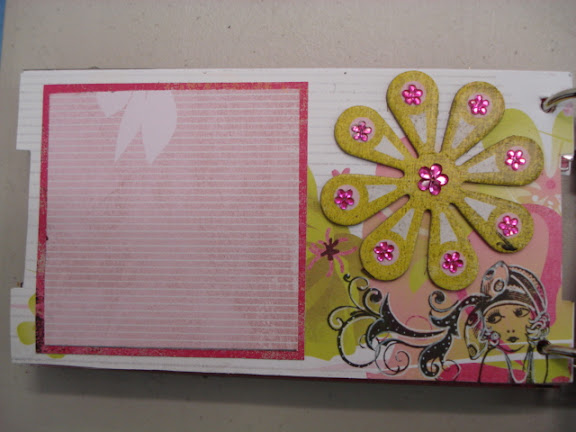
Should have said I'm using a few MSE stamps on this one...but the girl here is from 100 Proof Press, with an MSE swirl from her had. More Ranger white pen.
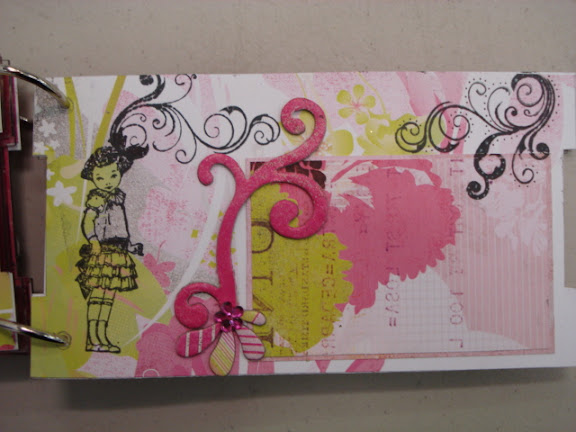
I love these little girls from CI Stamps. More MSE swirls and chipboard on this page. Note, for this one, I used black pen against the light background.
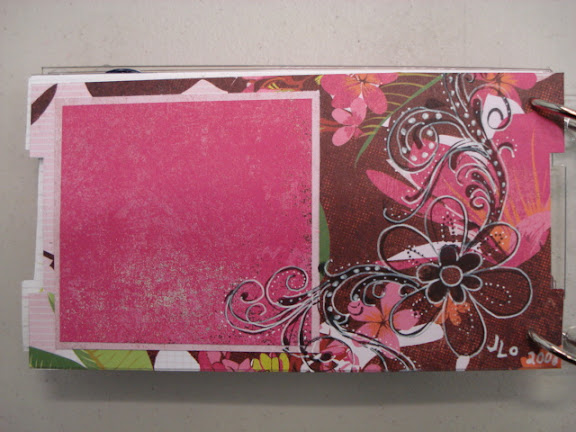
Finally, a Stampin Up stamp and an MSE swirl repeated with white pen. Totally fun!
I'm only blogging one project per day....and there are so many more that I haven't posted yet. This has truly been such a fun time out here in San Diego.
So I must end today's blog with a shout out to Liz and Kristal. Today, I walked into the store and they surprised me with a Revolution (die cut system)!!! I spent the whole evening playing with it and I'll have it with me Tuesday so you can come play with it, too!!! I really didn't think I wanted to learn yet another diecut system...but you know what? It's just another way to spend my time playing!!!
2 comments:
I can't see the images - I get a 404 error.
edie, I think they will look a bit better now. My mistake! Sorry!
Post a Comment