Showing posts with label Sunday International. Show all posts

Wednesday, May 28, 2008

Altering your rubber stamps!

Oh! GASP! CUT UP my rubber stamps???? Well, maybe after you pick me up off the floor! I USED to be such a purist. My stamps had to be perfectly clean, in order, sitting on the shelves. Row after row after row. Even the wood was clean!

First there were a hundred stamps, then two hundred.....then a thousand...then two thousand....no, I'm not a stamper at all! But I can't resist a cute little stamp! And they literally took over my work space. So I unmounted all of them!

Once you unmount your stamps (it took 2 full weeks....and I saved 75% of my space) you get some kind of freedom. I can't really explain it....but it is a new kind of freedom - to PLAY!!!

Example 1. I might use this stamp a handful of times as it is. A nice western collage.


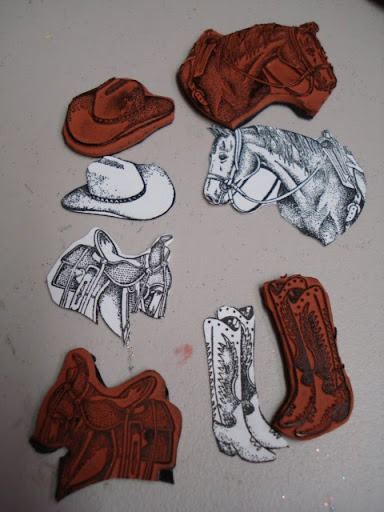
But I decided to cut the stamped image apart and use the individual elements from it. Now, I know, I can mask and stamp, but that seems a bit of work on a lazy day!


Dare I cut the actual stamp apart, I thought???
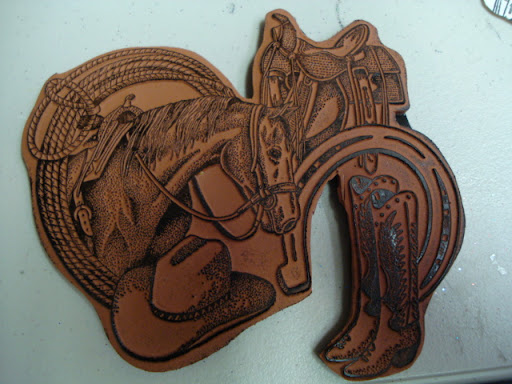


What freedom! Of course I did it! And now....do I count this as ONE stamp or as 4? LOL! I think I will get a whole lot more use out of it this way!


Example 2. I truly like this stamp. But I don't like it as a border. I wanted the sky to be open so it would "flow" upwards....not limit me to the size of this stamp.


So I whacked the top off!!! But look what happened! I absolutely LOVE this stamp now!!!
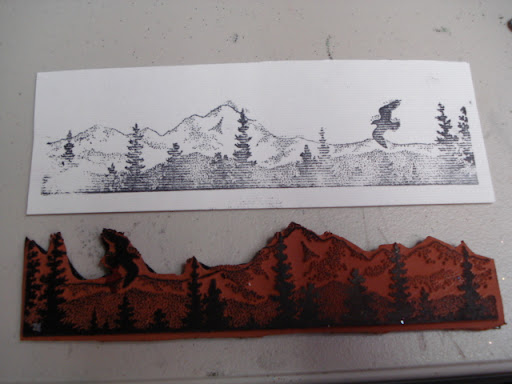


Ya gotta be BRAVE to do this!!!

Example 3. Do you ever have so much open space in a stamp that you get that "smudge" from the ink? Oh I do this all the time! And it can ruin a card in half a second!
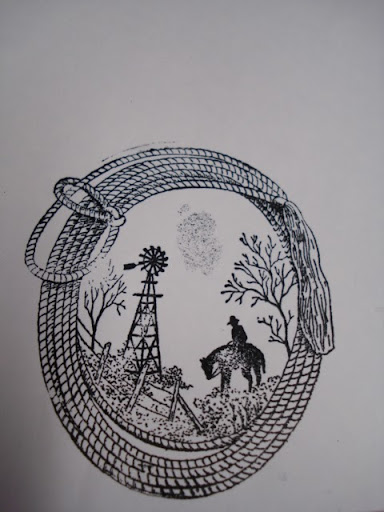


So, yes, I cut the inside out!


Don't worry, I left the inside perfect, so I can put it back and have the original image. But I can also stamp anything else in the center of the rope now!


All of the above stamps are from Talkabout Images. So reasonable I can buy 2 of each!

And next....the reverse. Why not take little stamps and create a collage out of them? One of my readers has been so generous and has sent me supplies for the local home school moms. This last batch had a lot of tiny little stamps in it, some dated back to 1996.
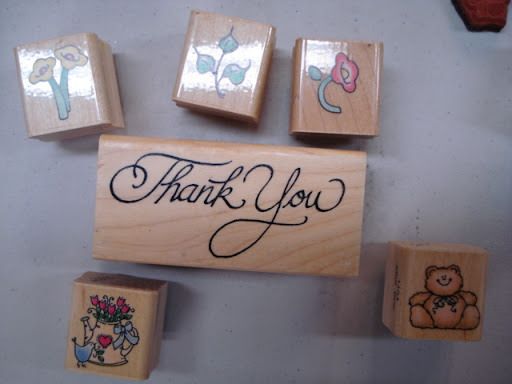

Because I unmounted them, I could then collage them back together to give an interesting new look to something over 12 years old!
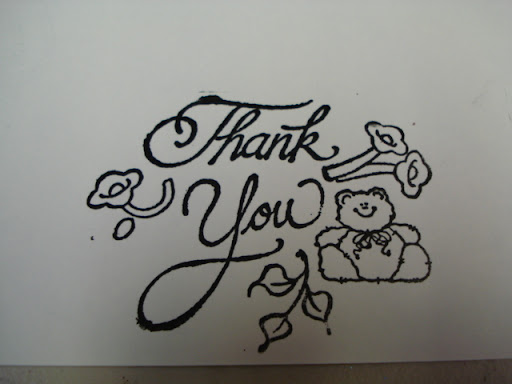


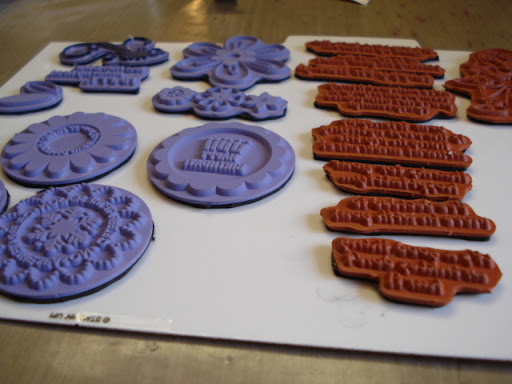
And yes, different brands as evidenced by different types of rubber:


Put together on Sunday International's thin mount:
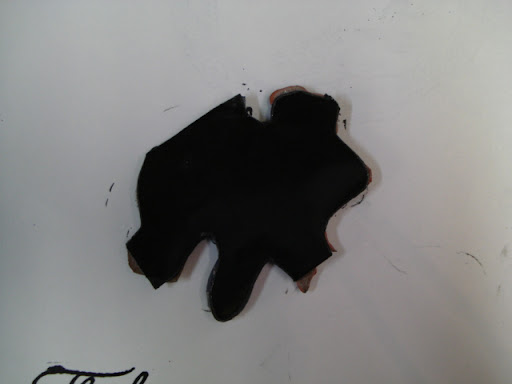


The stamp will go to the kids as a collage. But they can still cut it apart if they don't like what I did!

I know so many stampers who get bored with what they have. I say "UNMOUNT IT ALL! Cut it up! Make new collages! PLAY! PLAY! PLAY!"

And YES! I have unmounted ALL of my Stampin' Up sets! Even the ones on wheels! LOLOL!!!

After all, I've got to downsize this year...I've got to save on space! I've got to plan for hubby's retirement and a one level, 2 bedroom condo!

I'm just not sure I'm going to succeed!!! I do love stamps!!!

PS. If you are going to do this, use KIA or Tim Holtz scissors, and cut as close as you can to the image you want to preserve. I use EZMount to back them with and I'm still looking for my favorite acrylic block....but I do like several different brands.

Friday, April 4, 2008

Unmounting my stamps

Lots of you have sent me emails with questions about my decision to unmount all of my rubber stamps, why I picked the products I picked, if I'm happy......so I've decided to just show you all here!

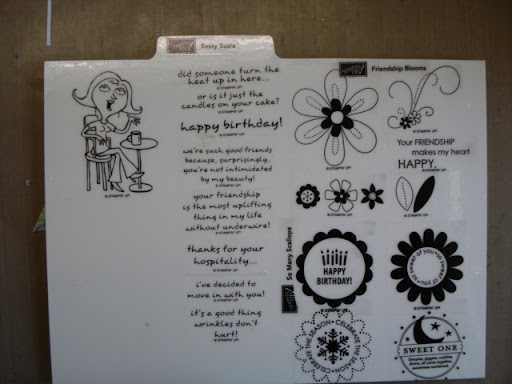
But first....If you are a Stampin' UP rep....or love their stamps....do not read this! LOLOL! I just don't want to be responsible for anyone having a heart attack! Yes....I unmount my SU stamps, my Tim Holtz stamps (gasp!)...everything!!! If there are plastic stickers on the wood, I will use undu and take it off and then adhere it to the front of my Stamp n Store panels.


I like these panels because the stamps cling directly to the back of them, and they are tabbed across the top. I simply cut them to the size that I need.


I have mounted some of my stamps on EZMount, but have decided to go with the Thin Mount for all my current and future stamps. It truly is quite thin and it works extremely well.


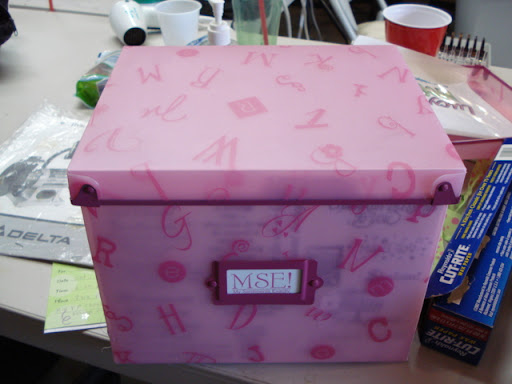
I cut the Stamp n store panels to fit inside my new MSE stamp storage boxes....and these are the stamps that I travel with. You can see that I can also drop in Tim's new sheets as well....that's the game sheet right in front. But yes, I've unmounted all his wood stamps and love them in this system. So easy to find and see!


The lid goes on and this box sits on the corner of my main work table. It's absolutely perfect!


Using the thin mount, I find the stamps are a little more flexible. Now, that may not be important to you, but I tend to stamp on some rather lumpy surfaces and find this is so helpful.


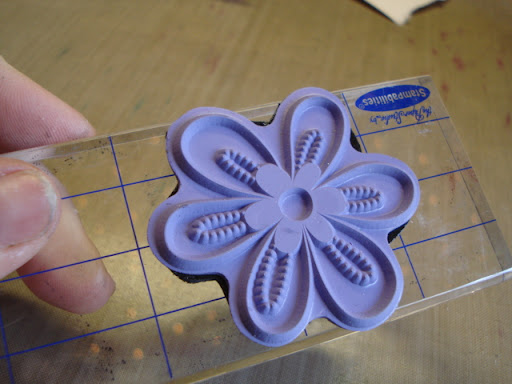
I just stick it on anything acrylic. My metal clay rollers work wonders with these! Oh, by the way, I also unmounted all of my wheel type rubber stamps and they are all now flat!


Just put the ink directly on the stamp


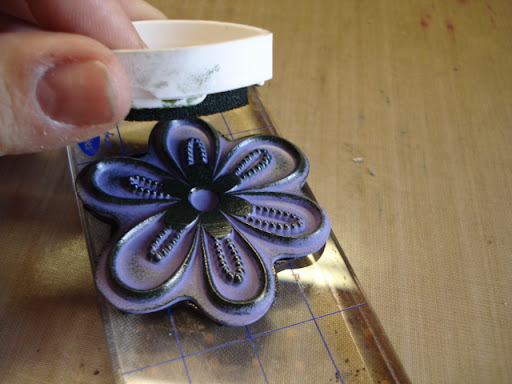
And flip it over and stamp. With these gridded positioners you can pretty much get your spot right every single time.


Now, we all know how unconventional I am! So I should tell you that I will often unmount a wood stamp and then trim the rubber just as close as I can....that way when I get to this step, I can have even better luck at positioning my stamp! Just a suggestion!

So, this is really a 2-part tutorial because from this, I plan to show you how to make your own stencil to emboss in the Wizard. That will be for tomorrow!

In the meantime, I have ordered all of these products and should have them in our little store in the next week. If you are interested, just email me.

EZ Mount - $4.50 for each 8x11 sheet
Thin Mount - $4.50 for each 8x11 sheet
Stamp N' Stor tabbed panels, package of 5 - $6.99
CD case storage panels, package of 10, $3.49
MSE storage case - $15.99 Actual Storage Kit Size 7.75" tall x 10"deep x8" wide