Showing posts with label unmounting rubber stamps. Show all posts

Friday, June 6, 2008

More freedom with your unmounted stamps!

Well, when I saw this at the store, I had to grab it! It's a Memory Essentials Rollergraph by Clearsnap. You can take any unmounted (thin) rubber stamp and put it on the adhesive roller and make a border. Oh! Wow!!!


But then I saw that it also has an inker. Now how ingenious is that system? But it was a bit complicated for me to figure out how to install it..so I decided to do a picture tutorial on this. When you take the ink pad out of the package it looks like this


There's a "hole" in the back"


and that "hole" has to go around this "prong".


There are tracks that it slides in on.


You simply click it back into position


And the cover for the ink pad cancome on and off.


Take the cover off and push the ink pad forward so that it rests on the stamps.


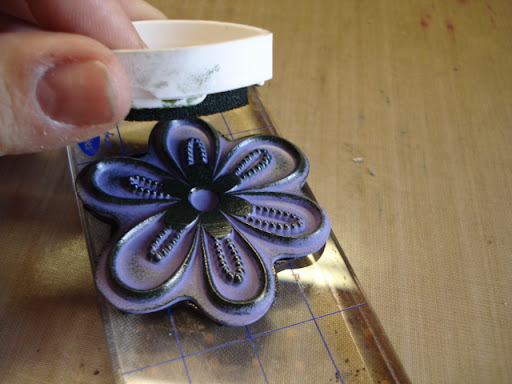
The handle on the original roller comes off and the roller stnaps down into the ink pad holder


Like this


And then you just start to roll over your paper:


These are MSE stamps that I put together to make a border. I have to say that these flourishes went on the roller just perfect!


And these are from Crafty Lady:


The possibilities are just unlimited! New borders! Wow! Now, you cannot use this with stamps that you ahve applied to EZ Mount as it is too thick to go around the roller. But your clear acrylic stamps...it works great!

And from Linda at Clearsnap:

you can rinse off the adhesive strips and the water will somehow rejuvenate the tackiness of the tape, so you can use it a bunch before you need to peel the first layer of tape to expose the fresh one underneath. There are 5 layers of tape on each wheel.


They also suggested purchasing multiple wheels and just leaving your stamps on the wheel. Yet another great idea from Clearsnap!!!

Friday, April 4, 2008

Unmounting my stamps

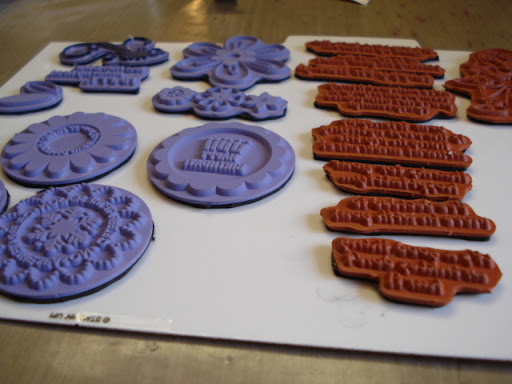
Lots of you have sent me emails with questions about my decision to unmount all of my rubber stamps, why I picked the products I picked, if I'm happy......so I've decided to just show you all here!

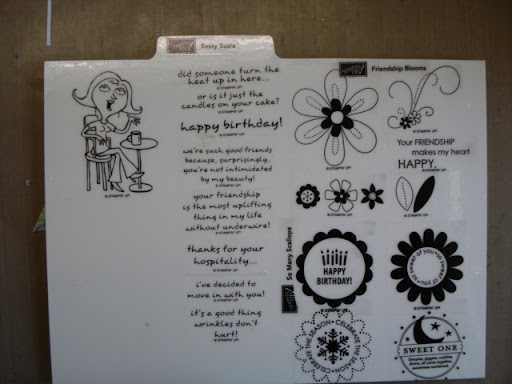
But first....If you are a Stampin' UP rep....or love their stamps....do not read this! LOLOL! I just don't want to be responsible for anyone having a heart attack! Yes....I unmount my SU stamps, my Tim Holtz stamps (gasp!)...everything!!! If there are plastic stickers on the wood, I will use undu and take it off and then adhere it to the front of my Stamp n Store panels.


I like these panels because the stamps cling directly to the back of them, and they are tabbed across the top. I simply cut them to the size that I need.


I have mounted some of my stamps on EZMount, but have decided to go with the Thin Mount for all my current and future stamps. It truly is quite thin and it works extremely well.


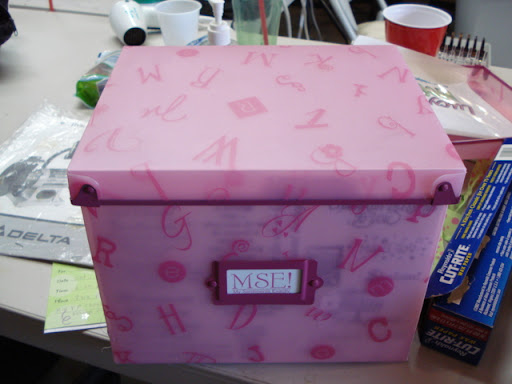
I cut the Stamp n store panels to fit inside my new MSE stamp storage boxes....and these are the stamps that I travel with. You can see that I can also drop in Tim's new sheets as well....that's the game sheet right in front. But yes, I've unmounted all his wood stamps and love them in this system. So easy to find and see!


The lid goes on and this box sits on the corner of my main work table. It's absolutely perfect!


Using the thin mount, I find the stamps are a little more flexible. Now, that may not be important to you, but I tend to stamp on some rather lumpy surfaces and find this is so helpful.


I just stick it on anything acrylic. My metal clay rollers work wonders with these! Oh, by the way, I also unmounted all of my wheel type rubber stamps and they are all now flat!


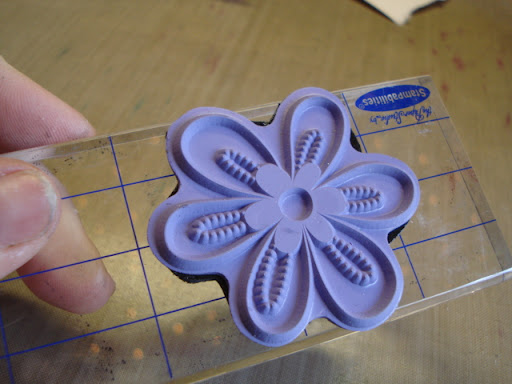
Just put the ink directly on the stamp


And flip it over and stamp. With these gridded positioners you can pretty much get your spot right every single time.


Now, we all know how unconventional I am! So I should tell you that I will often unmount a wood stamp and then trim the rubber just as close as I can....that way when I get to this step, I can have even better luck at positioning my stamp! Just a suggestion!

So, this is really a 2-part tutorial because from this, I plan to show you how to make your own stencil to emboss in the Wizard. That will be for tomorrow!

In the meantime, I have ordered all of these products and should have them in our little store in the next week. If you are interested, just email me.

EZ Mount - $4.50 for each 8x11 sheet
Thin Mount - $4.50 for each 8x11 sheet
Stamp N' Stor tabbed panels, package of 5 - $6.99
CD case storage panels, package of 10, $3.49
MSE storage case - $15.99 Actual Storage Kit Size 7.75" tall x 10"deep x8" wide