Showing posts with label cha. Show all posts

Saturday, January 30, 2010

Too stinking cute!

Tim Holtz. Sigh. Beyond brilliant! I absolutely love how he packages his product. Did you see this? His new diecut machine.....in a suitcase!

It's electronic. Has a 1 hp motor in it. The sides fold down and you just pass the dies through it. Will cut chipboard, grungeboard. Pretty cool. He demo'd it at CHA. I think it's coming out in July.

So, if you are looking for an electronic diecut machine that is so darn cute you're going to want to take it everywhere you go......this is the one!

I did really like the dies that he's come out with. The aperatures are positionable - so you can make the openings wherever you want them to be. Alterations by Sizzix. Look for them soon! They will work in your Wizard or Big Shot/Kick machines.

Friday, January 29, 2010

and the winner is......

Remember Amaco had a butterfly contest? Look at the digital display on one of the walls in the booth - I just loved this design!!!

I think the booth was 30' long. Huge. The actual butterflies were on the center panel, shown here to the right.


Ambrose won for under 15. His sister made this one and it looked so stunning on the black velvet background.

Here's a better display of the project's wall:

Ambrose made this one as well, I like how they put them in nice wood frames:

And this is the butterfly he won with. He also made the dragonfly. Totally talented kid!

So huge congrats to Ambrose for making butterflies and a huge congrats to Amaco for sponsoring such a wonderful project. Ambrose gets a crystal etched trophy (I got to see it at the show!) and a $100 check! Wonder what next year's challenge will be!

Friday, January 22, 2010

CHA - Booth 2409- The party at Amaco!!!

Am I ready? No,not really!

Am I packed? Well sort of.

I leave about 6:30 am to fly out. I may be up all night long again. WHEN will I ever learn? LOLOL!!!!

It has certainly been a last minute whirlwind flurry around here. I decided to simply make up ATCs for all the techniques. Under the gun, so some I like, others I would re-do later on or put into the trash!

First one - FP in a mold, the bear, FP scraps, ironed, sizzix....love it!

FP strip embossed in a cuttlebug folder.

Quickutz die in pewter, some repousse, alcohol ink, glossy accents

Pewter, same as above:

FP strip stamped, inked and heated:

Pellets colored and set in a mold made from a charm:


Spellbinders envelope die, with bird aperture. Insert is FP pellets, melted, rolled, and cuttlebug foldered, then copic marker refill inked

whew!


Can you even find the FP on this one? It's my "table top" - FP with fantasy film over it, stamped.


Pellets, melted, rolled, embossed, then copic refill inked, under a fragment, wrapped with metal tape.

Linda made this and tossed it! Cute frame!

Pellets in a mold of a very tiny "frozen charlotte" - just love how she came out!


Metal embossed and sanded:

This is just a sampling! Come by booth 2409 to see the rest....I have an entire 7Gypsies rounder full of ATCs. Forgot to count them all, no time to even photo them! You'll just have to see me at the show!

Wednesday, January 2, 2008

Life Interrupted

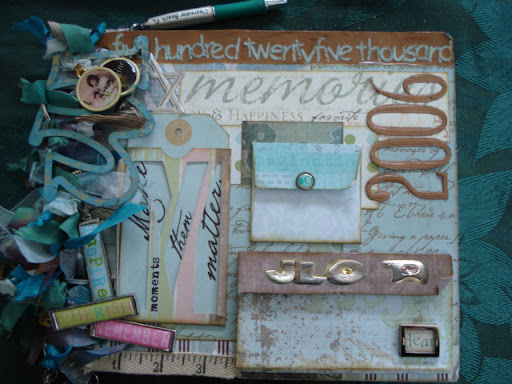
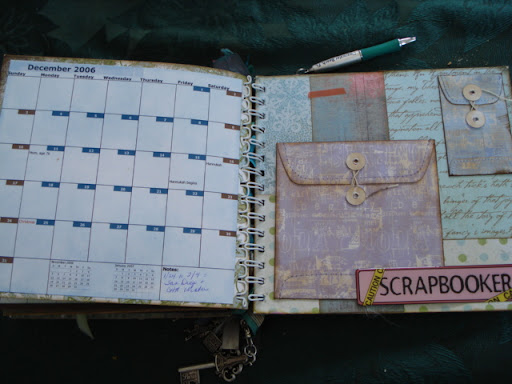
I keep saying that I'm going to make a 2008 calendar....but things keep cropping up that interrupt my play time. So I've decided to take a couple of shortcuts. The first is to share a calendar that I made in 2006. This was so much fun to make! And then I'm going to take it apart and use bits and pieces from it for my new calendar:


There's a whole lot to look at on just the outside cover. The theme was "Moments" and I used Spellbinders fonts to diecut the words across the top and the year. There's even a Shazzam die in the ribbons....see the "M"? I inked it to match the calendar.

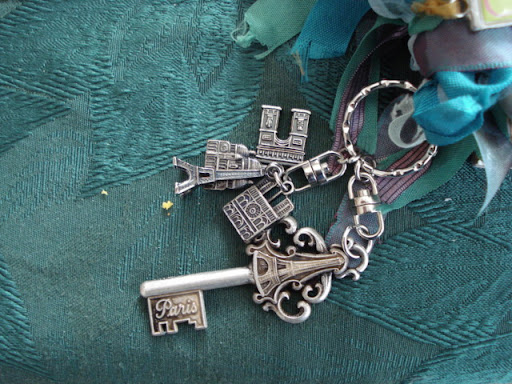
This was the year I went to London, Chesterfield and Paris. What a fun trip!


And lots of little charms and such tied into the ribbons as well.


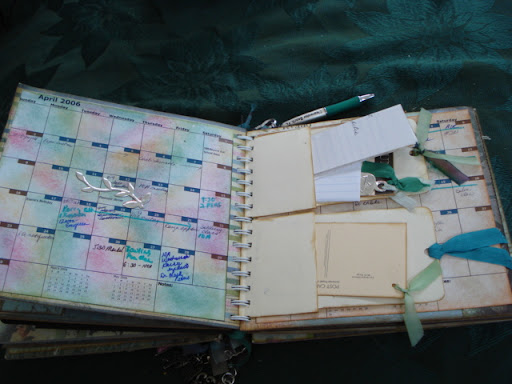
On the pages and between the pages....about 50 tiny little pockets to tuck notes and moments down into. Even some full sized file folder pockets:


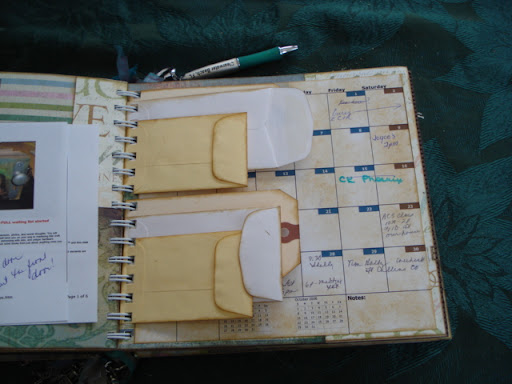
I made some of the pockets....some were purchased:


The calendars were created in Excel, printed on photo paper, and stippled with ink to match the background paper colors.

My goal was to put samples of new dies on each page.....but I was just so busy....I couldn't keep up with it!


And how easy to make all kinds of vellum pockets!


and use premade manilla envelopes from the office supply store....can we say "cheap"?


And of course, 7Gypsies has tons of pockets and tags to offer:


Big and small....they really were fun to make!


The calendar was actually too big to carry around. Almost 8" x 6" x 3" thick. So rather than use it....it was on display most of the year. I carried it with me as I walked the floor at CHA....certainly got the attention of many who passed by. But just not practical!

And yes...it did take me about a week to make. Most of that was spent editing and designing the actual templates in Excel. So with that task behind me, it should go much quicker this time....if I can just get to my studio! It will be fun to see how I can alter this calendar into a new size (5" x 5") re-ink the pockets to match my new color scheme, add art dolls...and just play.