Showing posts with label Swarovski. Show all posts

Monday, April 24, 2017

Sterling Silver Jewelry

While we were in Israel, I made a decision that it's time to start downsizing.  But I want to use up as much of my "products" as I can before I do that.  So this is going to be the summer that I play hard.  And you ask yourself, "can she play harder than she already does???"  LOL!!!

So Monday mornings are my "never ending watercolor class" and Monday afternoons will be jewelry making  time with my sisters.  We had a fun afternoon and I managed to make 1 pair of earrings.


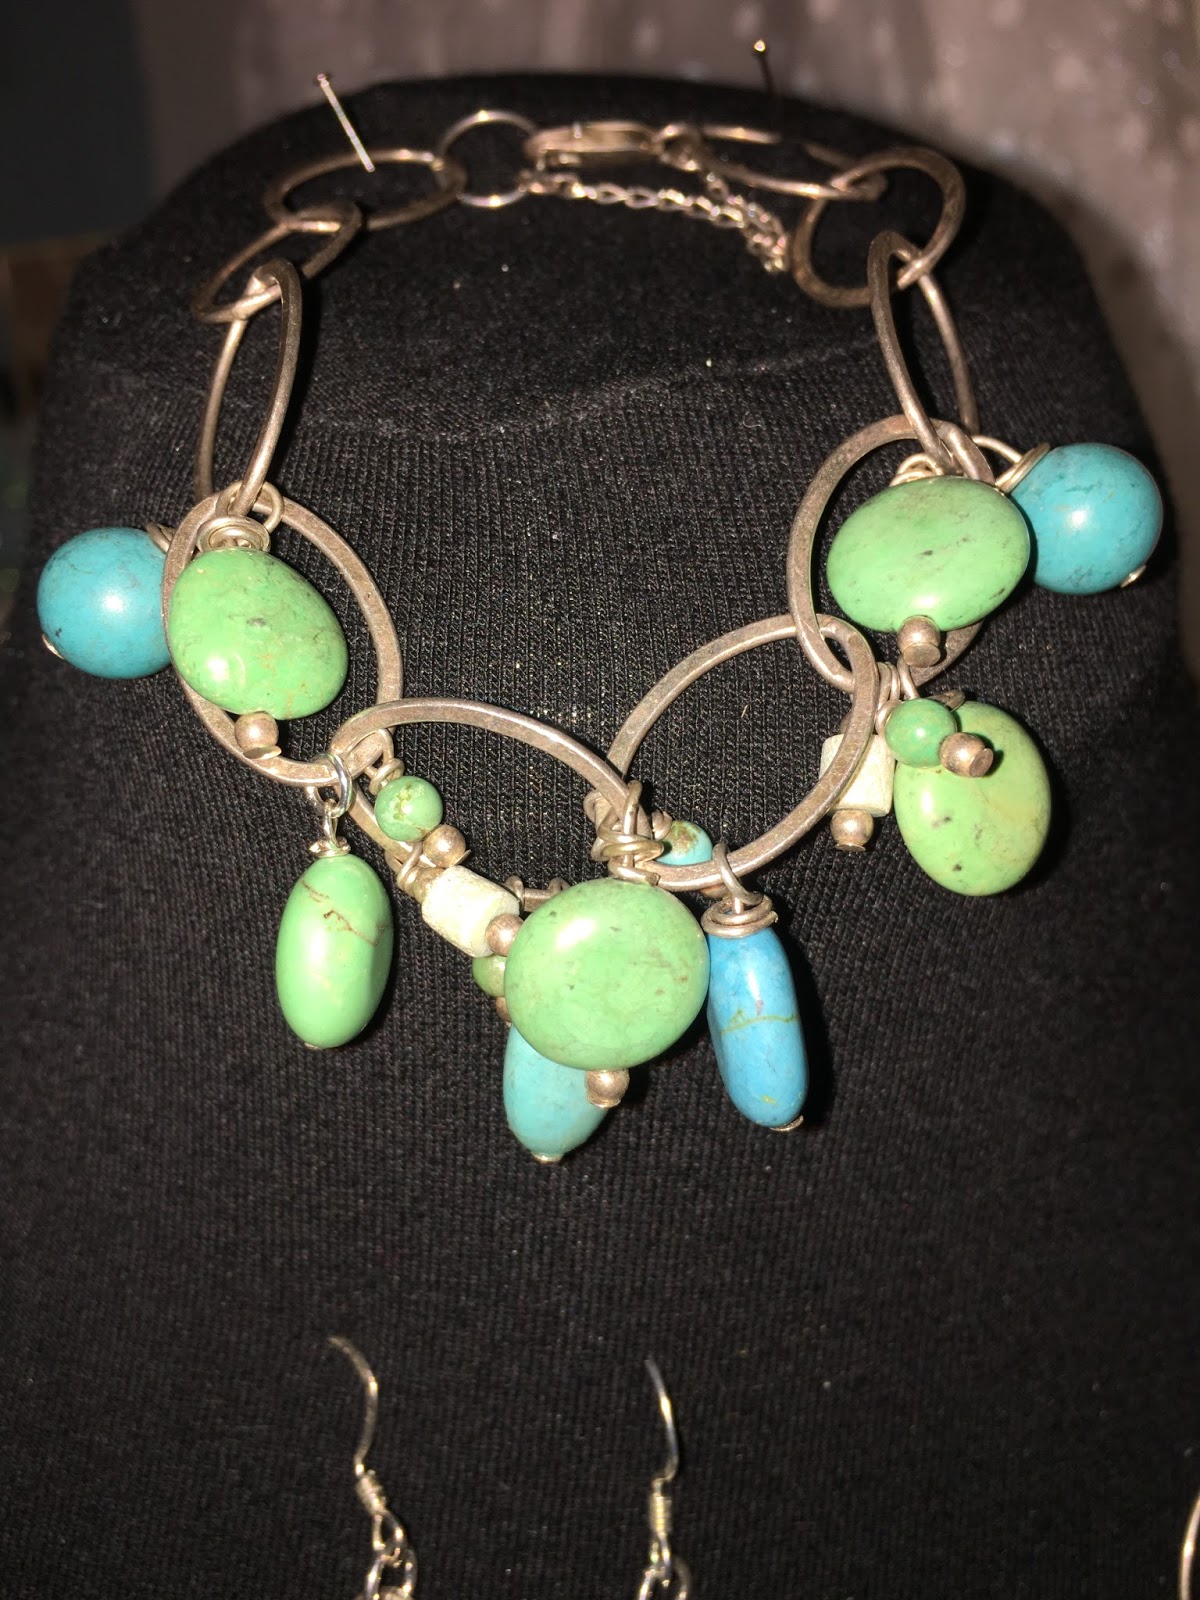
Sterling silver ovals soldered together, swarovski crystals, turquoise beads.   I did the soldering/polishing last week.   I had to ask myself....am I too old to solder?  I didn't get the top on tight on the can (using a large butane type torch that they use to solder pipes) and a gigantic flame popped up from the leaking gas and just about scared me to death!  Fortunately, the house is still standing!!!  And yes, I do have 2 large fire extinguishers out in the garage where I've set up my jewelry making stations.

I made these to go with a necklace that I had made several years ago.  But I no longer liked the necklace, so I altered it - here's what it looks like now:


That center piece is at least 15 years old - a sterling silver Paula Best charm.  I always loved her stamps and when I came across this charm, I knew it was mine!

And there's a bracelet to match.


Here's all 3 pieces.  I think I'm happy with them now.  All .925 sterling silver so don't bother to ask how much I have in it!  It's not what you spend on an item, it's how much you love it!!!  This one will not go on etsy, it's for me.  :)


We're making jewelry out in my garage which is finished, air conditioned and I even have heat out there if/when we need it.  I've set up a glass cutting station, a grinding station, a drilling place and now a torching space.  If you have ever worked with sterling silver you know that you have to clean the silver, add the flux, solder, quench and dip in pickling.  That takes up a lot of space in itself.  But I also know I need to get back to making dichroic glass pendants to put on some of the necklaces I'm working on.  That requires glass cutting, grinding, polishing, then into the kiln to fuse the glass and I normally have to repeat that process at least twice to get it just right!

So stay tuned as I hope to blog some of the things we are making out in the garage this summer.

If you are local, and you want to come make jewelry with us, just get ahold of me and we'll see how much space we have.  I think it's going to be a really fun summer!!!  Are you ready to play???

Tuesday, December 8, 2009

Altering my Lampstand

I have been looking for a Menorah for ages. Didn't want to plop down a chunk of change....yet still believe that we should not spare expenses when it comes to honoring Jehovah.

Did you know that the 8 candles should all be the same level? And that the 9th candle, the Shamash, the attendant candle sits a little higher or lower than the others. And that you use it to light the candles from left to right.

Actually, rather than candles, one should have oil holders and use olive oil with candle wicks.

It's called a lampstand in the Bible. Mentioned 39 times.

We are only 3 nights away from Hanukkah and I'm getting so excited! The house is abuzz with video preparations, ideas are flowing, and I have to say, this year, 8 Nights of Lights is not going to be for the weak or faint! LOL!!! Hint - get a torch!!! Remember - it's about light. After all, He is a lamp unto my feet, a light unto my path......

I found this Menorah at my local hardware store and in my mind's eye....I knew exactly what it would look like when I was done with it.


First up, I took off all the cheap charms. Then I replaced them with sterling silver charms and swarovski crystals. It took me a couple of hours and some creative jump ring making....


But oh! How I love the final results! A Menorah that I can use for years to come, and pass down to future generations.


And this one has such special meaning for me. I bought the star in the circle on the far left when Grandma Myrtle House died in 1994. The Mezuzzah on the far right was purchased in memory of Grandma Moore when she passed in 1993. And the star that is second to the right was purchsed in 1992 when my dad passed away. I've kept them all this time and have finally found a way to display them, and continue to honor their memory.

Altered art. Taking the ordinary and making it extraordinary.

Fit to worship the King this Hanukkah season.


PS: Charms were purchased from 1-800-dreidlecrafts

Sunday, March 16, 2008

Nesting nestabilities

I'm at my in-laws all week and rather bored in the evenings.....so lots of tutorials!!! During the day, I visit my friend Jody, who happens to live in Kingman AZ. Today, she showed me a z-fold flower that she had made. I decided that it could be done with a Spellbinders Nestability die....or a Quickutz Cookie cutter die. Any circle die about 2" in diameter will work.

Cut out 8 circles. Ink all the edges. Fold in half and ink the fold.

My first lesson was that you do NOT want to fold them like this (half way through a scallop)


You want to make the fold between the scallops:


Next, count up 3 scallops from the left and make a 90 degree fold. I used my bone folder to get a good fold.


Starting at the bottom, fold up 45 degrees to the left. What was on the bottom top should now be on the left side, top.


Next, take that long bottom side and fold it behind everything on a 45 degree angle:


Use double sided paper. Did I mention that? This is Scrapperdashery's new line and I just love it. I reversed the paper with every other diecut.


And then slide them together at the center:


I used a Sizzix tag die, some Lucy McGoo stamps, and attached 3 Swarovski crystals.


There is a bit of depth to this, but I just absolutely love how it came out.


Thanks Jody for showing me how to make these flowers!!!

This just might have to be the make-n-take at the show in San Diego!! What do you think? Would you sit in the After Midnight Stamps booth and make one of these to take home with you? Let me know!!!

Wednesday, December 12, 2007

Sterling silver jewelry

Tonight is my 4th soldeirng class. And this is the first time that I've actually made something between the classes. I can hardly wait to see what the instructor says about them. I'm rather pleased.

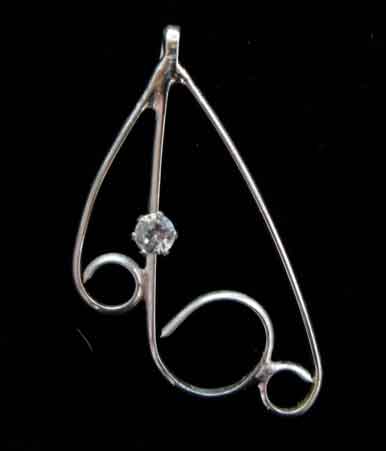
This first one is just 3 pieces of wire, bent, and soldered together, then a gemstone finding soldered to the top on one of the wires (ok, that was a bit tricky!) and a CZ set inside.


And this is one piece of wire, looped, shaped, and soldered in 2 places, with a swarovski crystal dangle attached.


And I did these with one of those kitchen creme broulee torches! $26.00 at the cooking store. You know, I'm starting to think that I use more of my kitchen stuff in my studio than I do in my kitchen!

Maybe that's why we eat out so much? LOL!

Thursday, December 6, 2007

Metal Clay Play Day

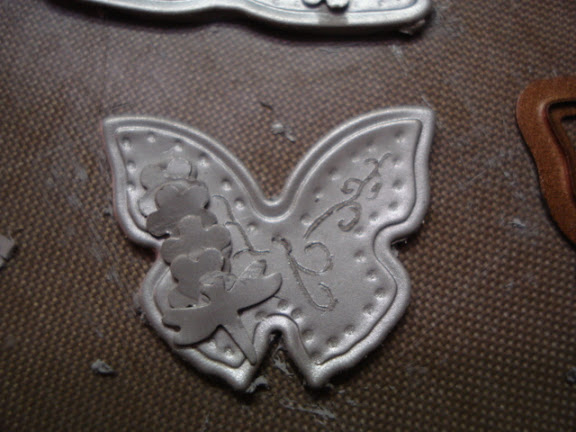
A few days ago, I blogged about diecutting paper type Art Clay silver using Spellbinders new "flying beauties" die:


My friend Kathy was here today and we played with metal clay....in the paper type format. She was here to make a kimono pendant and I wanted to play along. So I gave her a sheet of Art Clay Silver Paper type and I used a sheet of PMC+Sheet.

Just a few differences!

The PMC sheet is 2.375" x 2.375", 5 grams and cost about $10.00 retail.

The ACS sheet is 3" x 3", 10 grams and cost about $20.00 retail.

As you can see, my kimono is about half the size of hers. I really did not like that. Even though it cost half as much....it is half the size and would rather have had the larger kimono.


As you can see, I decided to embellish my kimono with one of the diecuts I had put together last week. So much fun!!!

For me, there was a huge difference between the 2 sheets. When you held the PMC sheet in your hand, it totally flopped over the side of your hand. When you held the ACS sheet...it stayed flat.

When you fold the PMC sheet, it wants to open back up. When you fold the ACS sheet, it tends to stay closed...or in position where you folded it.

We fired both pieces in the same kiln at 1472F for 30 minutes. They both did fine at that temp.

When fired, they are both .999 fine silver, so we could use ACS oil paste to add flowers and such.


As you can see, my kimono is about half the size of Kathy's.


She added some swarovski crystals to the front of her kimono when done.


I added a tiny one to the center of mine. We used SS wire from Beadalon to make our pendants. I really want to go by my saying, "make it today, wear it tonight" and I did just that...wore mine out to dinner tonight!

So not only did we have a great play day today, but while the pieces were in the kiln, I showed Kathy all the latest tricks on using Friendly Plastic. So she got a double class today!

Sure was fun! Playing with clay. Making gorgeous kimono pendants.

OK, say it with me! "Make it today, wear it tonight!" Just check out my calendar for more metal clay play days coming up!