Showing posts with label Quickutz. Show all posts

Tuesday, December 29, 2009

Metal cards make it bling!

If you are having trouble getting you Spellbinder's pendant dies to cut....try them in Amaco's Art Emboss pewter! They cut perfect the first time! And my camera just saw so much bling it couldn't really get this photo as pretty as the card actually is! I used Creative Impressions silk ribbon on the bottom and stamped using a sentiment from MSE! Must be a "Colorado" day around here!!!


And is this too cute? A Quickutz die...masked and airbrushed and then just a hint of repousse to give it a little dimension. She's done in pewter as well.....I just seem to like it better than other metals. But tomorrow, I'll be working on recoloring Amaco's metals so you can match it to any piece of paper you want! How cool is that?


Quick and easy cards that just say "wow".

Oh, inside the ballerina is my stamp that says: "Dance each step of the art you create!!!"

Tuesday, February 24, 2009

She's here!!! She's here!!!

But you know, she didn't get here til about 2:30 today and by the time we got home from the airport....and unpacked....and had some wine.....and looked at the studio....and moved her studio into my studio....

NOTHING got done!!!

However, in anticipation of all the designing and creating that's going on this week.....and the videos we are going to make...I thought I'd put a link here to ALL 17 of my youtube videos to date. Just click below:

YouTube Video link

And have fun if you have missed some of these. Bookmark the site, or subscribe to my videos so you don't miss a single thing.

And look at all the product I've used so far.....such enabling!!!

Amaco, After Midnight Stamps, Scraperdashery, Spellbinders, Quickutz, Sizzix, Provo Craft, Lucy McGoo, Luminarte, Ranger...

and I did my first video just 2 months ago! Imagine where we are headed!!!!!

Tuesday, August 19, 2008

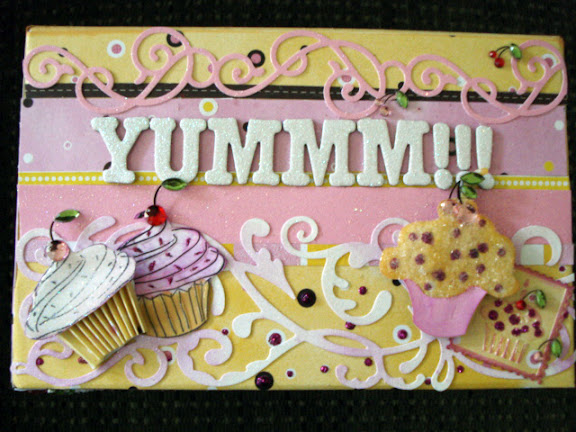
YUMMM!!!

Sometimes, all it takes is just one word:


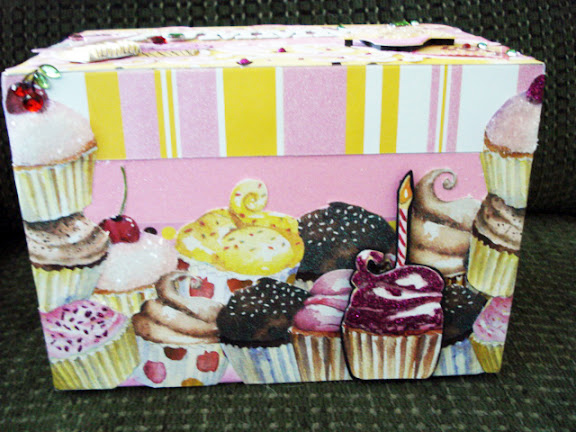
That's the top, here's the front - a recipe box class coming up in San Diego!


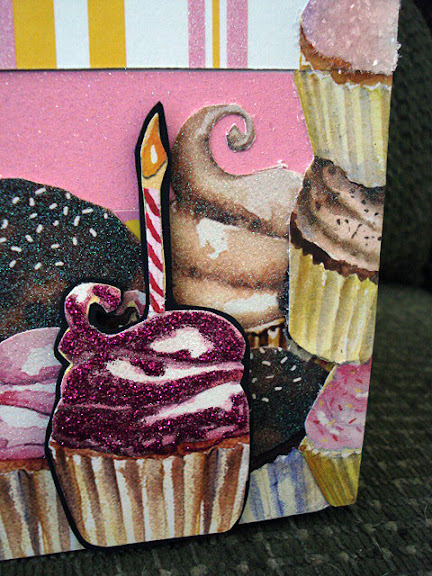
Isn't this just about yummy enough to bite into? But oh! It's just paper, snowflakes and rhinestones.


A sizzlets die on the left and on the right, a Cuttlebug cut and emboss die. Now, who would know these are diecuts? I do just love altering and embellishing!

Can hardly wait to get Spellbinder's new cupcake die.....I see more cupcakes added to the box!


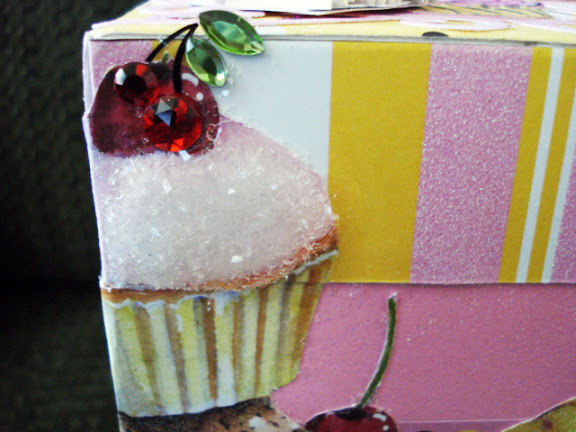
And this is just part of the background paper, cut out and embellished.


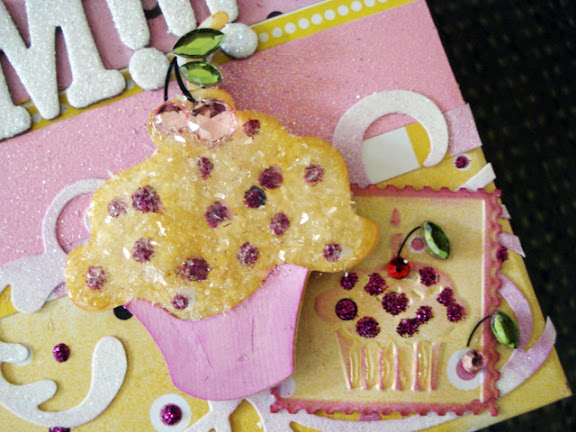
Inkadinkado has turned a major corner and is now producing some of the cutest stamps I've ever seen! I fell in love with the Birthday Cupcakes set. But look! On the left, it looks like a cupcake paper cup on the bottom? But the paper matches the background paper? Oh my....how'd I do that? Guess you have to take the class to find out!!!


And those Heidi Swapp cherries. I think I'm in love! LOL! Can a girl ever have too much bling?

It's going to be a wild 3 weeks in San Diego for sure! Oh, we're also going to do a recipe swap with this class. You must read my recipe - it's the best if you have kids!


(just click on this photo to get it to enlarge)

Of course, I had to go buy chocolate just to finish up this project....it made me hungry!!!

Thursday, August 7, 2008

How to emboss any diecut with fine details!

Remember the palm tree from yesterday's blog? Quickutz Revolution die available only through Archivers.


And how I embellished it with sanding paper, ink and glossy accents:


And then I remembered my make your own stencil tutorial and decided to put it to the test. Could I use what I did yesterday as a stencil to emboss a duplicate diecut? The first step was to add a second layer of Glossy Accents and let that air dry. Then I positioned a new die over the embellished die:


Covered them completely and then spritzed the top paper generously with Lucy McGoo Wonder Goo. (if you want to purchase this, please remember to add shipping!)


Next, added a piece of Spellbinder's tan polymer pad cut for the Revolution. Yes, I'm using the revolution with it's 12" long plate for this process since these are dies made for the Revolution. The paper is laying directly on top of the steel plate.


Completely cover the paper with the tan polymer pad:


Then I put the little 4" embossing mat from Quickutz on top. This mat comes with the Revolution or you can purchase replacement mats separately.


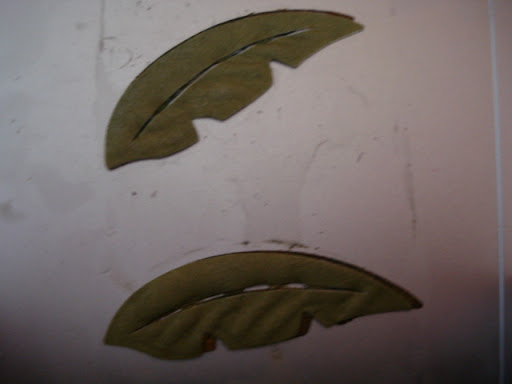
Look! Embossed leaves! Yeah!!!


Just peel the top layer away from the bottom. Here I inked everything with Vintage Photo Distress ink. But I could have sanded and added multiple colors as well.


OK my friends!! No more flat diecuts!!! You can now emboss every single diecut that you have. Once you have the first stencil made, just put it with your die (wherever you store your die) and keep it. You can reuse it over and over. I can hardly wait to try this with all my dies. I think I'll be busy for quite some time to come! But what fun! Just another way to play hard!

Wednesday, August 6, 2008

Turning diecuts into epoxy stickers

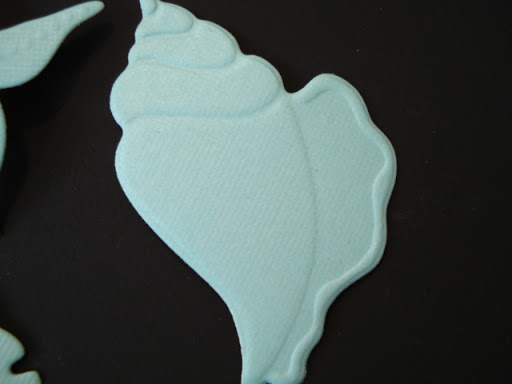
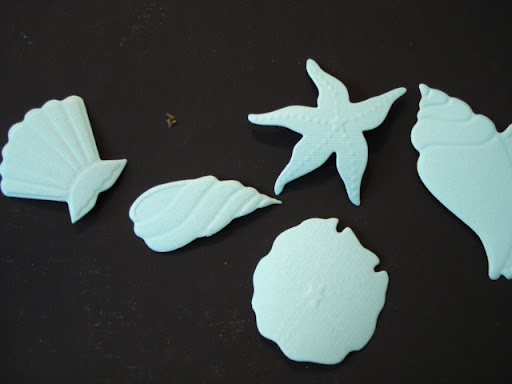
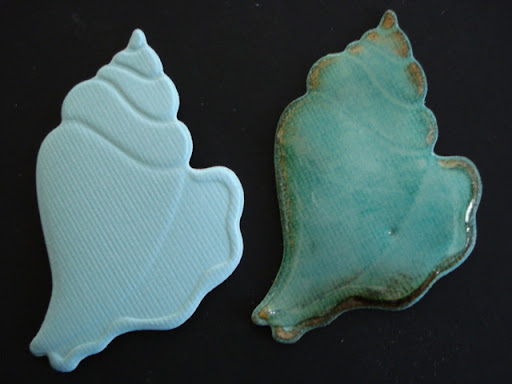
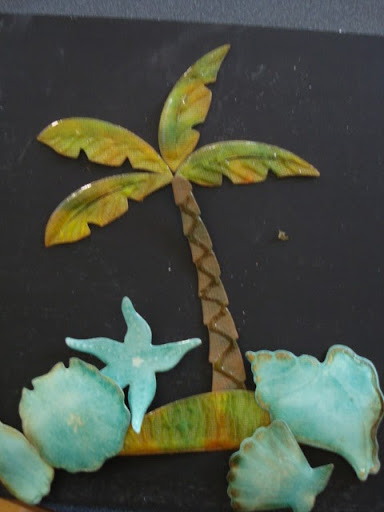
You know I love Spellbinders dies - but I do think perhaps the seashells are my favorite die. Just look at the detail!


And 5 big shells! But oh, just so plain, even though they emboss which is much better than just a flat diecut.


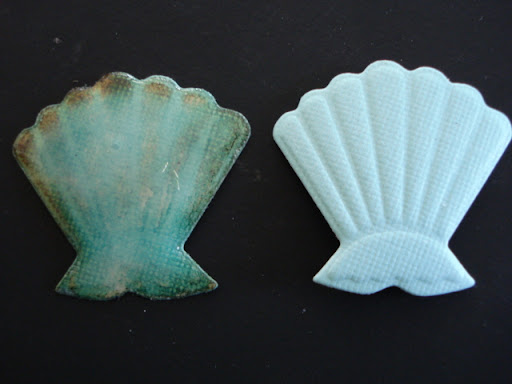
I cut these in white core paper. Sanded. Added some Pine Needles Distress Ink and some Vintage Photo, then covered with Glsossy Accents and let air dry. What a difference!!!


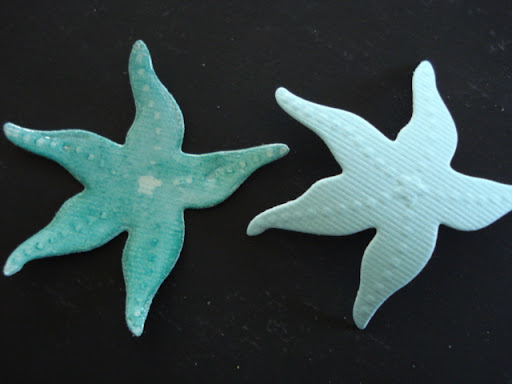
Even more difference in the starfish and I did not use the Vintage Photo on this one.


Totally love the look of the sand dollar. Just run it through the xyron - and it's a sticker!


This shell also makes a great hinge.


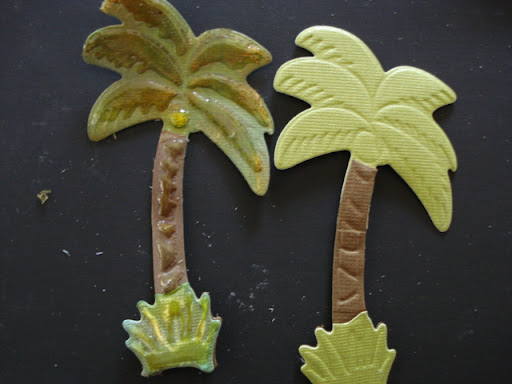
So, then I got to thinking - why not "embellish" my flat dies? This is Quickutz palm tree. It's a custom die and only available at Archivers. Who knew? I tried to get it in San Diego - can't be had!


The very same die sanded, inked, and accented. Wow! I could live with this one!!!


In case you want to see the details in the leaf:


I used Glossy Accents to define the trunk and create "grass"


Now, just to help your eye see the difference, here's the set as they come out of the dies:


And here they are embellished the "JLo way"!!! Now do tell, which set do you prefer???


So then I decided to see what happens when I applied the same process to Spellbinders palm tree. Hands down, I like the one on the left the best!


I guess I just prefer color!


Now stay tuned! I think you are going to flip tomorrow when you see the next step to this process!!! I know! I just can't put it all in the same blog - way too many photos!!!

Friday, July 25, 2008

Lions, Tigers & Bears, oh my!!!

Today (Friday) is the last day we are doing layouts for the charity event. Come on down and play! 10 am - 4 pm.

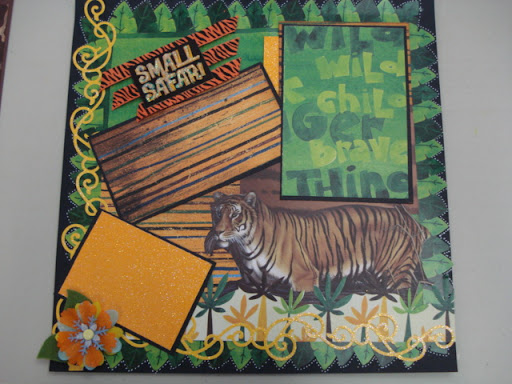
This is my favorite one so far. Lots of white pen around the flourishes. Stunning in person!


But I really like this one, it's just plain fun!


Doodle Zoo font, printed, then colored with watercolor pencils, and Glossy Accents on top of it. What a great way to make a quick, simple title!


But I'm thinking I could put a photo of me and Lucky in this one cause when we get together to play, like today, there really is a little "wild cat" in both of us! LOL!


Lucky got tired and looked at me and said, "HELP!"


So we just started cutting and layering and I think we both liked the end result!


How fun to play in a huge 6400 square foot store and just go pull whatever you need to play with. Oh my gosh!!! I can't believe I've been here a full week - time flies when you are having this much fun! Next time - I just have to stay for 3 weeks. But don't tell Kerry! LOLOL!

Monday, July 14, 2008

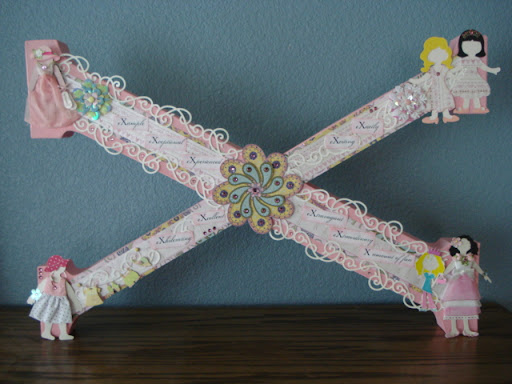
X equals 10 on July 19th!

Since "X" is the Roman Numeral for 10, I decided to paint a huge letter "X" and then put on it 10 things that I like! And guess what? We've turned this into a class at Scrapbook Your Life! on Saturday, July 19 at 4 pm!!! These paper mache letters are about 2 FEET tall!!
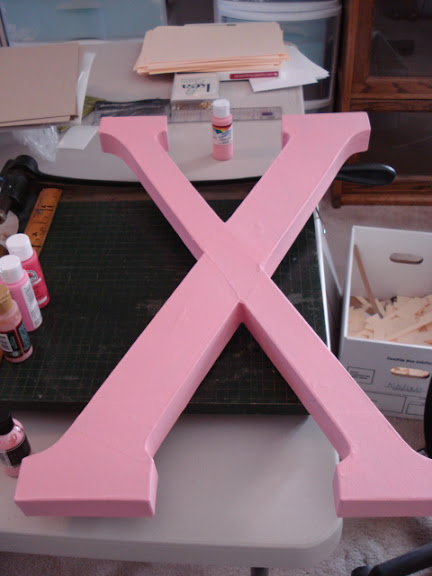


But who says you have to stand them upright? I decided to lay my "X" on it's side and have a little creative fun with it! I really like this letter and have come up with lots of things we can do with it in class. Take a look. This way, you could put wings on the outer edges and turn it into a huge butterfly!

Or how about lots of Xs and Os - kisses and hugs?

X is the shortcut for Christ, so you could do something religious - or XMas Tree - with all kinds of trees on it. So much to do and so little time!!!


For the center, I just cut out paper and put rhinestones on it. This is Enchanted Forest form Cloud9Design.
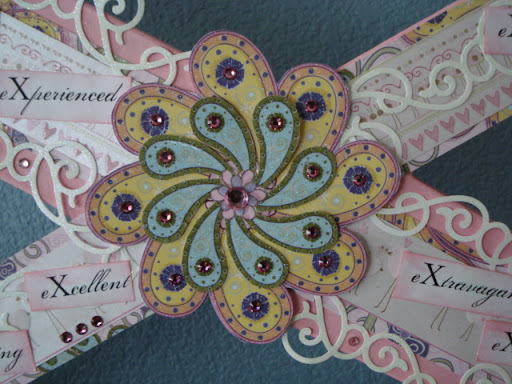


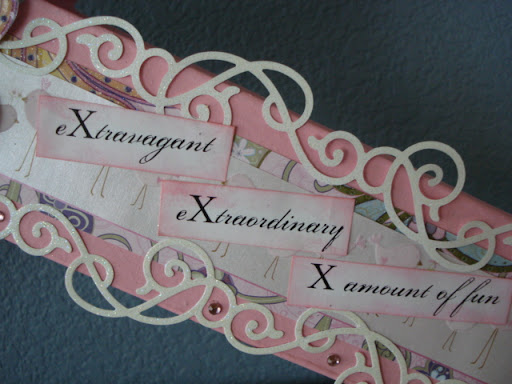
I used the new Quickutz Border flourish and we'll have that in class. Cut it in white glitter paper - it's so cue! I'll show you how to size, print, and ink you rown words - thousands of fonts to pick from for this one. And I used some Heidi Grace Designs paper: Baby Girl, decor Stripe and Birds.


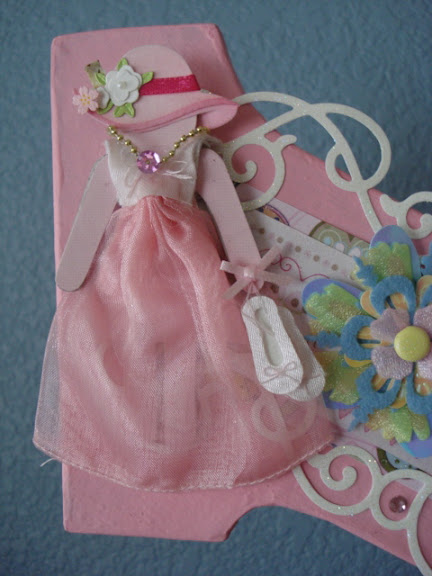
I'll have all my sizzix paper doll dies for you to play with. The possibilities with these are endless and I think they are beyond adorable!
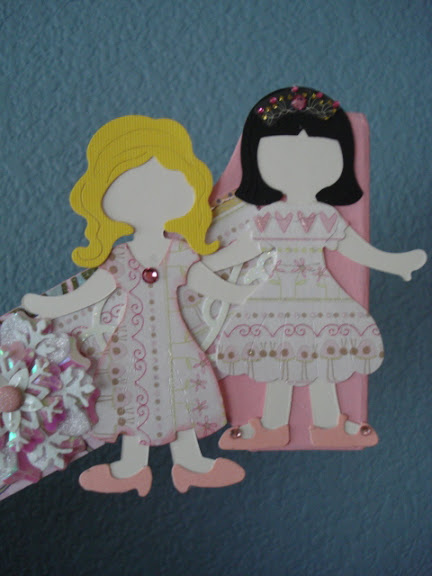


Well, oops! This one is a little blurry! But on the right is Spellbinders art doll and on the left is a sizzlet doll. Again, I'll show you how to ink and color the sizzlets and how to ink and color jolee's fabric stickers.
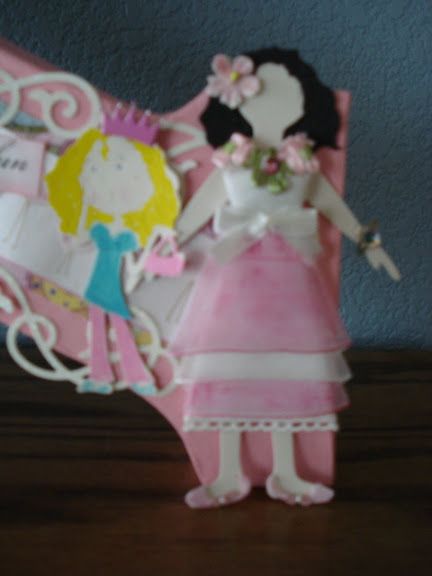


I'll have blossoms there for you to play with as well!
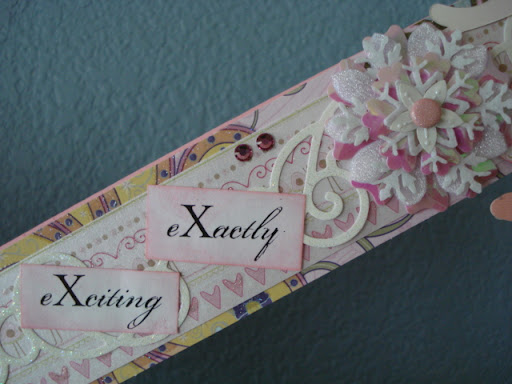


and mod podge to adhere the paper with, so wear your grubbies!
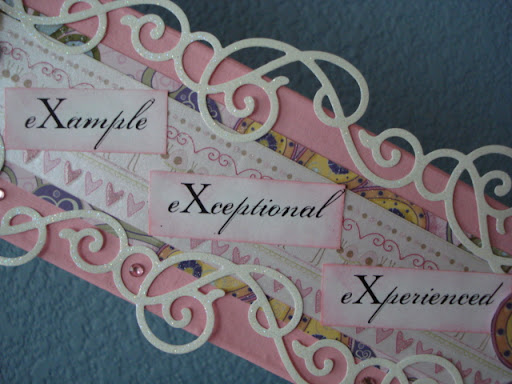


This is a little chipboard doll that I embellished with Jolee's clothes. The Jolee's are not included in the class, I just wanted to show you what a great 3D look you get with fabric!


Here's the Spellbinders child doll die. I'll bring the overalls to diecut and emboss as well.
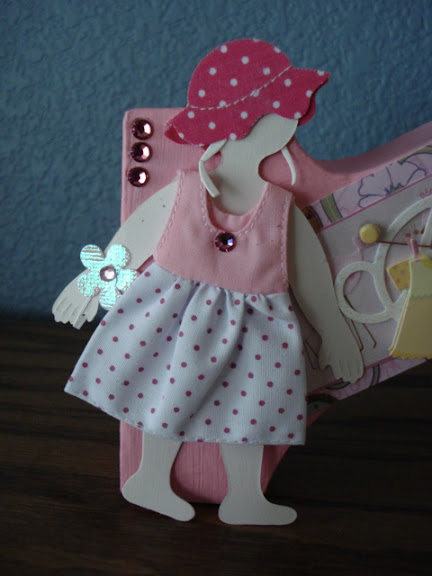


And you can decorate, embellish any way you want - depending on which "X" topic you pick! The big "X", paint and paper are included in the class, use of the dies as well. So come with a topic in mind and we'll share a few fun techniques with you during the class!
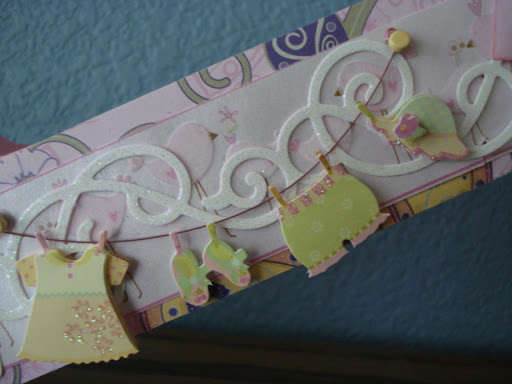


And of course, bling! There's always somewhere to add a few rhinestones on any project!
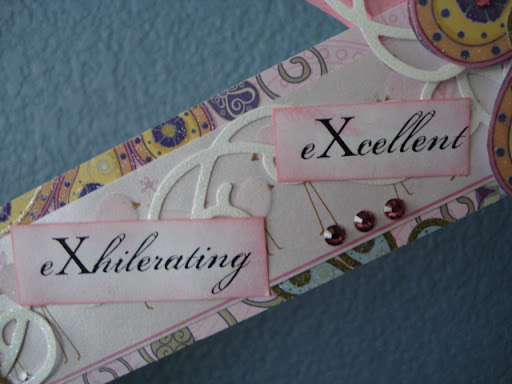


Now quick! What were my 10 "X" words???

Xtraorinary
Xceptional
Xciting
Xcellent
Xactly
Xperienced
Xtravagant
Xample
Xhilerating
X Amount of fun!!!

Hope you can join us for this 1 hour class on July 19th at 4 pm at Scrapbook Your Life! in San Diego. Of course, you can stay til the store closes and work on your "X" - but I'll be off to see the Senior Follies!!!

Oh! Did I mention....the class is FREE if you purchase $15.00 or more in the store! So come early and pick out all the embellishments and paper you want to use on your big "X"!!!