Showing posts with label embossing powder. Show all posts

Wednesday, August 12, 2009

Opals Embossing Enamels - certification class - FREE!!!

OK, I love the word FREE!!! So, here's the deal. If you live in Colorado (ok, Nebraska, Utah, Wyoming) and can drive to Denver, you can get certified in how to use and teach Opals Embossing Enamels for FREE this coming Monday!!!

I'll be there!!!

You must agree to teach classes - at an LSS, in your home, in your friends home - Hey Susan, can I come teach in your home??? You will be able to purchase the opals at wholesale - but you have to sell so much each year to keep up your wholesale account.

I swear....best deal in Denver this year!!!

Now, if you haven't used these, just come to the show this weekend and stop by the After Midnight Stamps booth! I'll be there demoing the UCC and Spellbinders new pendant dies. But Linda will be demoing Opals.

Opals embossing enamels are just like embossing powders except when heated, they have the most wonderful glossy pearlized look to them and they come in the best selection of colors ever!!!

Here are some of my past blogs where I used opals to make fun things!

And oh my gosh....if nothing else, come see the wonderful selection of Krafty Lady molds which are beyond perfect for metal clay!!! Not to mention the hundreds of rubber stamps that will be in the booth!

If you are interested in attending this FREE certification class, just email me back and I'll hook you up with all the inside scoop. It will be in the Brighton area on the far NE side of Denver. Monday, August 17.

And if you come visit me at the show and mention this blog....I'll give you a password to download both of my Lucy McGoo manual for free!! Oh! There's that "free" word again!!!

See you Saturday morning bright and early!!! Bring a friend and we'll just play all day!!!

Friday, May 2, 2008

Oh my gosh!!!

Wait til you see what I did in a single day! Today was Pre-National Scrapbook day at Scrapbook Your Life! And I decided to demo melt art and embossing techniques. So, I truly had no idea where I was going with this, but I demo'd from 10 am - 5 pm. Then taught a class from 6 - 8 pm. Then sat there and put together little cards from the stuff we made today.

It's days like this when my brain just completely amazes me. I truly don't know where it comes from...but it sure is fun!!!

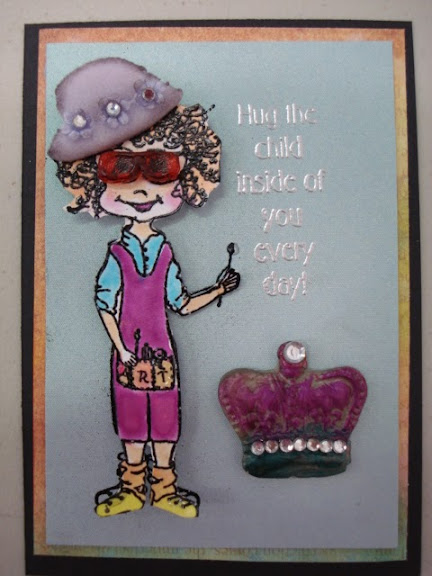
One of the girls wanted samples using my stamps, so I started with Lucy....and I like what I got!


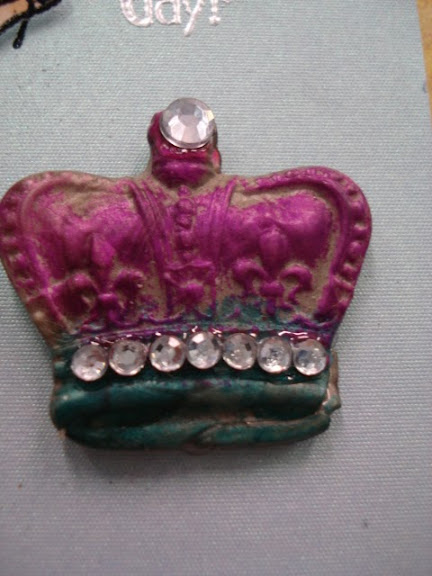
For the crown, we made a mold from a charm, used Platinum UTEE and then colored it with alcohol inks. Of course, a little bling doesn't hurt either!


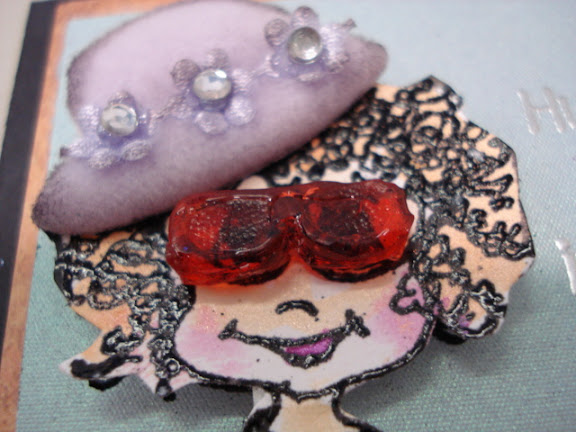
But her glasses are just too cool! Another mold from a little charm. Used AI with clear UTEE to get a trunsluscent mix for these. So Lucy truly has "coke bottle glasses"!!!


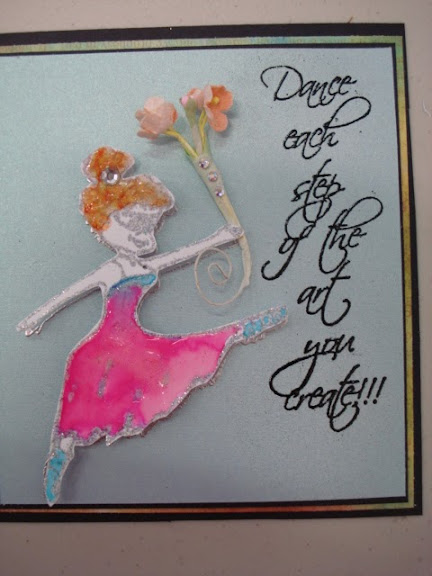
We did silver holographic EP to outline this Lucy....it truly does bling. Painted with twinkling H2os, popped over a matching EP stamp on the background.


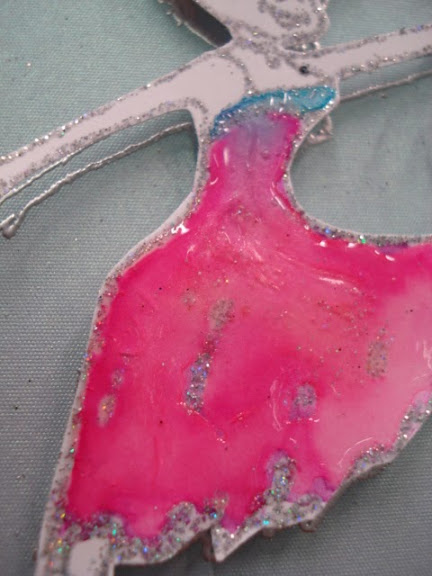
Painted her dress, then covered that with GA.


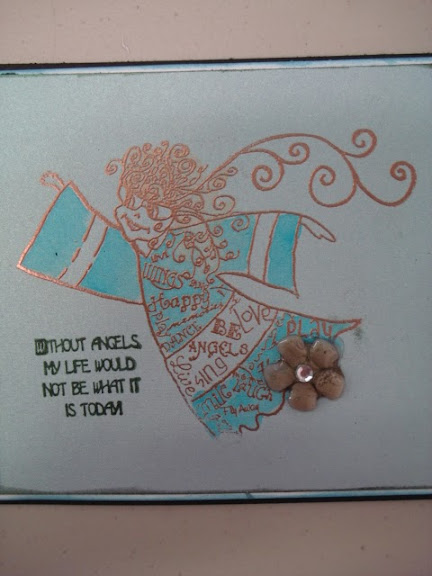
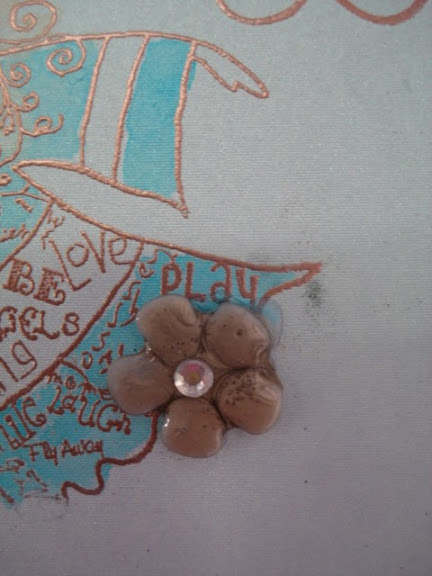
Copper EP to outline the angel. The flower is a Spellbinders diecut in shrink plastic, melted in a pot filled with platinum UTEE. Totally cool!


We shrank lots of diecuts today...colored them lots of ways.


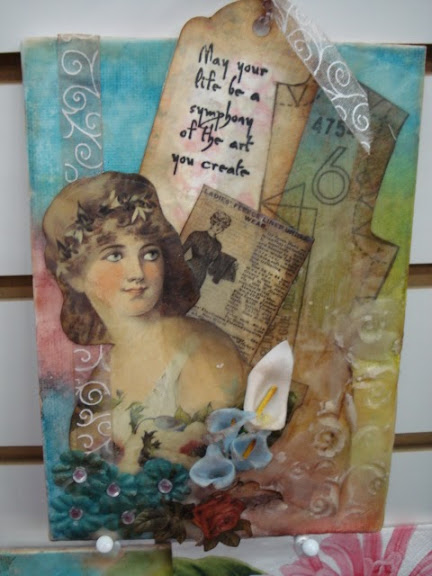
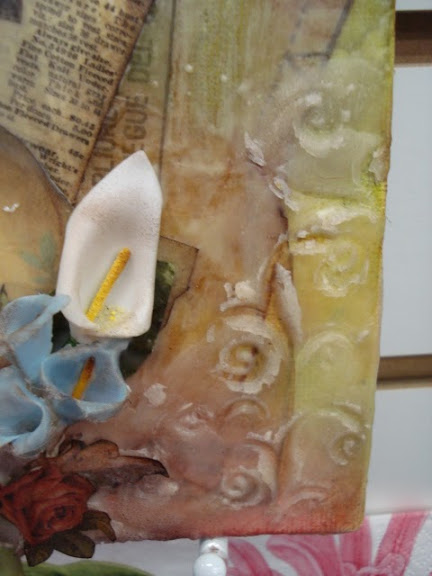
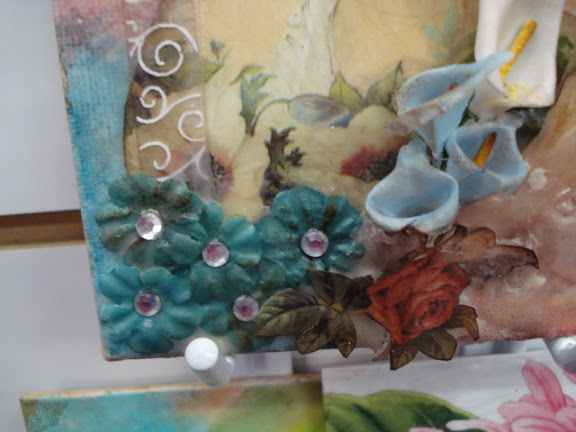
And we did some beeswax collages. White beeswax. Inked. Papers from the store and a doll pattern piece.


Stamped the angel's wing into the wax to get some little swirls


The little paper flowers are perfect for this. The fabric calilillies really stand out


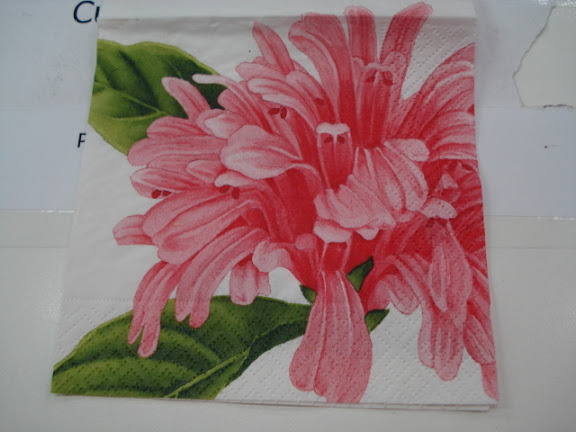
And for the next collage, I started with a napkin. Isn't this just a gorgeous napkin? I wanted to do something with it the moment I saw it!


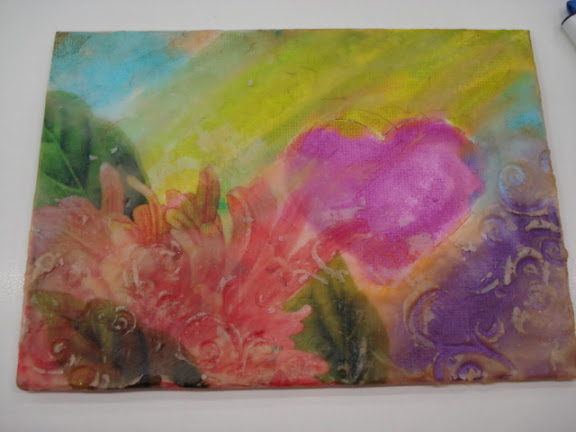
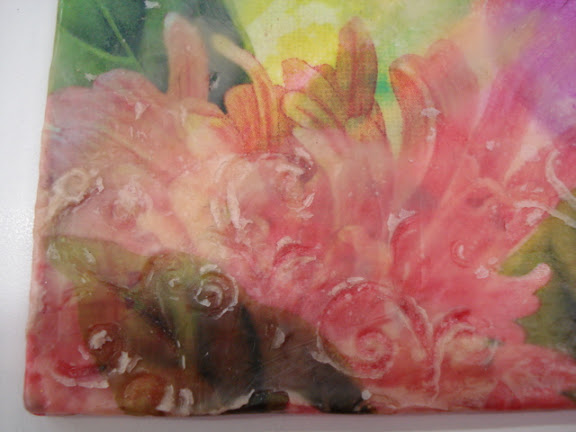
And here's what I came up with. Twinkling H2os, over canvas board and heat set. Then wax. Then 3 layers of the napkin, one over the other, collaged with beeswax.


Swirls stampet into the wax over the flowers....just love this technique!


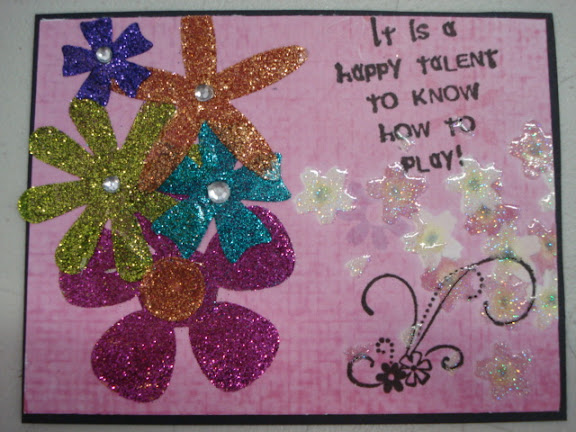
Finally, spellbinders flowers cut in red-liner tape. covered in glitter, layered on a card. What bling!!!


My friend, Judi, at A Stamp of Excellence in Canon City Co, made this stamp for me. "It is a happy talent to know how to play!

I swear....that is just a perfect saying for me! LOL!

So, did I play hard today or what? I think it was a really good day! But I really cannot believe that I made all of this in one day!!!

I can barely wait for tomorrow! National Scrapbook Day! I hear the girls are planning to line up outside the front door at 6 am. The first 35 get a goodie bag. Ok....I've seen the goodie bag! I WANT one! LOL! Like I need anything else? NOT! But what fun!

I plan to get there about 7:30....and I'm going to go in the back door, fill my cart to the brin, walk up to the front window and "show off" my "purchases" to those standing in line waiting to get in. I think I'd best put some kind of sign on me....something that says "JLo - troubled child!"

Hope to see you out front in the morning!

Friday, December 14, 2007

Ornament Play!

It's that time of year to rush out to the store and buy up all of those clear ornaments that come in shapes you can use all year long! These make fabulous window catchers, gift package adornments....and I've even seen a bouquet made from them!!! I'm going to share 3 techniques....but hey...the fun comes in the embellishments! This one was decorated with Spellbinders Daisy Delight die, Amaco pewter, and some Posh Impressions metallic ink painted on with a toothpick.


The first technique is using Perfect Fabic Medium and Perfect Pearls:

1. Mix 1/2 t Perfect Fabric Medium in 1/3 c water. Shake this mix well.
2. Pour some inside the ornament and swirl around. You will need to remove the top first. Coat the inside completely and pour the excess back into the container to reuse. Shake the ornament until there are no blobs inside.
3. Drop in 1/4t perfect pearls, 1 color at a time and swirl around. Use as many colors as you want.
4. Let dry overnight, then add the cap.


This ornament was done with blue perfect pearls:


I put a simple ribbon around it, and added a star to the side.


This next technique uses embossing powders (glitter or fine).

1. Mix 1/2 t Perfect Fabric medium and 1/3c water, swirl inside ornament again and pour out excess.
2. Use 1/4 5 glitter embossing powder or fine embossing powder and swirl around inside the ornament. I recommend you limit this to just 2 or 3 colors. I used green and gold for the next sample.
3. Heat from the outside with a heat tool, holding th eornament with insulated tweezers or pliers. Work over a wood block so you don't destroy your wood surface with the heat. If you want thicker layers, repeat steps 2 and 3.


To decorate this one, I stamped on colorwashed silk, painted with colorwash and foam nibs, cut the image out and adhered it with Glossy Accents and used some bindi rhinestones as accents.


For all of these, I colorwashed white silk ribbons to hang from the top. I simply stuck a silk flower on this one with some bling in the center!


For the final technique, we will use UTEE and EP. I've taken a few photos trying to showcase the supplies you will need for each technique.


1. Again, 1/2t Perfect Fabric medium mixed in 1/3c water, swirl inside the ornament, pour out excess.
2. Mix 1/2 t embossing powder with 2 T UTEE. The pour this into the ornament and swirl around. Limit this to 2 colors only.
3. Heat from the outside with a heat gun following the suggestions above.

Note: UTEE mixes will run inside as you heat it, so you can control the pattern by moving the heating gun closer to or away from the ornament.


And for this one, I simply added peeloffs to the outside. Just so quick and so easy!


Where I live, Hobby Lobby will put these glass ornaments at about 80% off the week before Christmas! So run, don't walk, and get your ornaments today...I particularly love the little ones..just about 2" in diameter...they are great for embellishments and package decorations all year long!

So what's your excuse for not playing today?