
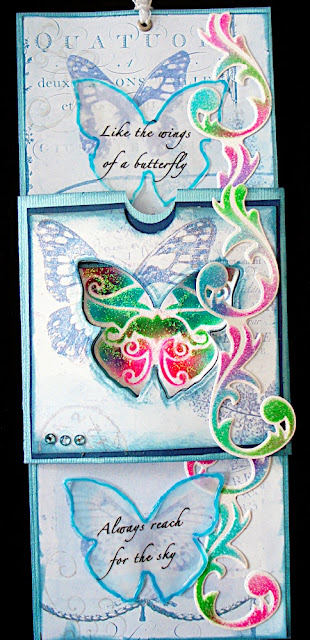
OK - it may have been way too late for that kind of calculations! But I think it turned out great! I used Spellbinders butterfly die and the new 12" border die.

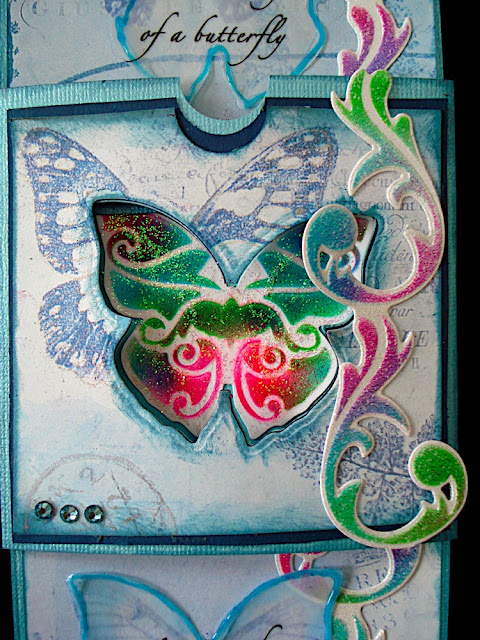
For the border flourish, I diecut, embossed, then used the airbrush to add color while the paper was still in the die - using the stenciling side to get this effect. Then I added a layer of stickles and a layer of glossy accents - so there is a lot of dimension to this piece that the camera does not pick up.
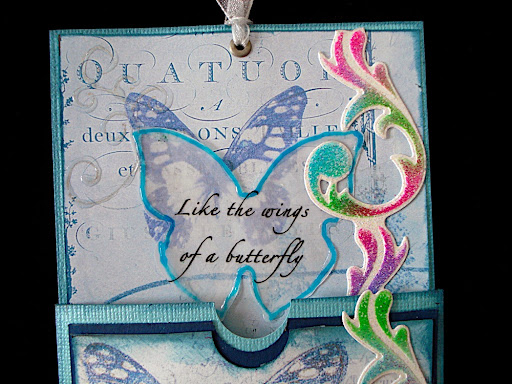
The window is cut out and behind it, the sentiment was printed on vellum (print first, then cut) and attached to the background. Yes, you cut the butterfly out of all 3 layers of cardstock, then line them up to form the aperture.
When you start to pull it open, you can see that the background butterfly with the sentiments is going away and the border is continued on each background piece:

Here it is fully opened.
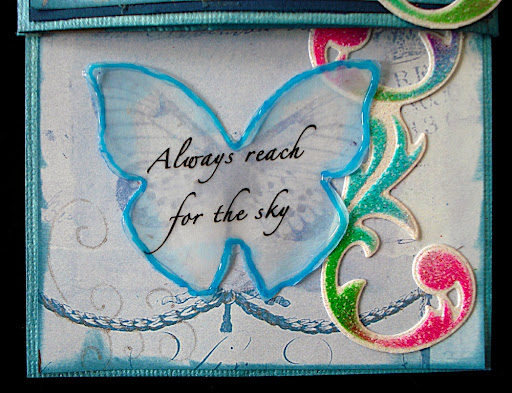
I used some stencils and a glitter pen, then went over that with glossy accents for a faint background swirl.
For the center, the hidden background now shows and it matches the coloring of the swirls down the side.
And the bottom matches the top card:
I wanted you to get a feel for the dimension on this piece. Several layers. But oh! What fun!!!
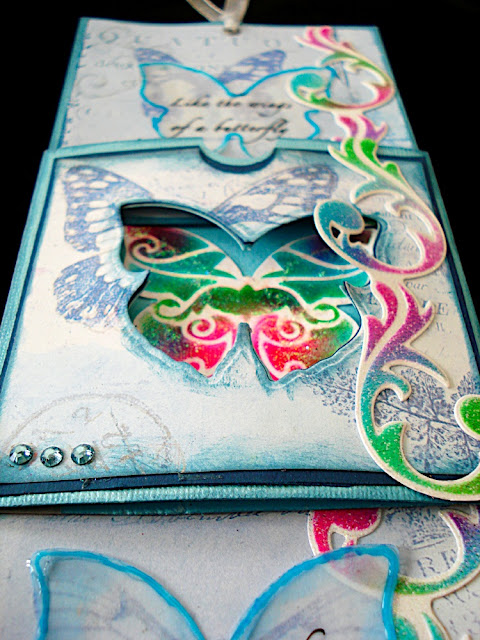
"Like the wings of a butterfly, always reach for the sky!"
Only a great teacher like Susan could inspire me to push myself to turn her technique for a pull out card into something this much fun!!! Thanks Susan!!!
1 comment:
Fabulous, Jen! I LOVE kinetic cards! AND butterflies!
(Now when can you teach us online??)
Elaine
Post a Comment