Showing posts with label metal. Show all posts

Wednesday, May 1, 2013

More ideas for your copic airbrush


On the third Thursday evening each month, we have a girls night out at the local scrapbook store.  I take a different topic each month and share ideas. I think using the copic airbrush system was probably the most fun night I've had!  Of course...it's "work" for me to come up with creative uses for some of the products I play with, but this was just plain fun!

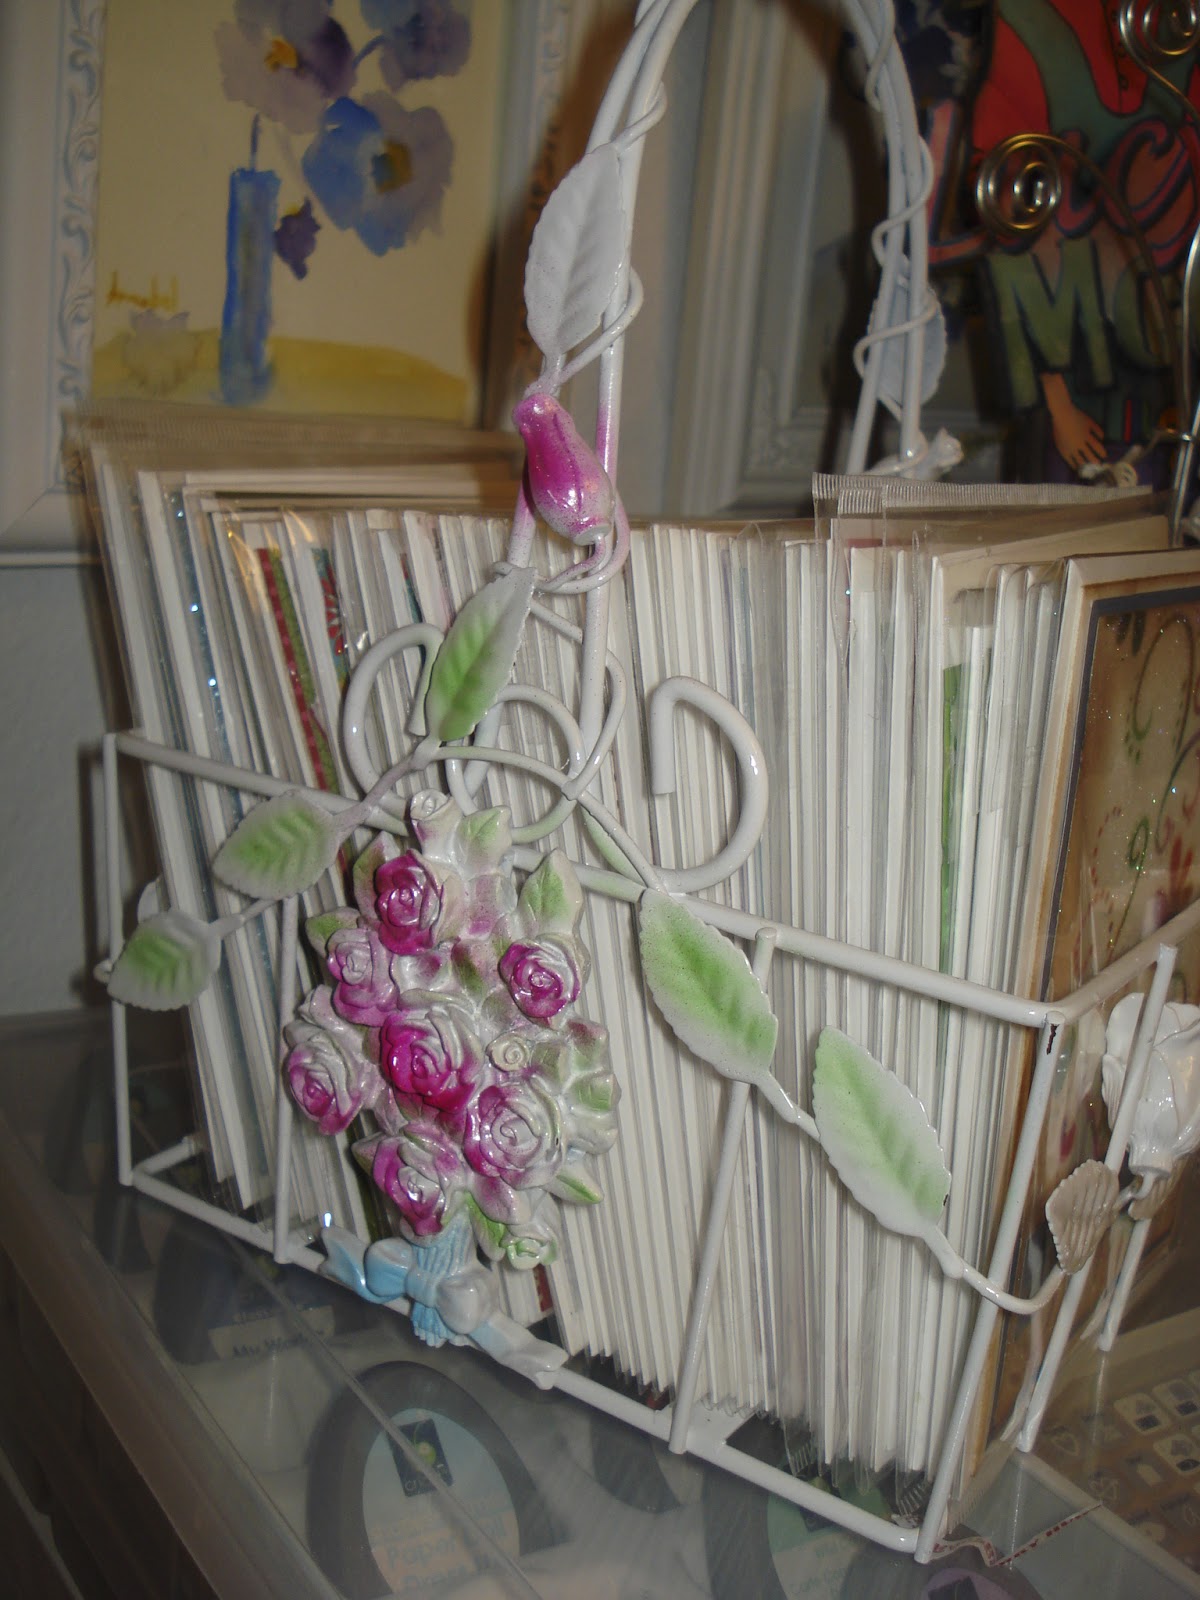
I found this old wire basket at a thrift store - it was browns, greens, reds and oranges and I just do not like those colors at all.  I sprayed the entire thing white - using a 2 part primer and paint spray.  Then I "hit" spots with pink and mint copics and now I love how it looks!  I love how the airbrush fades to the white edges.   Yes....full of cards I've made in the past few months - great way to store them.


The airbrush is great for giving fresh color back to doll cheeks and skin....but not on this little cutie!  She's wearing a Bonnie Jean dress I picked up for $2.49.  I was able to trace the flower petal pattern, cut it out in white satin, airbrush the satin pink and make the matching flower to add to the hat.


Airbrushing fabric is so easy and can give added color to existing fabric (no you probably can't wash it but I'll never wash this dolls hat) or create matching fabric to any project your are working on.  What have you airbrushed lately?


Wednesday, May 13, 2009

Liz takes a class!


So, I hate to say it, but I am still totally new to videos and I'm sad to report that my camera wasn't on during the funniest part. I just wanted to cry when I found out part of the video is missing. Liz did one clip where her hair was so messed up and she was groaning and moaning.....but I think you get the idea! We really do know how to play when I go out to Scrapbook Your Life!!!

Now, don't fret....Liz did finish her doll before I left. And she did a fantastic job!


Her coloring (airbrush and alcohol inks), sanding, embossing with TenSeconds tools as well as cuttlebug embossing folders....


Swarovsky crystals on the joints, metal charms for the crown, 

Airbrushed charms on top of the metal....is this just too clever?  Plus, she dual-embossed the wings - half each with a different embossing folder.


And she used numerous plates throughout the body.

I do think Liz gets and A+ for her hard work!  Now, if you need a source for the tools and metal, just give the store a call!  They have a whole wall - I had so much fun shopping while I was teaching this class!

Thanks to all the gals who came to class and let me video them - such good sports!!!

We did this class twice and literally ran out of the TenSeconds Studio doll templates.  So I made a smaller template and added wings.  These students had to pick between a big doll without wings, or a small doll with wings.  Each one takes a full sheet of metal.  So I'm going to post my smaller template here - feel free to print it out, it should be sized a full 8.5 x 11".   OK, I will post it when I find it! LOL! I'm still not done unpacking and putting stuff away, so the hunt is on. Hopefully I'll find it in the next day or 2....I know it's here, I know I've seen it, I know I can find it......and I'm sure you never have a day like that, huh? :o)