

Take 2 pieces of plain grungeboard. Cut 1" off the top and 1" off the right side. Your boards should be 4" x 7".

Next, cut 2" off the right side of ONE board. This will be your front cover, the other will be your back cover. Don't cut the back cover.

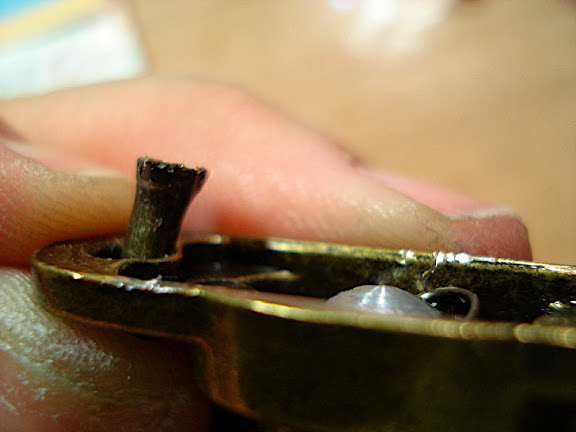
I'm sure you can buy hinges like this, but I pulled mine off an old box that I had.

Of course, the back side was like an eyelet and totally flared out.

I took some needle-nose pliars and pulled them back straight so I could reset them
I started with the back cover to show you how I did the "stickers". Just about everything in this journal is an altered sticker of some type. Very little ink or any other medium. I used my ATG gun to adhere the paper to the grungeboard, but you could use Glossy Accents, any wet glue or other adhesive. You can see that I've added cotton clouds and seagulls from a sticker.
 Here's a closer view:
 Next I added some laser diecut palm trees.
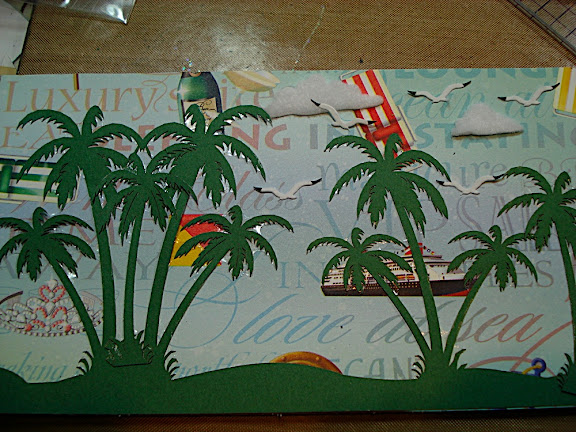
The beach chair is from one set of stickers, the flips from another, and the seagull from yet another set. Whenever I have leftover stickers, I cut them apart and stick them in little ziplock baggies by theme. I'm sure if you look at EKSuccess's website you can find all of these because I know they are new this year - I've used parts of them for classes in San Diego.

Next, I drew in the leaves and coconuts on the palm trees:

Then I added a layer of Glossy Accents and added the life float. And decided it was done!!!

Added charms to the right side, then added swarovsky rhinestones on them.

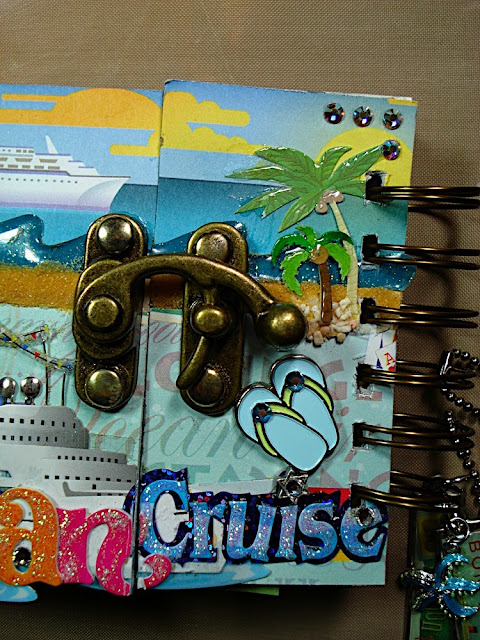
Here's the hinge in place on the front cover. The entire journal was decorated just as above. I take apart stickers, using undu, then re-layer them to create new designs and looks. It's amazing what you can do! Notice there is real sand below the water? It's really sand that I applied using Glossy Accents. I put crystals on the centers of the flips. The "I" in cruise is "dotted" with a Star of David charm that has a rhinestone in the center. I put stickles on the letters and GA on the palm trees. There are so many ways you can alter stickers and add your own touch to them!
Here's the left side of the cover. That top ship is part of the background paper. As is the middle ship. The bottom ship is a very altered sticker! Caribbean came from a set that said Caribbean Island. You'll see where the "island" went in a minute. I added stickles, a sunglass charm, and crystals to the word. Covered the palm trees with GA. Now take note, my stickers do not stay inside the lines! Who says that what you put on the journal can't stick over the edges? Gives it so much more character!!!

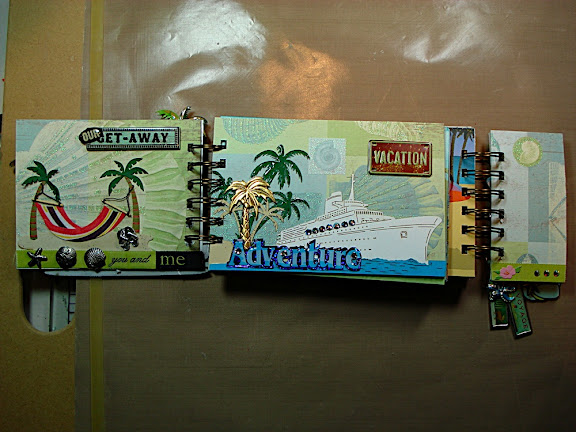
Now, I'm hoping you know how to assemble the o-rings and use the bind-it-all. If not, search my blog as I've shown it before. Here's the fun part! When you open it up with the rings on both ends, I made some of the journal attached to the left side and some attached to the right side. This first section is attached to the left side.
On the far right flap, I simply left a spot for my first photo. I'm going to take my little portable printer with me and really hope to complete this journal on a daily basis! Well, ok, I can dream!!

Here's the far right side. Those palm trees and swing are from a set that says "Time of my life" and you'll see where I used the words later. I love the background paper - it's embossed and has glitter on it!
 For the center, I used the rest of my lasercut palm trees with another laser cut diecut of a ship with tan palm trees. I added crystals for the ships windows and a brass palm tree. The word "Adventure" came with the sticker on the front that said "cruise".
Are you getting the hang of it? This next photo shows pocked pages for tickets and momentos. They are the only pages that I inked. The other white pages are simply 80 pound cardstock from a local office supply store, cut to the size and I can write, sketch, draw - do whatever on them.

The next section hinges to the right of the journal. All of these inside pages and grungeboard dividers are cut 4" x 6". The background paper is all th echairs looking at the water. I just added a few stickers and then covered them with Glossy Accents. A really simple page. My divider pages are grungeboard covered with paper.

Here's the back of that divider tab - again, just a few stickers put together to make a simple beach scene. The gravel was originally behind the sticker that had the words Caribbean Islands on it.
 On the back inside cover, here's where "the time of my life" landed with the suitcase sticker.
OK, I decided to do a little research to help you out, so here you go:
Ferry Trip - clouds, birds, life ring, bird on post
Cruise Adventure - I separated the words, ship, and water
Caribbean Islands - took the letters off the sand
So, even though I didn't show you step-by-step for the entire journal, I think you can get a feel for how to do this one. I think this would make a great class! I know I'm going to have great fun with this one on the cruise - I hope other scrappers, stampers and altered artists will notice it and it will connect us! Imagine, 2500 cruisers - surely someone else is creative and ready to play!
1 comment:
This is going to be an absolute Beauty! Can't wait to see it finished.
Love everything you have done - it is fun, fun, fun!
Hugs
Neet
Post a Comment