
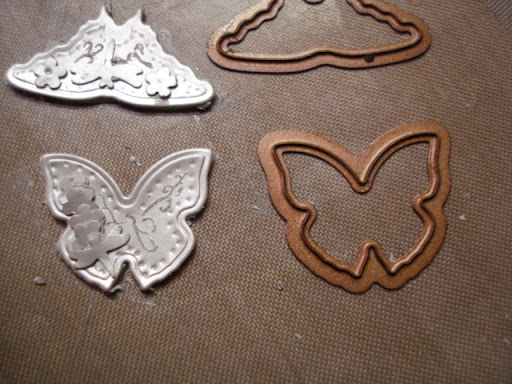
These 2 little butterflies are from the "Flying Beauties" S4-123 die.
For the first step, I rolled out metal clay to a 3 card thickness and pressed the dies into the clay. Then I cut away the excess clay.

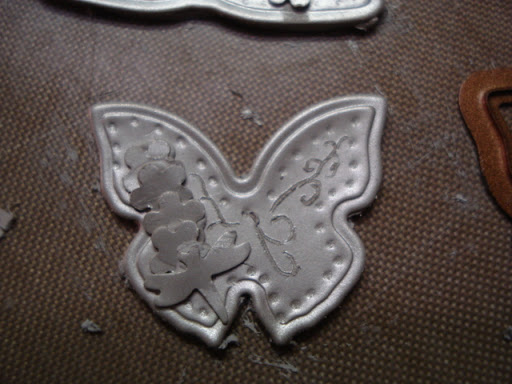
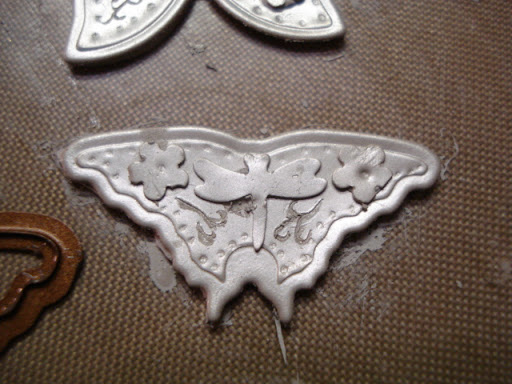
Next I cut and embossed the die in paper type. Then I punched out 4 flowers from a Craft Bunch punch and the tiny dragonfly from a Fiskars punch and layered them all together. Then I took a pointy tool and pressed dots and swirls into the paper type clay.
Here's a closeup:
 \
\These are in their unfired, uncleaned state, but I think you can see where I'm going with these. I wanted to let them dry overnight before I start "modifying" them.
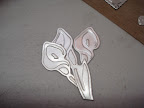
This is from the new Calla Lily Frame S4-097 die. These are the center elements. My absolute favorite flower, so I diecut and embossed them in paper type, have attached them together and will decide later what to do, but I think these will end up as a pendant of some type.
When fired, they will all be .999 fine silver. Who ever thought that dies, diecutting, embossing and punching could move from the paper world into the fine silver arena? What fun!!!
No comments:
Post a Comment