Showing posts with label ribbons. Show all posts

Saturday, September 15, 2012

Rearranging Life

What do you do when you have to rearrange your life?  Well, I gave it some thought and decided to play with that thought a little bit!  How many times have you gone to a thrift store or a garage sale and wondered what happens to all those out-dated flower arrangements???  This one was $1.99 and pretty old and dusty:


Start by taking it all apart.  Pile each type of flower/leaf/green piece into it's own cluster:


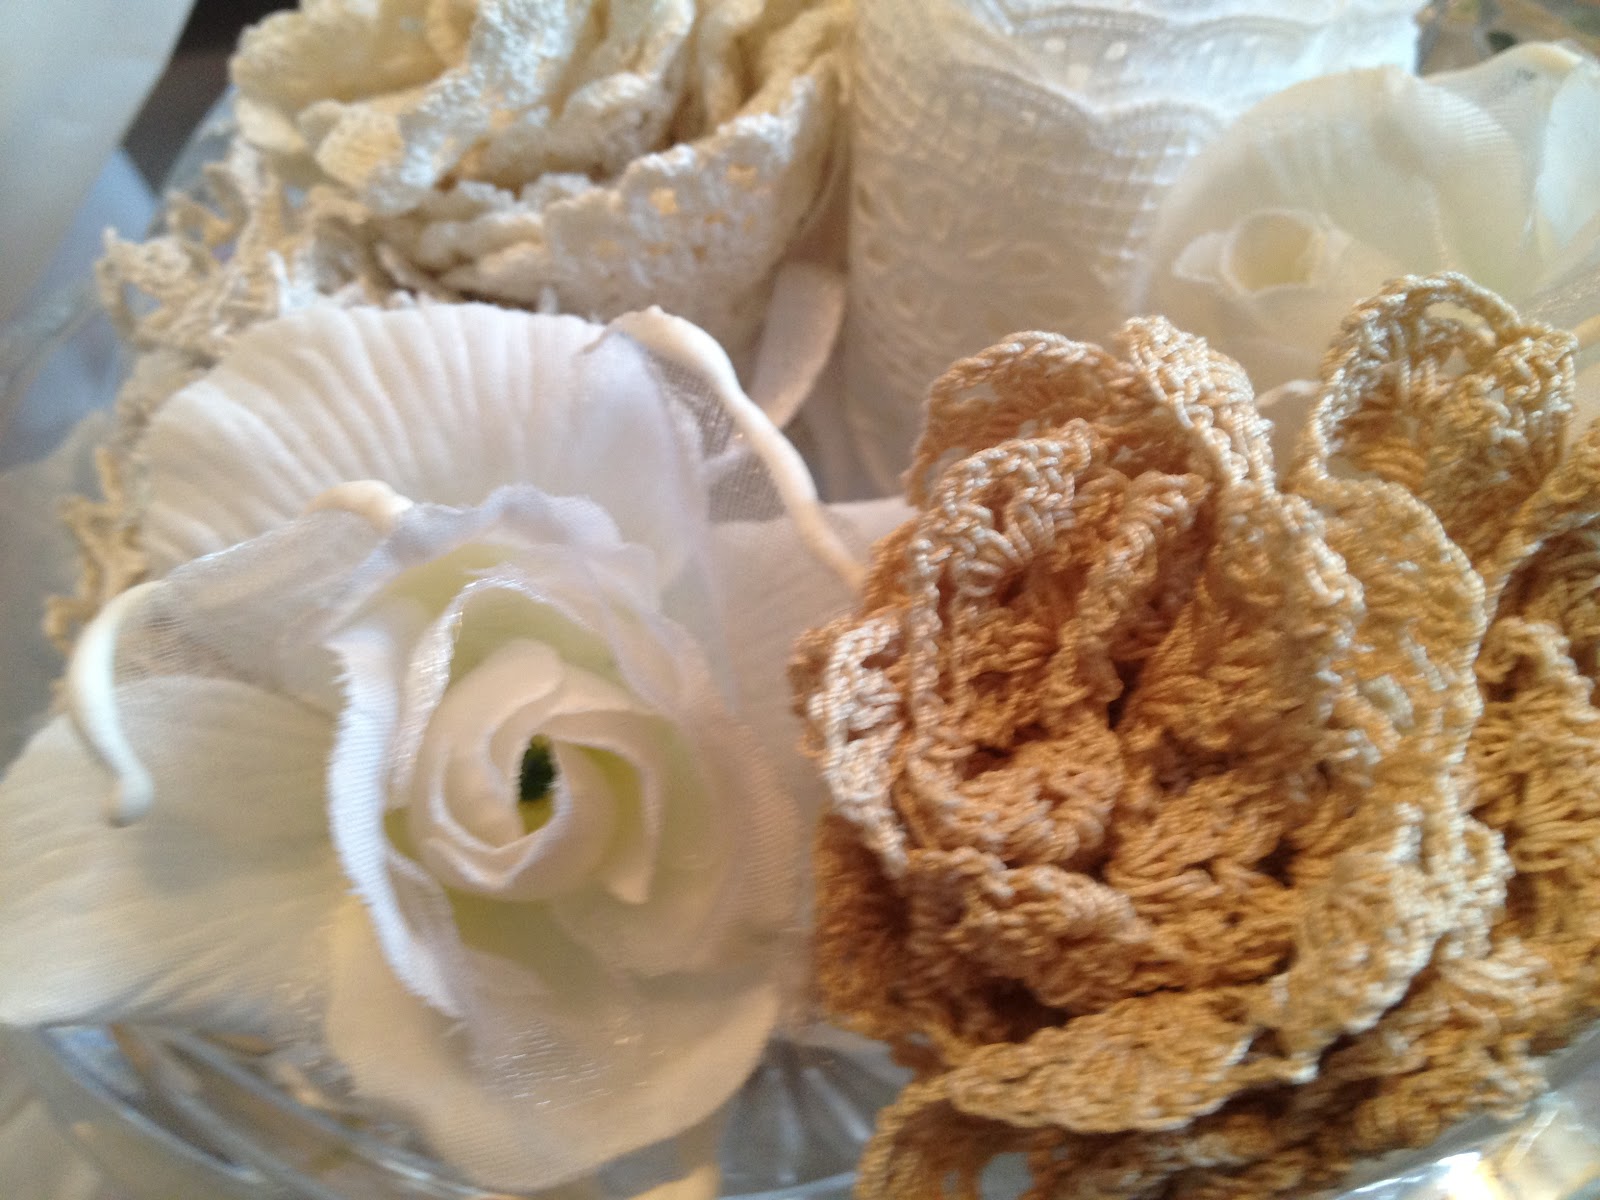
If you want, make some silk ribbon flowers, or even flowers out of old netting to add to your new arrangement:


Then, sort of put them together how you think you like them.  I do this on a craft sheet.  I can easily start over and try this a hundred different ways.  Obviously, I've decide to only use the white flowers and green leaves for this project:


Next, I took 6" wide white netting and wrapped it around my craft sheet which is on a glass mat.  The weight of the glass mat held this in place.  I can then place a drop of warm glue (I no longer use a hot glue gun as it's a weapon for anyone over 60!!!) on the netting.  Place a flower on it and press down.  When the glue cools, you can easily pull the netting and flowers up off the table.  Pretty darn cool!!!


 And when it's all put together......doesn't this look much better than that old arrangement I picked up at the thrift store?  And it cost me $1.99!!!


I did add a cut little dove....and of course, some stickles glitter.


For now, it's an arch over a painting mom did. But I'm getting new furniture for the bedroom and everything will get moved which means I'll be rearranging what's on the walls....puttying holes, painting.....


it just NEVER ends!!!  LOL!!!  But oh!  what fun!!!


Thursday, September 13, 2012

Jubilation!!!

A week ago, I had a lumpectomy done.  I've known about the lump since March.  But with the move, Kerry's health, Mom's health.....and just life....I guess I didn't know how much I was worried about this until the surgeon called and said the all the cells were benign.

Who knew one could feel such jubilation??  Such praise to God for His grace and glory!  Kerry and I celebrated most of the day.

How?  By driving 9 miles to a neighboring village and having lunch at a BBQ place we had seen.  And then I spent 2 hours wondering through the antique stores this little place is known for.  More about all that later.

I came home inspired to play.  I'd seen this done in one of the cute little shops.

Take old lace that you have and wind it up loosely, then pinch one end and tie a ribbon around it real tight.  Fluff open the other end and it sort of looks like a flower!  I did it with some old doilies first:


used 2 doilies for each little flower


And I took apart some silk flowers to add to the mix


Thinner lace looks a little like rose buds


And I made a rose from silk - you can buy it by the yard from Creative Impressions


and then I stuck it all in a cut glass bowl I picked up at the thrift store ($.99)


It's great to go antiquing if you want to get inspired!  And what a great way to store my unused lace.  Now, if I look at it every day, how long until I decide to use it?  One must live in creative surroundings in order to live a creative life!!!

Friday, June 27, 2008

Altering 101!

My friend, Rose, was here from Wales. Now Rose is an amazing shopper, but what's even more amazing is the amount of stuff she can fit into her bags and still be under the weight limits! She had been here for a couple of weeks and her bags were at the max when she saw this dressform at Hobby Lobby:


She really wanted it, but there was no way to get it back to Wales!!! Needless to say, when I saw it on the 60% off rack this week - I got it! Just to tease Rose! OK, I didn't really like it, but I had an idea. First, I painted a layer of decoupage on it to seal the jute it is made of. Then sprayed a layer of primer, and finally a layer of white gloss paint - all Krylon paint. And now it looks like wicker - but it's not!


Next, I cut ribbons in 1 1/2 yard lengths and started threading them through the waist. Yes - it's going to be my new ribbon storage system! Dare I do one in each color? LOL! OK - I'll just do one and keep my blue, turquoise, silver and white ribbons on it!


Not bad like this, but am I done yet? That's the whole thing about altering something. This is what I originally envisioned in my head. But when I got here....it just lacks something. So the next step is to just start looking around the house to see what you can find!


I saw this turquoise and gold scarf that I picked up on our trip to Israel. I don't wear it. But I love it! And I thought "now, wouldn't that make a perfect bodice?" and started wrapping it around the top of the dess form. Just absolutely perfect!!!


When it comes to altering things, you will just have to have a cut-off point. I found these gold rhinestone chains and earrings and they just added the final touches!


And then I place it next to my little Judaica corner. Two of mom's paintings, a peddler doll I made, an American girl doll dressed for Hanukkah, a menora, and my journal from Israel. It's just perfect!


I seriously doubt I will use any of the ribbons from her skirt - but they are there if I need them in a pinch! In the meantime, I will just enjoy this and every time I look at it, I will think of Rose. I really should thank her for not buying it when she was here because now I have a wonderful addition to my "storage" ideas!

Sunday, June 1, 2008

Deep cleansing continued - the ribbons

Yep, I am really sorting out my studio. So this weekend, I have been using these ribbon cards by Cropper Hopper. I like them. They come in 3 sizes and make my storage quite uniform:


You simply tuck the ribbon between the teeth to start, then wrap it around the card. I was using their little clips to hold the other end....ran out...started using plain scotch tape, it works just fine.


I put the 1" x 3" cards in a plano "tackle" box. I just love these boxes!


The 3x3 and 4x6 cards hold a whole lot more ribbons and these are down in larger drawers.


I stacked the plano box on top of the bigger cards and it will all go back into the ben.


I feel so relieved! Ribbons all sorted, wrapped, color cordinated (as much as I could) and put away! Perhaps now I can find what I need to work on!

In honor of me completing this task, I have the following 3 packages of Maya Road ribbons to give away. Just post any comment to this blog in the next 48 hours, I will put your name in a hat and draw a winner Tuesday evening! TA gave me the idea for this great way to recycle product I haven't used!!!

Tomorrow....I'll start sorting through the brads! You just can't imagine how many brads there are in my studio! I'm not even sure I know where they all are! And I'll bet I can find some of them to give away, too! Let the fun begin!!!