Showing posts with label copic markers. Show all posts

Friday, November 23, 2018

Getting back to blogging - and my personal heartache....

I haven't posted here since January.  Sigh.  If you read my last post, we had bought an r-pod and it was in the shop.  Here's what's happened since:

We spent a month in Yuma AZ....snowbirding for the first time and just loved it!  We stayed at Las Quintas RV Resort, trust me, we were the zit in the park.  70' RVs that we could have fit the r-pod and truck in to!  My sis and her hubby were about a mile away and we had a great time!  We shopped for "toys" for the r-pod.  Made a ton of plans as to where we would travel in it.  Went to dances.  Talked for hours on end.  And got rested!


When we got home, we started the interior remodel.  And we had to make a parking spot for it in our back yard.  That took about 3 months.  Had a carpenter come build drawers under the dinette for more storage and make the front wider so one of us could sleep on that end.


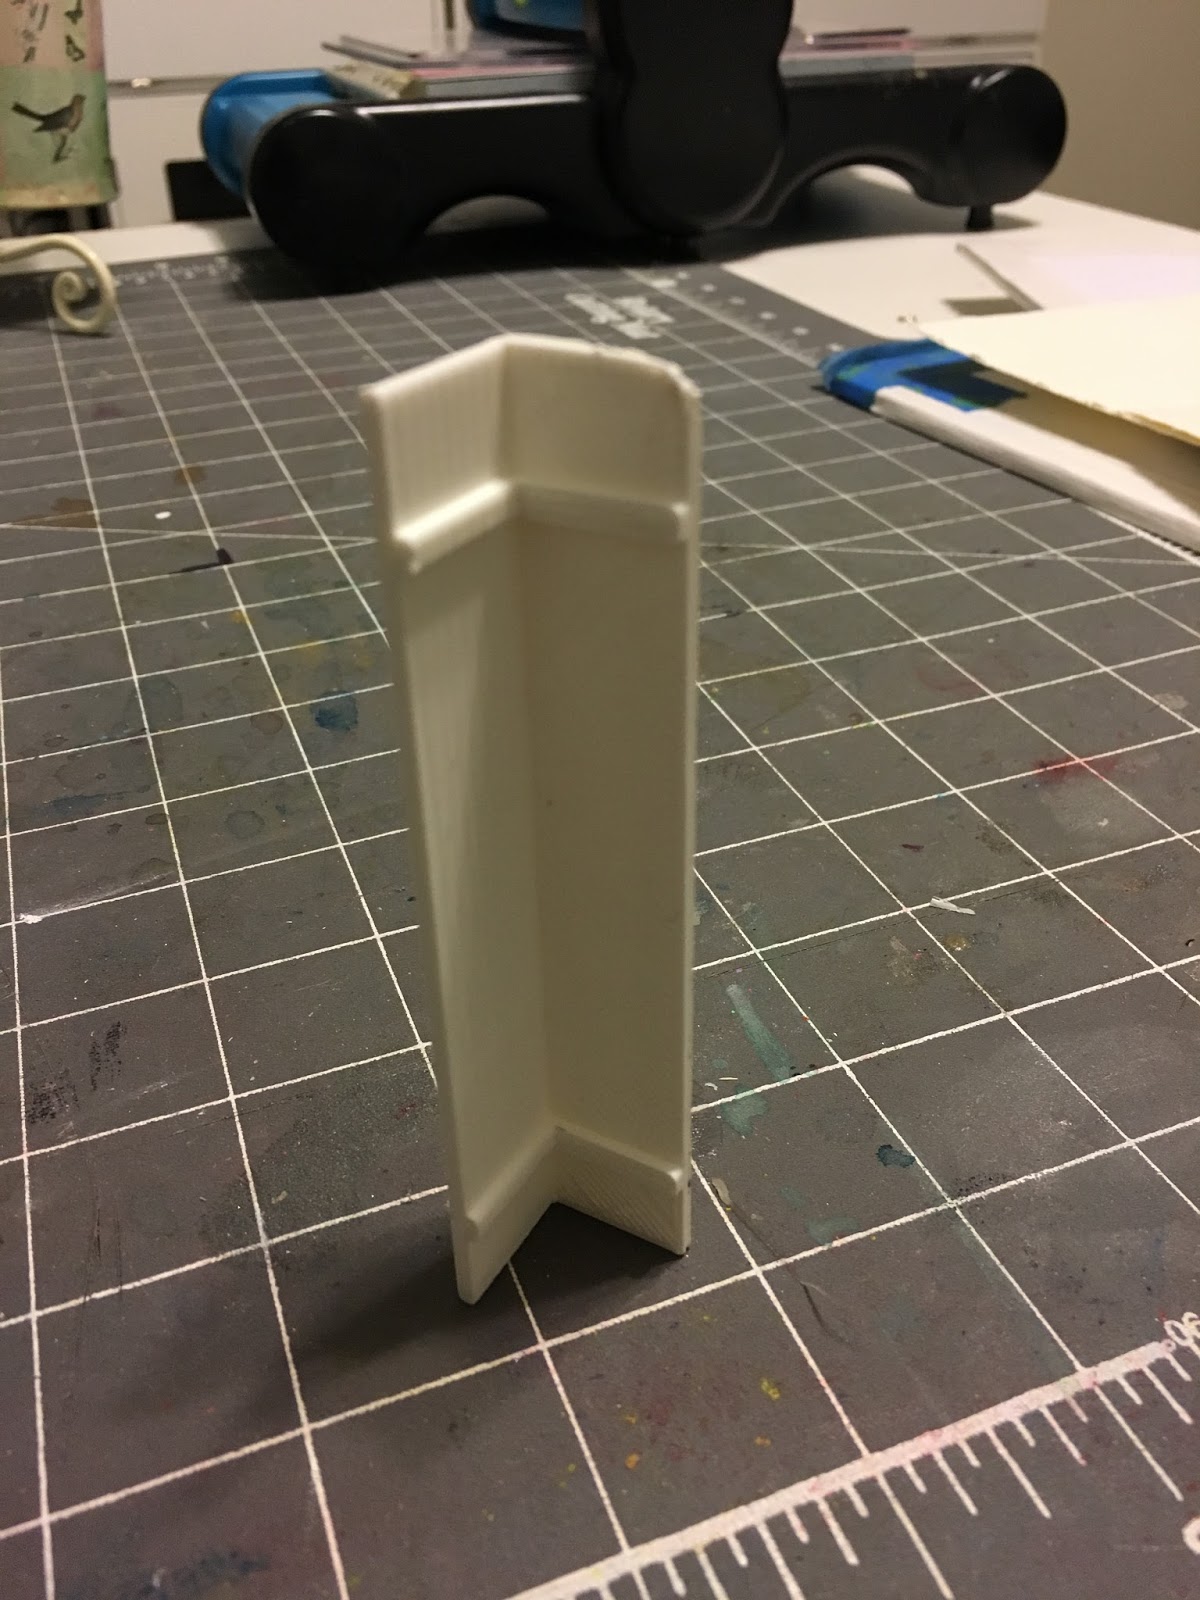
Took out the top bunk and added more storage.


Decorated everything in denim!  Even the refrigerator door.


Kerry put in a ton of electronics.  We had high speed internet no matter where we were and he created a library of over 500 movies.  This was our traveling entertainment center:


We customized it to meet our needs and I think we both just loved it.  In June, we took off for the Oregon coast and our very first "r-pod rally".   There were 30 r-pods at this place and we loved every moment of it.  I drove the entire way.  Kerry's health had been declining over the past 3 years, and this was on his bucket list.  He wanted to see the Oregon coast and the redwoods in northern California.  


I got to see one of my very good friends and she took me for a drive right on the beach!


I found some wonderful rocks on the beach and started painting them....


this is perhaps my favorite photo of all.  It's like he was cheering me on.....or was he waving goodbye?


We had the best time ever on the beach.  We extended our stay.  Neither one of us wanted to come home.  We headed out and the moment we started climbing in altitude, Kerry started having problems.  I knew we had to get home fast.....as fast as we could.  We made it home on July 6.  The following Monday, he had a heart attack and went to the cardiac care unit at Penrose Hospital in Colorado Springs.  Excellent staff.  But there was nothing they could do and they sent him home with hospice.  The following Monday, he had another heart attack and passed away.  It was July 16.

I love that he had the chance to see his kids and say goodbye during his hospital stay.  I love that my family was here and surrounded him 24/7.  I love that we had a chance to tell each other how grateful we were that we had spent the last 20 years together.  We recanted our travels, our funny stories, our happy tales....right up until the last minute.

Of course, my life fell apart after that.  As much as we had talked about it and prepared for it....it cannot be planned.  Diabetes took him.  No doubt about that at all.  But how grateful am I that we checked 2 more things off his bucket list and had a wonderful trip being crammed into an 8x20 travel trailer for the last month of his life.  Memories I will keep forever.

Life goes on however slow it is at first.  One step at a time.  Sorting, cleaning, giving away.   I think I cried for a month solid.  Then I was just plain weepy.  And I knew that it would get better...but I didn't know how hard it would be to lose him.

By September, I knew that I couldn't sleep in the master bedroom, so I decided to turn it into my art room.  I invested in a Workbox3.0 in order to get all my art supplies in one place.  It was a good decision.


So, maybe the sewing stuff didn't make it in there..... I'll worry about that later!

I finally got back to creating.  And experimenting.  This is Various Inks on Yupo with diecuts on top.


This is watercolor on yupo.  I love the background effects you can get on yupo.


I started making cards out of paintings that no one wanted and I love how they turned out.


 And I got back to watercolor painting.  Art is therapy.  It helps.  You can lose yourself in art and not think about the daily issues.


I signed up for Jenn Dove's Copic Boot Camp in November and made this collage for her daughter.  It's filled with hidden thoughts, photos that have special meaning, and tons of love.


Flew to Phoenix for Boot Camp which truly got my creative juices flowing again.   Jenn and her team were insane!


Classes from 9 am to 9 pm.  I learned so much.


And I still can't believe I colored this with copic markers.  I only hope I can remember what I did!  LOL!


So when I got home, I really started playing.  This is distress oxide re-inkers on photo paper - one of my favorites!


 More of the cards I've been making.  In some of these, you can see how I cut up a painting to make the cards.  Just fun!


So what's next?

I am starting to ebay some of Kerry's things.  I would like to leave Facebook, so I'm going to try blogging again.   I want to travel so my sis and I are talking about our next trip to Israel.  I have decided that I'm at a great crossroads in my life.  And while I don't know what tomorrow will bring, I want it to be filled with life.  I'm looking forward to it!

Finally, to Kerry.  Thank you.  I will love you always.  I am grateful that you are no longer in pain.  I cherish our life together.  And I pray that your memory will be a blessing.

Wednesday, June 7, 2017

How do you store your copics?

We have a 3D printer and this past week - it got a workout!  I have one of the copic black bags, but I do not like the little "basket" inserts that go in it.  So I got the egg carton light grid and after doing research and not liking much of what I saw out there, asked Kerry if he could create something with his printer.  He came up with some corner posts that I E6000'd to the grid and made a rack like this


(did you know that e6000 was a verb?  LOL!)

I figure out of the 300+ markers copic makes,  I really only need about 150 for now and that left  some space at the end of my bag.  


The corner posts look like this with little "rests" for the grid to position just above.  Worked out perfectly!  I used some tiny fabric clips that I found in the sewing department at Walmart to hold them together until the E6000 dried.


I needed something to put in the space at the end, so I had Kerry print a couple of boxes.   Yes, the 3D printer will print custom sized boxes.   This first one was too high as I can't get my fingers around the ink pads, so he made a shorter one next.


 Then I had him make dividers for the boxes so stuff wouldn't move around.    The dividers are E6000'd in place.  It all fits nicely down into the bag with room on the ends for my texture cloths and light templates.  This is looking down into the bag.


When I'm coloring, the bag will sit on it's sides and the boxes will come out and rest on the top.  In the left box are my square copics (I do a lot of airbrushing and use these colors the most) and my Momento Ink pads.  On the right are a variety of spritz and dropper bottles filled with blending solution and my white opaque copic paint.  In the tiny slots on the top - that's where I put my extra nibs for the markers.  I tested it out this afternoon and I'm pretty happy with it.  I love that we could use the 3D printer in the art room!  There was even space for my microns pens in the lower right hand slots.


This morning, I picked fresh strawberries out of my back yard.....


Those berries inspired me to use some of these copics because they are such berry-licious colors!  LOL!!!    I used Jenn Dove's tutorial to make this card.


I decided to do some more practice coloring.  Sometimes I think you need to repeat the same thing until you get it like you like!


But then, you need to make a card with your practice coloring!  Made this one for someone very dear to me who's having a birthday tomorrow!


I hope she likes it berry much!  

I am loving my "new-to-me" copic storage.  Now that the markers are organized and not falling all over the place I might actually use them!!!

Once again the 3D printer has amazed me with what it can do!  Kerry is now printing corners and center posts for some of my friends so they can do the same thing!


Wednesday, January 15, 2014

My copic marker storage

When I was at Jenn Dove's Arizona boot camp, I saw so many wonderful, clever ideas for storing copic markers.   I liked bits and pieces of all of them, but I also know that I will never have all 358 markers.  And I want the re-inkers for the markers I do have.  So I combined what I saw and came up with something that is going to work for me!

I took the big copic storage bag  (I hate the flimsy little storage bags in it) and inserted these chipboard boxes that I found at Hobby Lobby.  It is an extremely tight fit!


Next, I cut the fluorescent light grid to go over just the bottom half of the boxes.  Glued it on top of the boxes using E6000.   There are 3 individual grids - 1 in the bottom of each of these boxes and my markers go perfectly straight down through the top grid and snap inside the bottom grid.

If I filled up all 3 grids I could easily store 147 markers across the bottom.  More than enough for me!

My re-inkers are in the 2 top left boxes and the right top box stores my colorless blending solution in a variety of mister and drip bottles - plus my re-inking pens are in there.


It will sit on it's side with the top flap back up over the top on my shelf.  I LOVE this!  I can pull the markers out quickly to use....and there's room on the sides for a few other items (like the book I use to keep track of the colors I have)


and when I don't want to look at it, I just close the top!


Yet it's all in a single bag that has a nice shoulder strap and I can simply grab this and go when I'm off to the next crop or class.  My airbrush system is on the shelf right under the copic storage.


Sometimes, you just have to give it a little thought to come up with the perfect solution for what works for you.  Thanks to all of you at boot camp who shared your creative ideas!!

(just as a side note - my auto spell check wanted to use "ringer" or "reindeer" every time I typed in "re-inker"!!!  Pretty funny!!)

Friday, November 15, 2013

New monkeys

I redid yesterday's card using Hammermill paper and it's much better.  So now we know, even though it says that it doesn't bleed, sometimes it does!!!


The left is yesterday, the right is today.


Which one do you like best?

The other thing I have to learn to do is to write down my color combinations as I use them.  Because I forget when I go to sleep!  LOL!!!

Lucy's jeans:  B00, 32, 45, W3, and denim texture with colorless blender.

Lucy's shirt:  R29, 00

Lucy's hair:  E29,21,09

Lucy's skin: E000, 02, R20

Monkey barrel:  E08, 18, 21, W3
Monkeys in the barrel:  E25, E11

Monkey in front:  E000, E21, 25
Paws: E000, 02
Lips: R29, 00
"Tickle me Terry" with terry cloth and colorless blender

So even if you are limited in the colors of copics that you have, you can still do a lot of fun things!  I'll grow my collection over the winter with my 40% off coupons.  :o)  I think it's important to note as well that each of us will develop our own copic style.  I can already tell I like a "watercolor" look, not a pure blended look.  I'm going to prefer glitter on top of my stickler.  I'm going to like the pink/turquoise/green combo that I use with alcohol inks.  But it's going to be fun to just play.