

(did you know that e6000 was a verb? LOL!)
I figure out of the 300+ markers copic makes, I really only need about 150 for now and that left some space at the end of my bag.

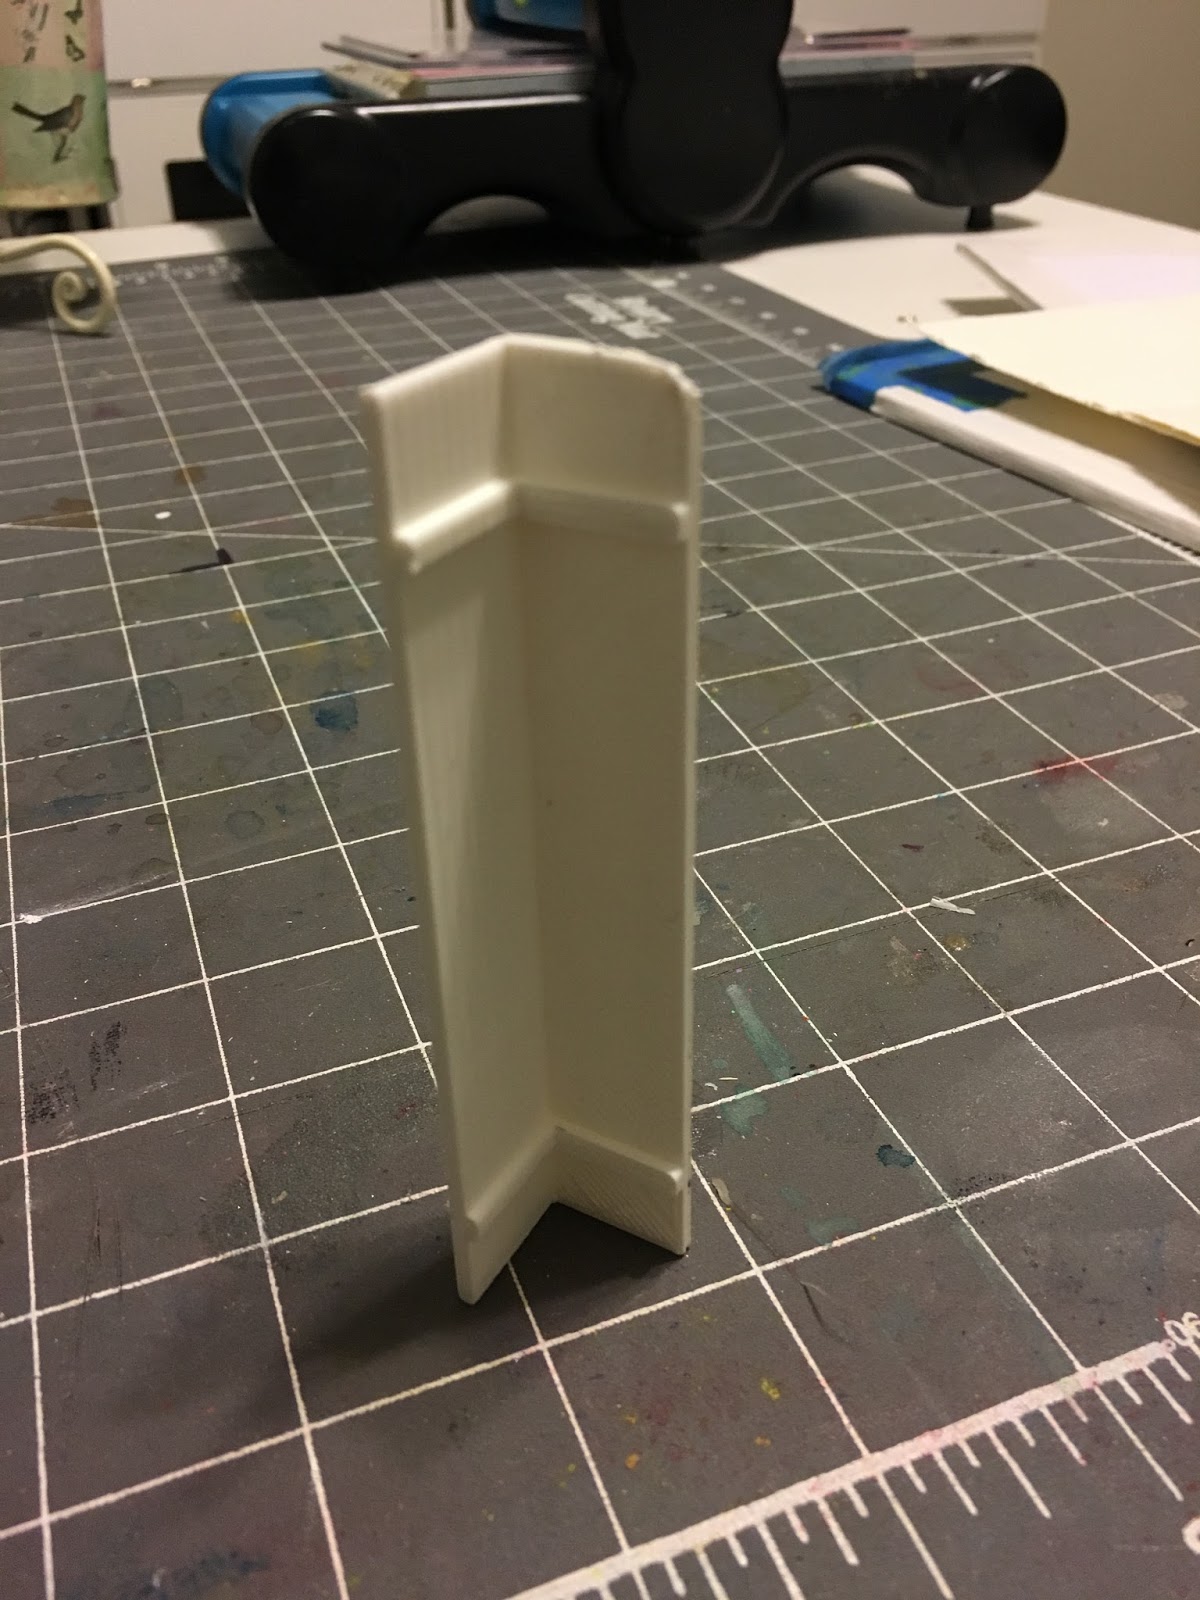
The corner posts look like this with little "rests" for the grid to position just above. Worked out perfectly! I used some tiny fabric clips that I found in the sewing department at Walmart to hold them together until the E6000 dried.
I needed something to put in the space at the end, so I had Kerry print a couple of boxes. Yes, the 3D printer will print custom sized boxes. This first one was too high as I can't get my fingers around the ink pads, so he made a shorter one next.


When I'm coloring, the bag will sit on it's sides and the boxes will come out and rest on the top. In the left box are my square copics (I do a lot of airbrushing and use these colors the most) and my Momento Ink pads. On the right are a variety of spritz and dropper bottles filled with blending solution and my white opaque copic paint. In the tiny slots on the top - that's where I put my extra nibs for the markers. I tested it out this afternoon and I'm pretty happy with it. I love that we could use the 3D printer in the art room! There was even space for my microns pens in the lower right hand slots.

This morning, I picked fresh strawberries out of my back yard.....

Those berries inspired me to use some of these copics because they are such berry-licious colors! LOL!!! I used Jenn Dove's tutorial to make this card.

I decided to do some more practice coloring. Sometimes I think you need to repeat the same thing until you get it like you like!

But then, you need to make a card with your practice coloring! Made this one for someone very dear to me who's having a birthday tomorrow!

I hope she likes it berry much!
I am loving my "new-to-me" copic storage. Now that the markers are organized and not falling all over the place I might actually use them!!!
Once again the 3D printer has amazed me with what it can do! Kerry is now printing corners and center posts for some of my friends so they can do the same thing!
No comments:
Post a Comment