Showing posts with label CI Stamps. Show all posts

Sunday, April 27, 2008

Happy Mother's Day!

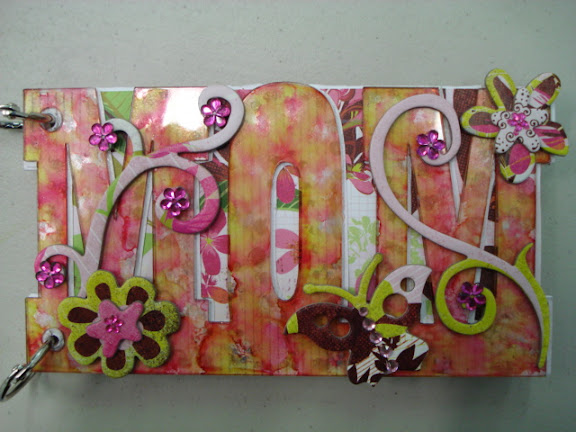
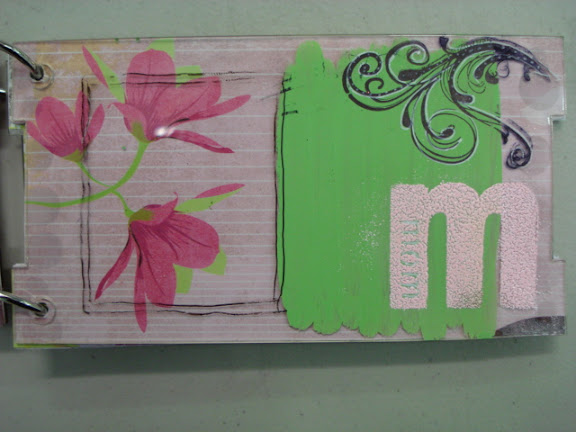
Another acrylic word book. I need to remind you that you these run between $11.99 and 14.99 each and you can custom order any word up to 15 letters. "Mom" is a standard generic one that the store has in stock. I did the polished stones technique on the back of "mom, backed it with white paper so it would show and added chipboard cutouts on top.


Created my photo mounts on the back...then decided since I don't have photos with me, I'd stamp and use my Ranger white pen. The girl and the flourish are 2 separate stamps.
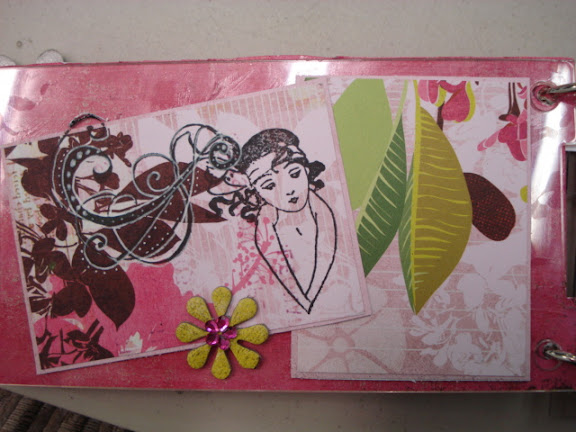


The next 3 pages are all clear acrylic. I painted on these and stamped with acrylic paint. Then drew my "photo mounts" with a black pen. I also used the white pen....but look closely, you can see through to what's on the 2 pages behind this page. The best way to "watch" this is to look at th epink flower on the far left side.
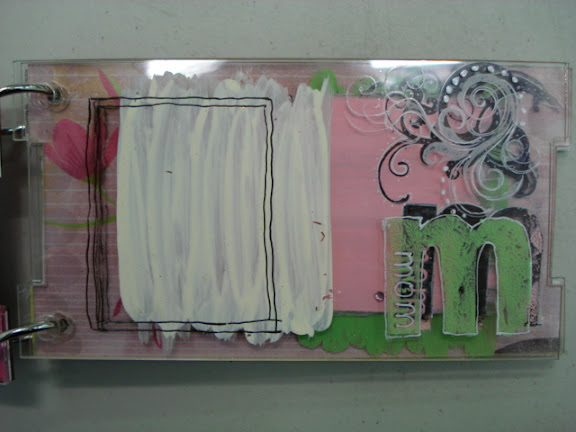


Now you see 3 flowers...pink paint in a smaller area than where the white paint was. Another "photo mount" squared off in black
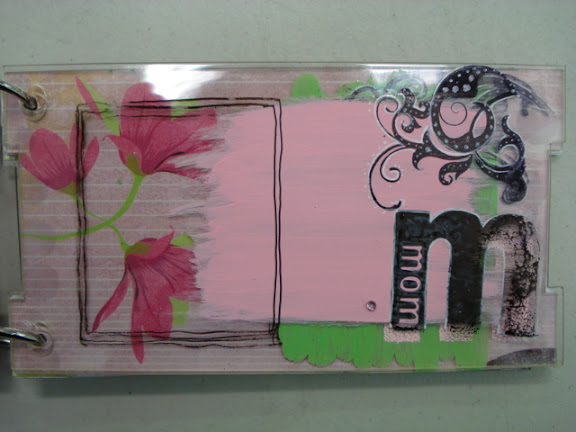


and here you see the whole flower. This was a really fun project. The "M" on this page is done with pale pink embossing poswer...just be careful not to heat the acrlic! It will melt!

Just ask me how I know this! LOLOL!


Should have said I'm using a few MSE stamps on this one...but the girl here is from 100 Proof Press, with an MSE swirl from her had. More Ranger white pen.
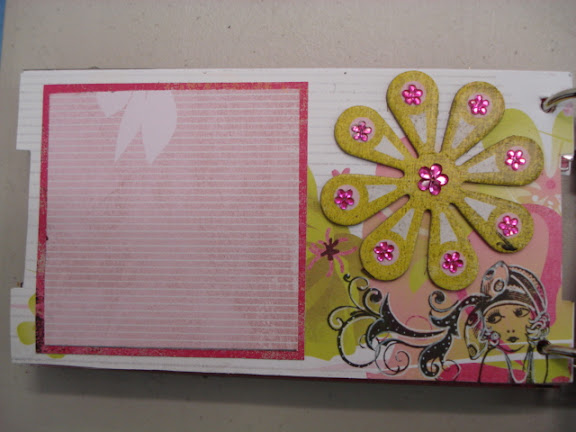


I love these little girls from CI Stamps. More MSE swirls and chipboard on this page. Note, for this one, I used black pen against the light background.
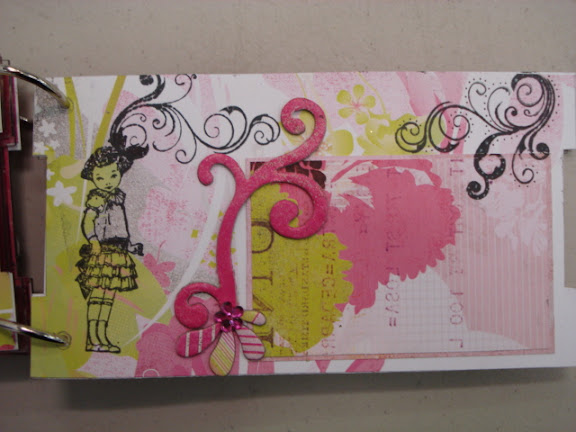


Finally, a Stampin Up stamp and an MSE swirl repeated with white pen. Totally fun!
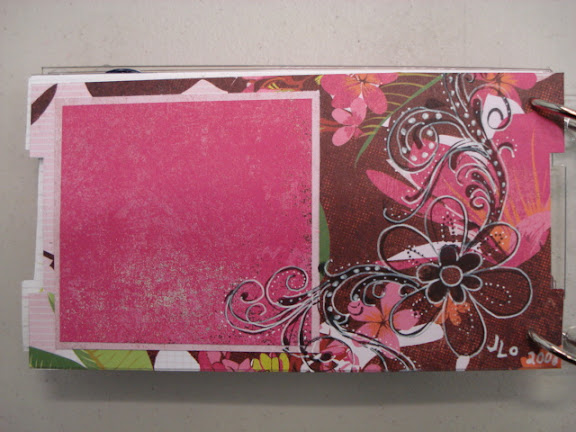


I'm only blogging one project per day....and there are so many more that I haven't posted yet. This has truly been such a fun time out here in San Diego.

So I must end today's blog with a shout out to Liz and Kristal. Today, I walked into the store and they surprised me with a Revolution (die cut system)!!! I spent the whole evening playing with it and I'll have it with me Tuesday so you can come play with it, too!!! I really didn't think I wanted to learn yet another diecut system...but you know what? It's just another way to spend my time playing!!!

Saturday, March 29, 2008

Tutorial - Collage stamping

Yesterday, one of the things I taught was collage stamping. Judikins sells rubber stamp masking tape by the roll which I happen to really like using. But you can run wax paper through your xyron using repositionable adhesive. Or, you can just use any wide masking tape. Doesn't matter. I suppose you can even use plain printer paper...but I do like it to have a sticky back.

Stamp several stamps onto it.


And then cut each image out really close to the border. I put them on wax paper as it's easy to remove them when needed.


Next, play with them a little. Layer them into any collage....something that you like.


The first thing you are going to stamp is the top piece of paper that you just laid down. Whatever you ended with on the top of your collage is the first stamp you use. Mine is the sentiment stamp.

My sentiment stamp had the author's name on it...which I really did not want as part of my collage....so I cut the part out that I wanted and left the signature.


Next, I laid the signature mask on my cardstock and stamped the sentiment over it like this:


When you pull the mask off, the signature is not on the card. Because you stamped it onto the mask.


Next, I'm going to place the mask for this part of the stamp over the area that I just stamped. In essence, I'm covering up what I just stamped so that nothing else gets stamped onto it.


The next stamp you use is the next to the last image that you added to your collage. In this case, it's the little girl. I just stamp that over the mask:


Next, I cover that image with it's mask.


Are you getting the idea here? The next stamp will be the top piece of my collage, in this case, the girl with the ball, just stmp her over the masks:


and then layer the mask on top of her.


The final stamp is my flourish. At this point, I did decide to change the angle of it just a little.


When you peel off all of the masks....your collage is left.


And of course, then you can start to ink and color your collage:


I used 4 stamps with this collage....but there is really no limit to the size of your collage or the number of stamps that you use. It is truly a wonderful way to get more use out of your stamps.....and just makes wonderful cards! The little girls are from CI Stamps (Coronado Island Stamps), the sentiment is from A Stamp of Excellence, and the flourish is from Autumn Leaves.

I think all of the gals had a great time learning this technique yesterday and they came up with some really fun collages. Just makes you want to play even harder!!!